
Executive summary
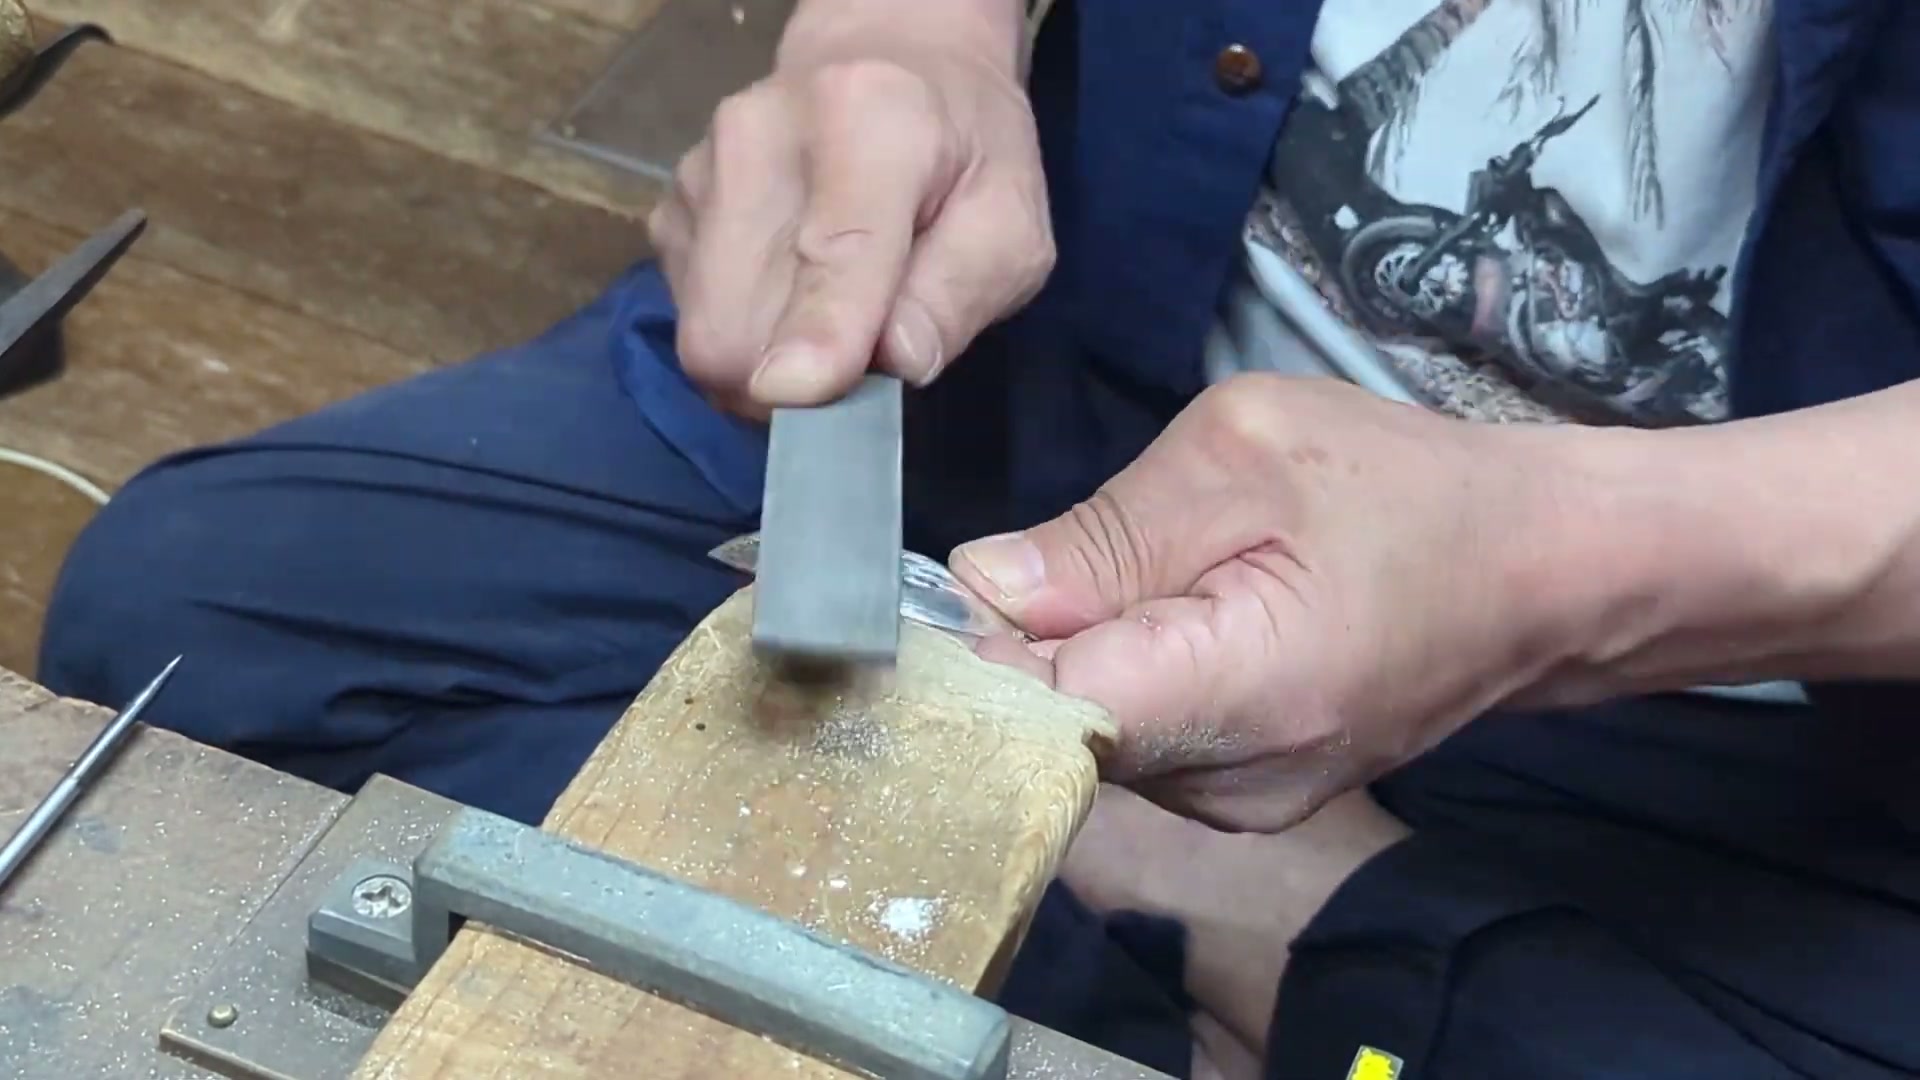
The practitioner changes how the file is presented for L-shaped corners, radiused curves and long straight edges, checking surface feel, missed areas, burrs, filed width and snagging.
6 Source-backed
Visual learning guide · v0.1
Expert demonstration, transformed into traceable instruction.
SOURCE FRAME
【町工場】ヤスリがけのコツ Part3【Milling machine】
Executive summary
The practitioner changes how the file is presented for L-shaped corners, radiused curves and long straight edges, checking surface feel, missed areas, burrs, filed width and snagging.
03
Learning routes
09
Evidence-backed steps
01
Source video
Compare all sources
Keep the sources separate and inspect what each one contributes.
Video 1 · Workshop filing
The practitioner changes how the file is presented for L-shaped corners, radiused curves and long straight edges, checking surface feel, missed areas, burrs, filed width and snagging.
Video 5 · Kyoto engraver
The practitioner distinguishes file size, cut and profile for the area, removes saw and hammer irregularities, and progresses from coarse to fine files. He uses sheen and a straightedge on flat faces, contact patterns and a smooth line on curves, then demonstrates bracing the work and cutting on the push stroke.
Video 6 · Dayel grinder
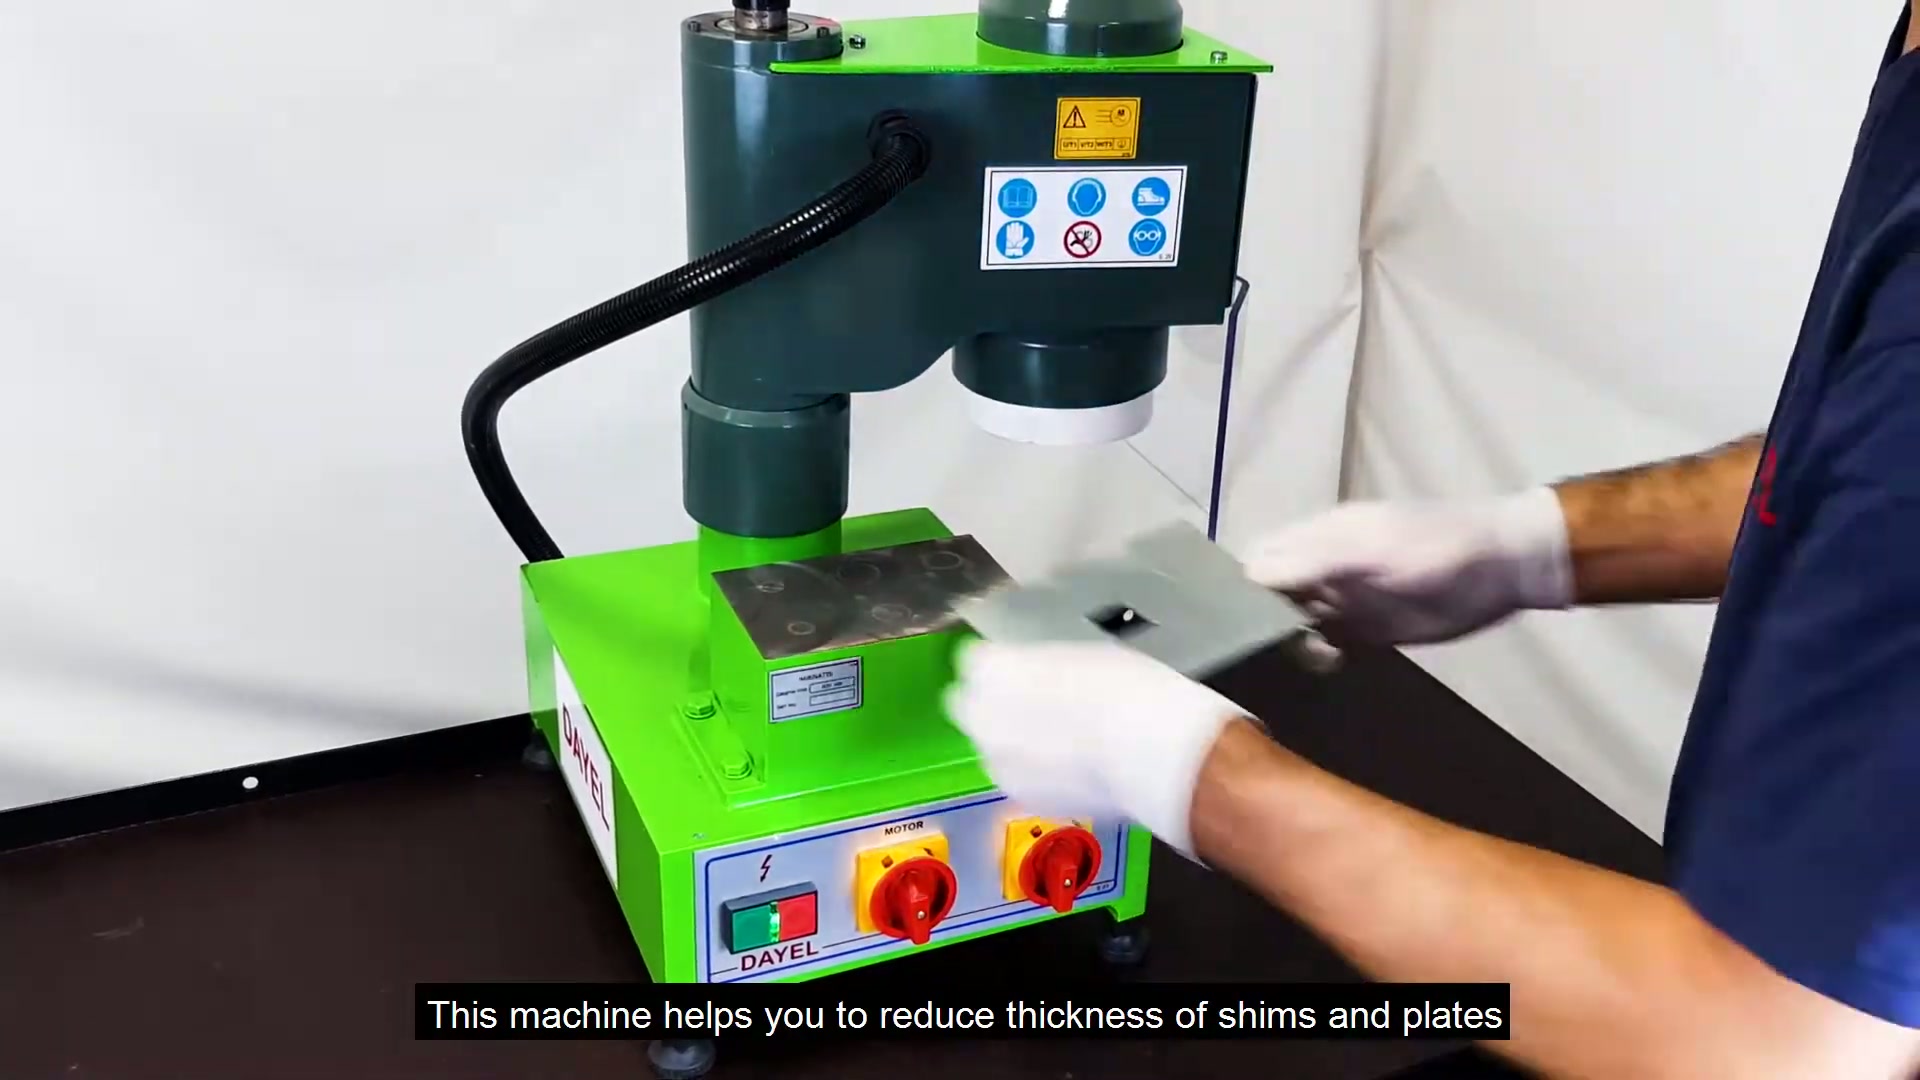
The video states a thickness-reduction purpose, powered magnetic table, digital Z adjustment and manual X movement, transparent cover, supported part types, auxiliary plates, motor and single-phase supply. It does not explain operating sequence, settings, stopping criteria or inspection.
Video 7 · DONGTAI compact grinder
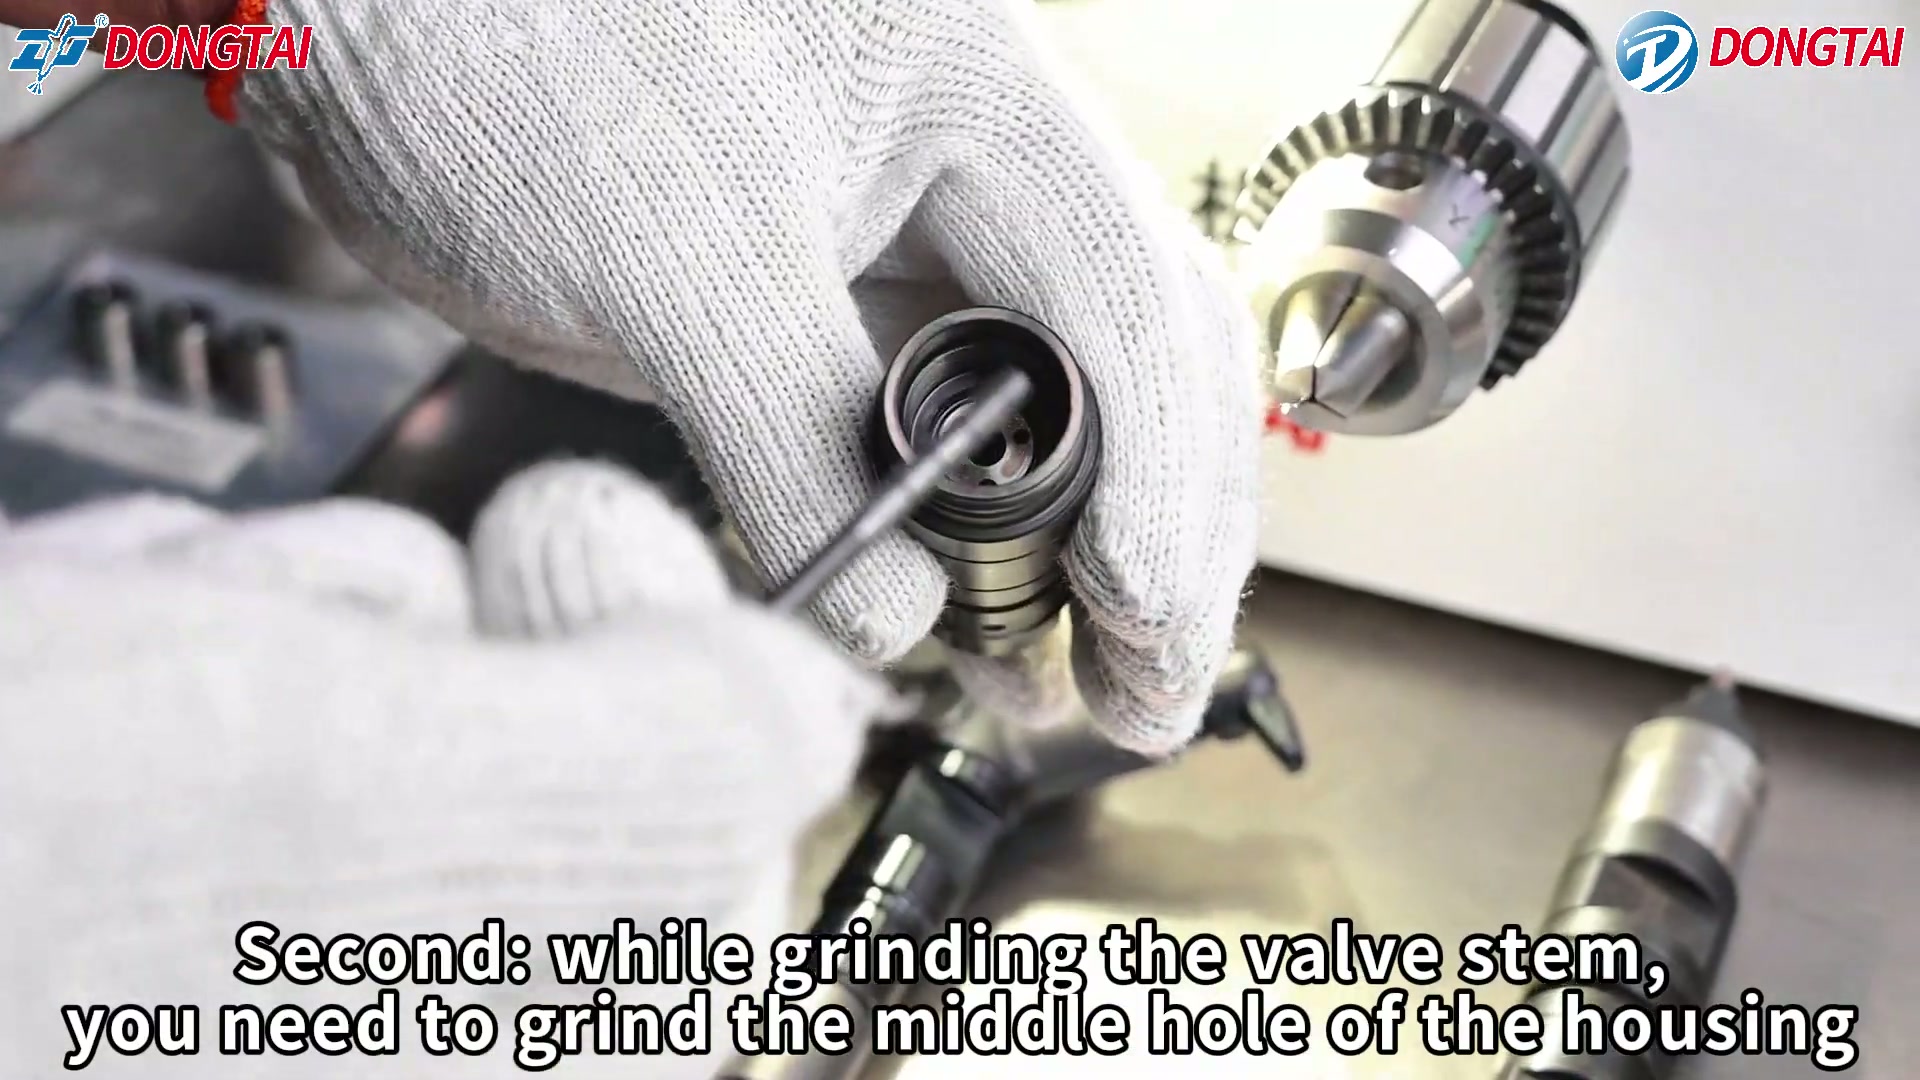
The on-screen text covers direction, light, start and speed controls; an order for valve-stem and housing-bore work; holder selection; forward/back grinding movement; a tapered rod; and diameter, flexibility, stroke and flow checks. There is no expert narration, so terminology and intent require practitioner confirmation.
Video 8 · Titans ID wheel
The practitioner shows three components: main shaft, threaded mounting arbor and grinding wheel. He scuffs the arbor face with a file, cleans with alcohol, mixes resin and hardener, coats the arbor, drops on and spins the wheel, then adds epoxy in the centre. He links cleanliness and a good bond to the stated 20,000–30,000 rpm operating range.
Reach the corner and connect both faces
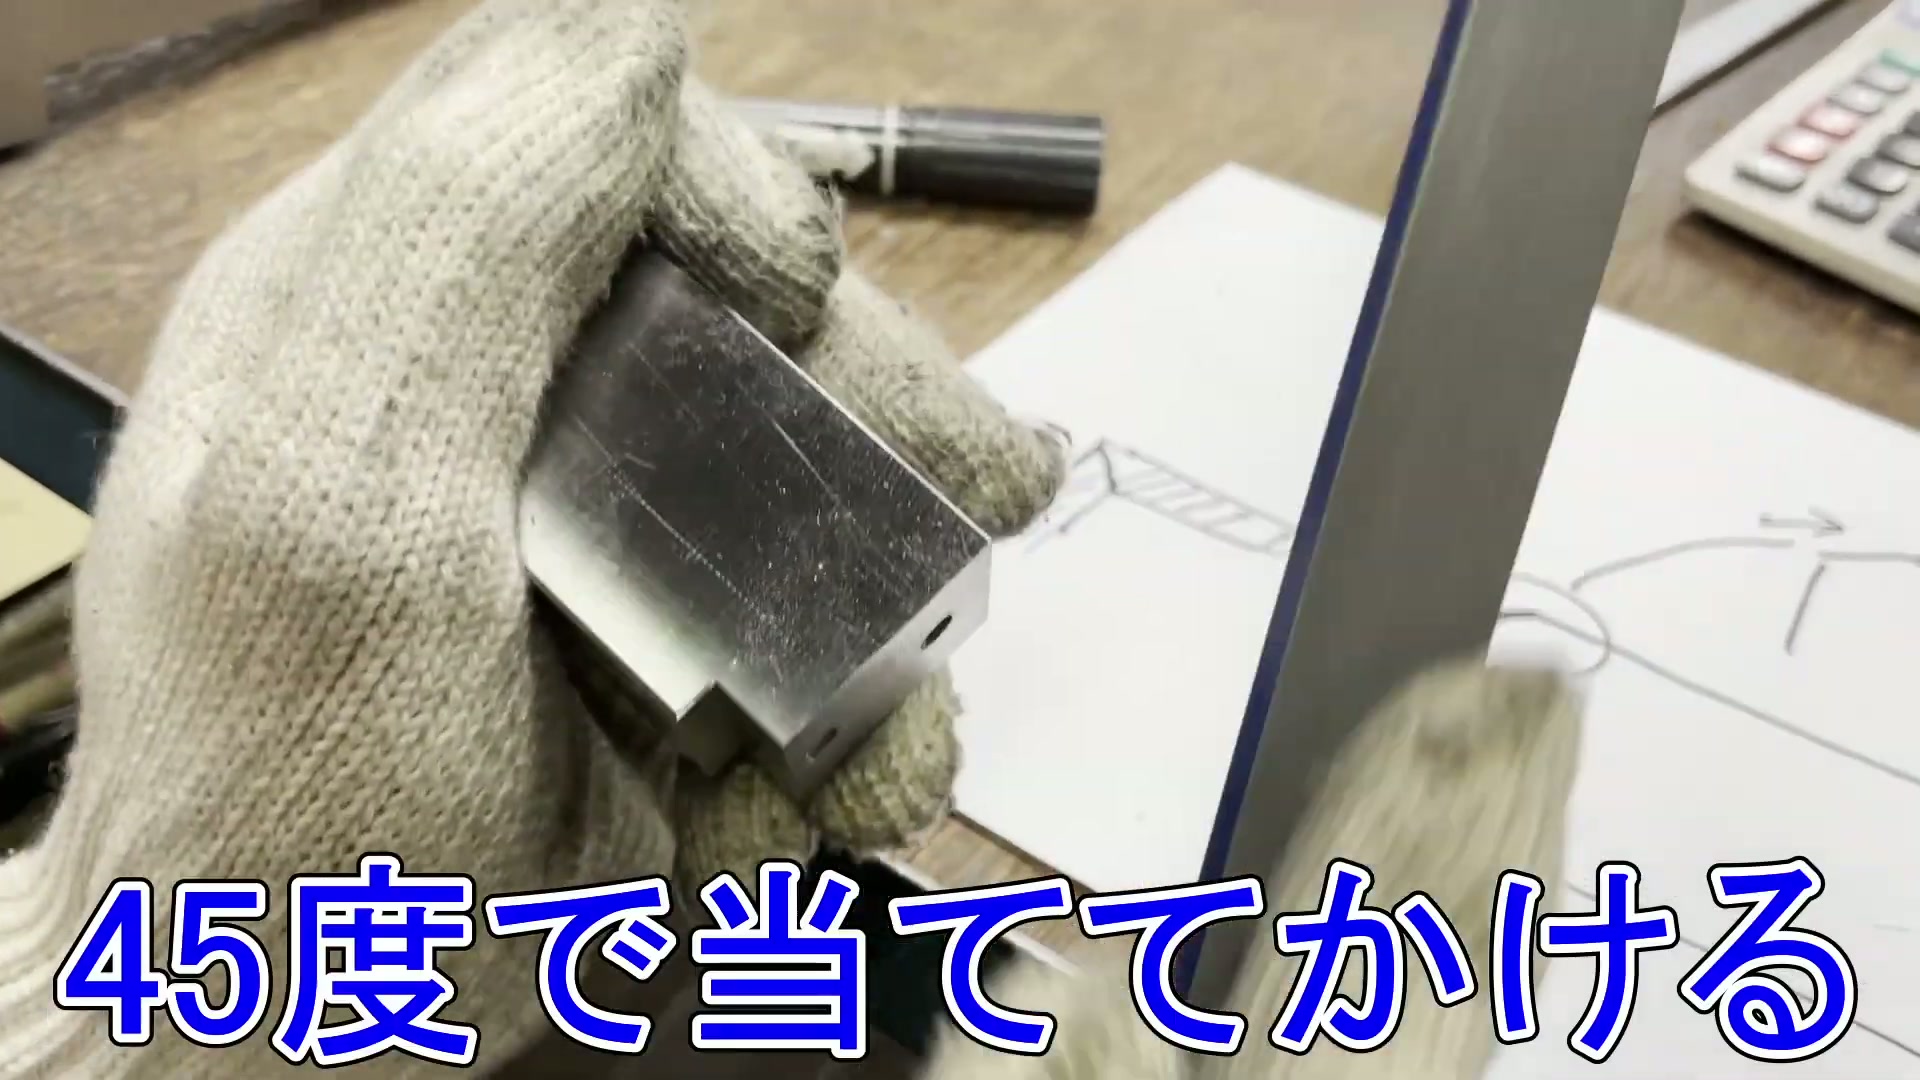
Straight passes from two directions can leave the corner untouched. Present the file at 45°, connect the faces, and use the safe edge to protect the adjacent face.
Present the file to the corner at 45° and make the pass.
Why
Two straight-direction passes alone do not cleanly reach the corner.
こうまっすぐやって、こうまっすぐやると、この角のところが綺麗に描からないんだ。45度で当ててかけたんだよAI drafted this step from the speech or on-screen source text below. Practitioner approval is required before formal use.
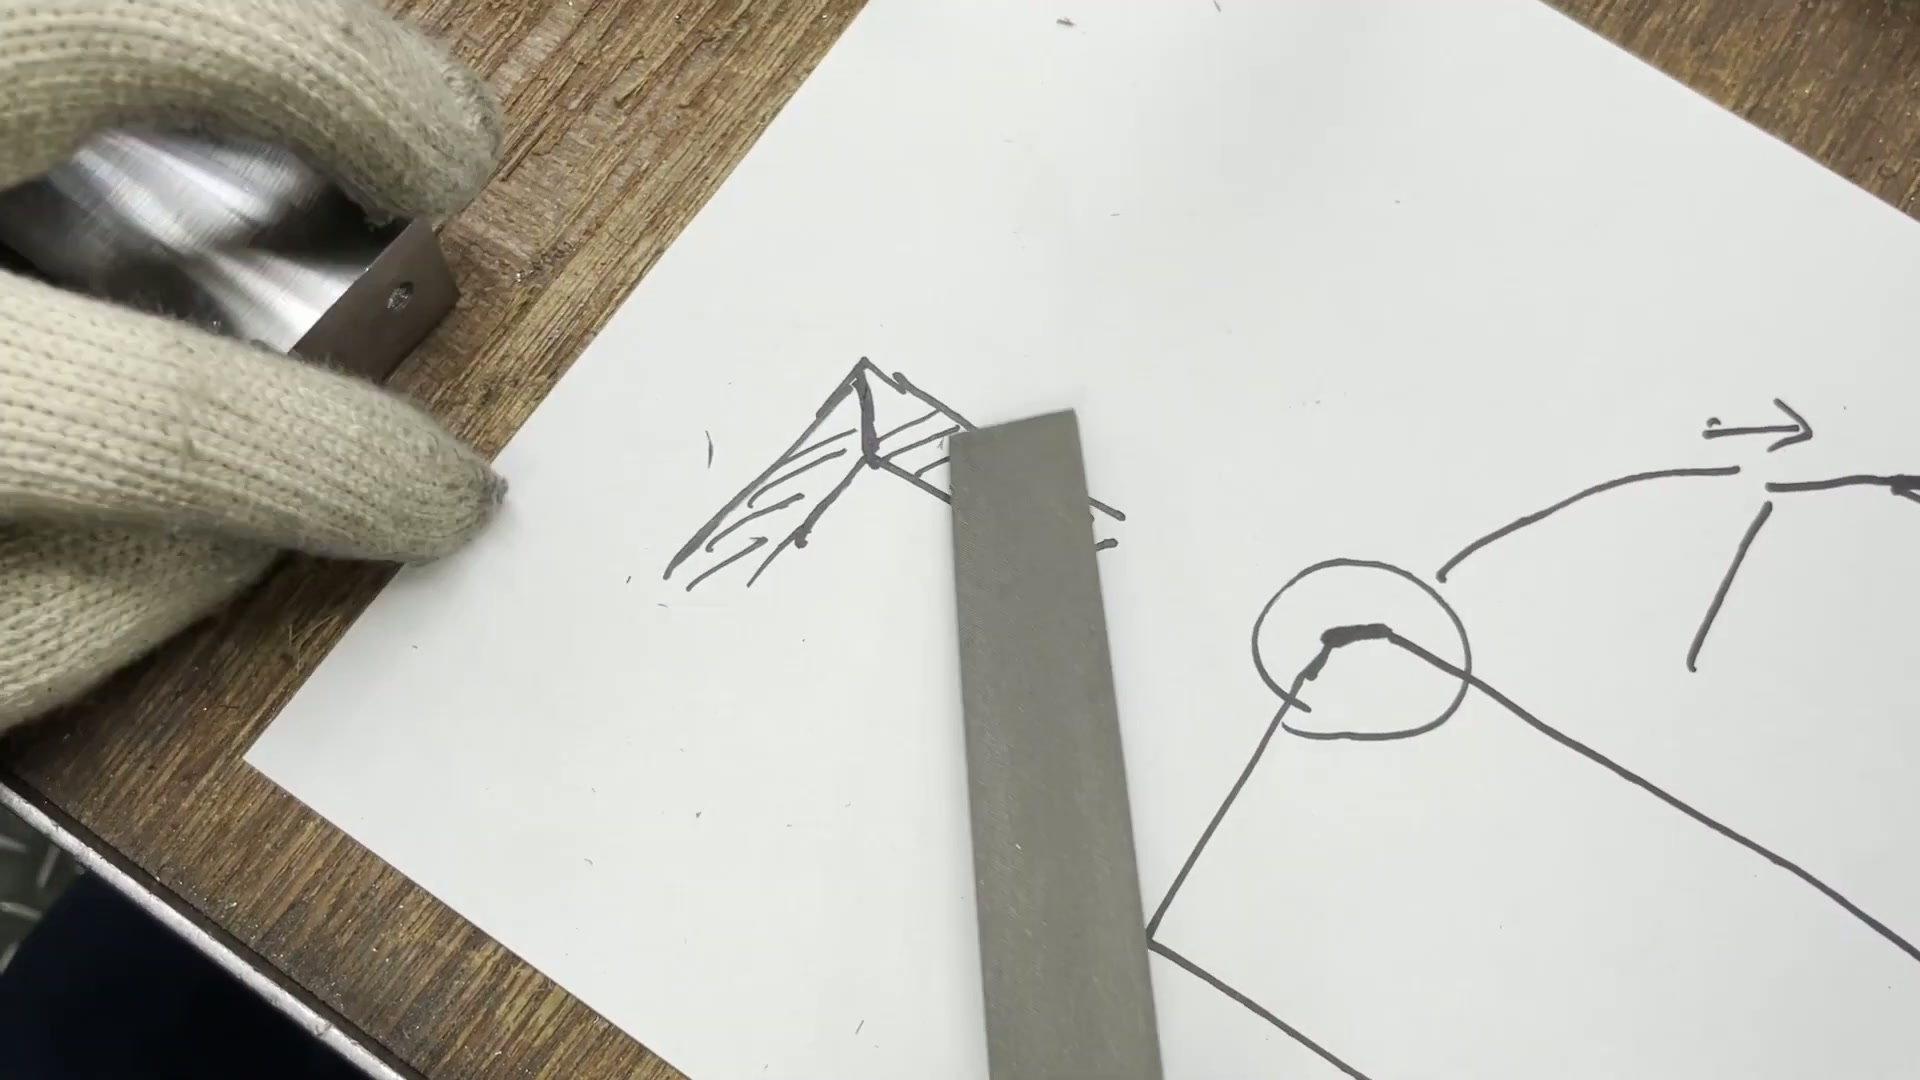
File through the missed corner area until the two worked faces connect.
Why
This brings the filed finish all the way into the corner.
この角のとこまでヤズリがかったのわかる?なるよ これをこういうふうにかけちゃうとここ 残るんだよ 残らないようにこうやってかけて ここをこうやってつなげちゃう そうするとこうなる 額縁AI drafted this step from the speech or on-screen source text below. Practitioner approval is required before formal use.
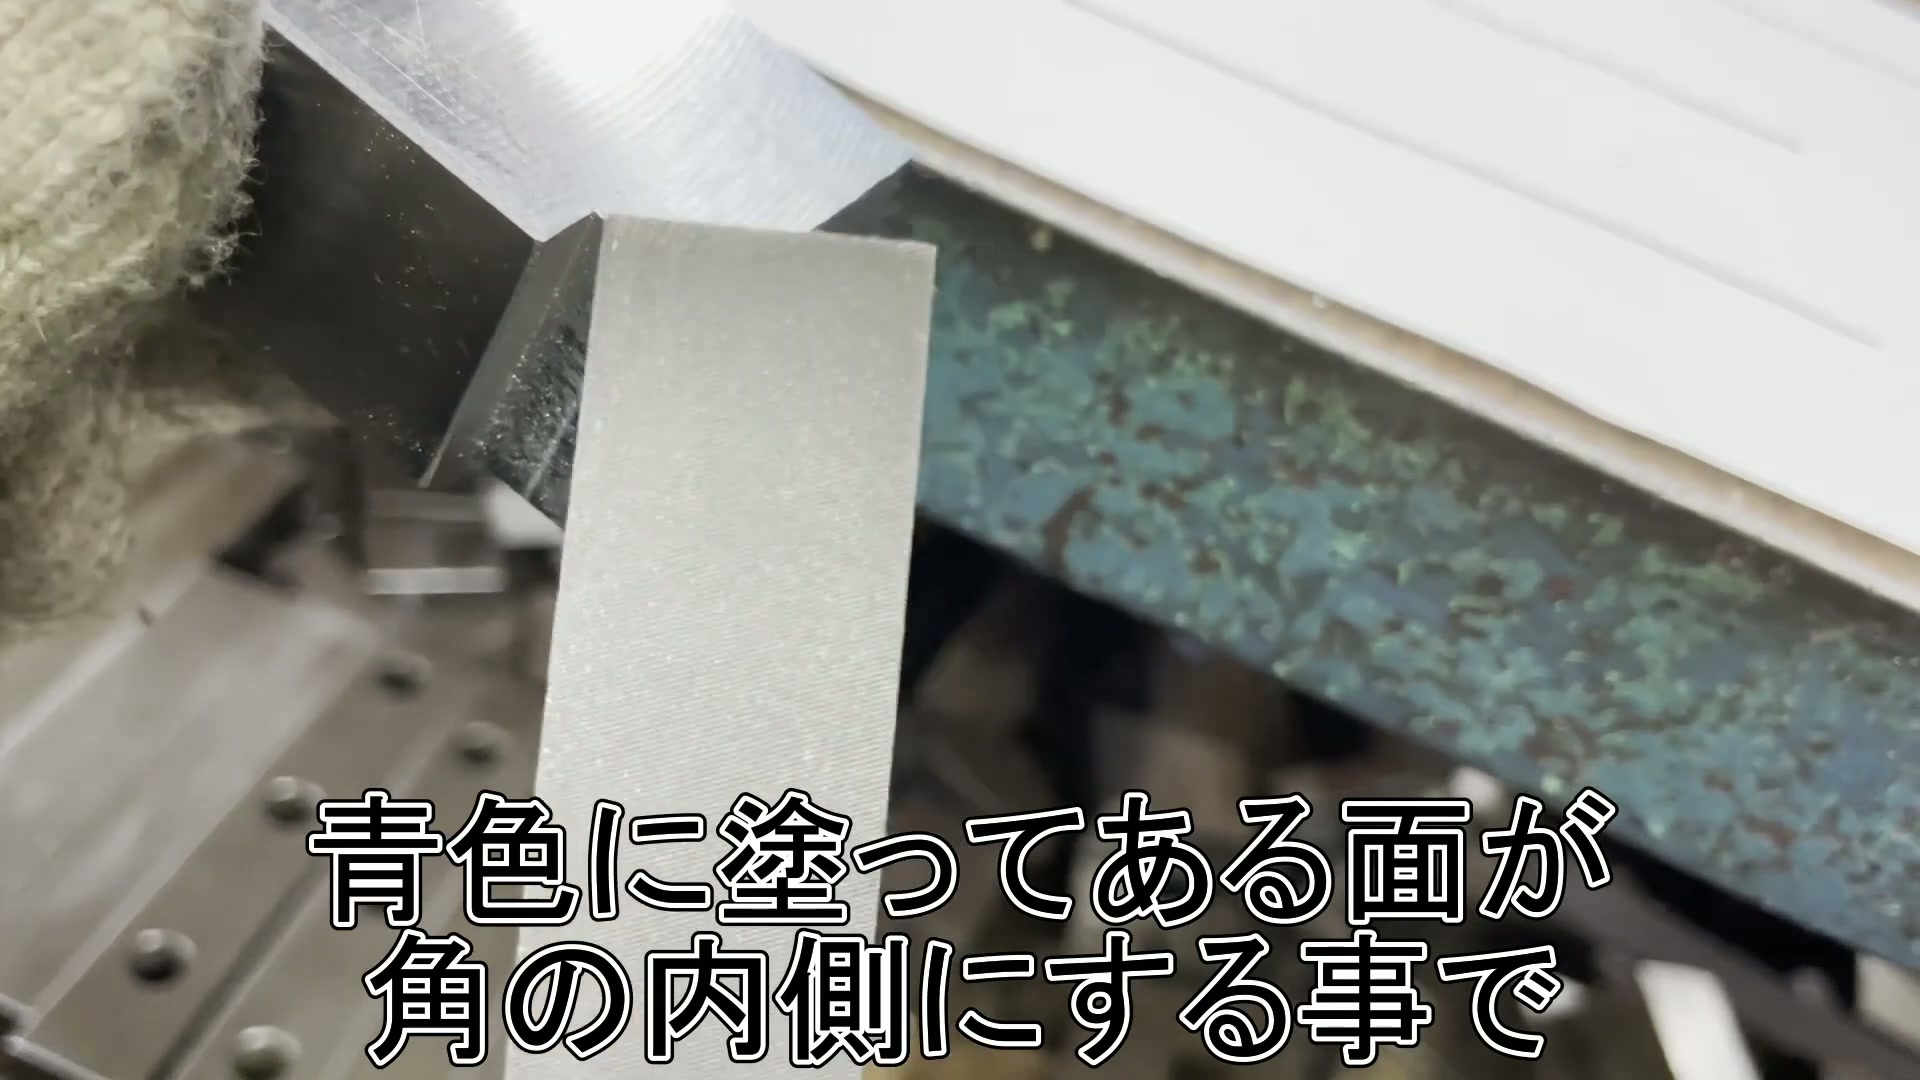
Place the file’s non-cutting side against the adjacent face so only the intended side is cut.
Why
This protects the neighboring face while cutting only the target side.
それ綺麗にかけれないんだ なのでこのヤスリになってない方を 当ててこれかけとる こっち側傷つかないんだ こっち側しか削れない っていう理由があってかけとるAI drafted this step from the speech or on-screen source text below. Practitioner approval is required before formal use.
Follow the curve while raising the file
Use the blue-marked side, follow the curve and raise the tool to prevent lateral drift. Finish with a short light pass, then check the burr and radius.
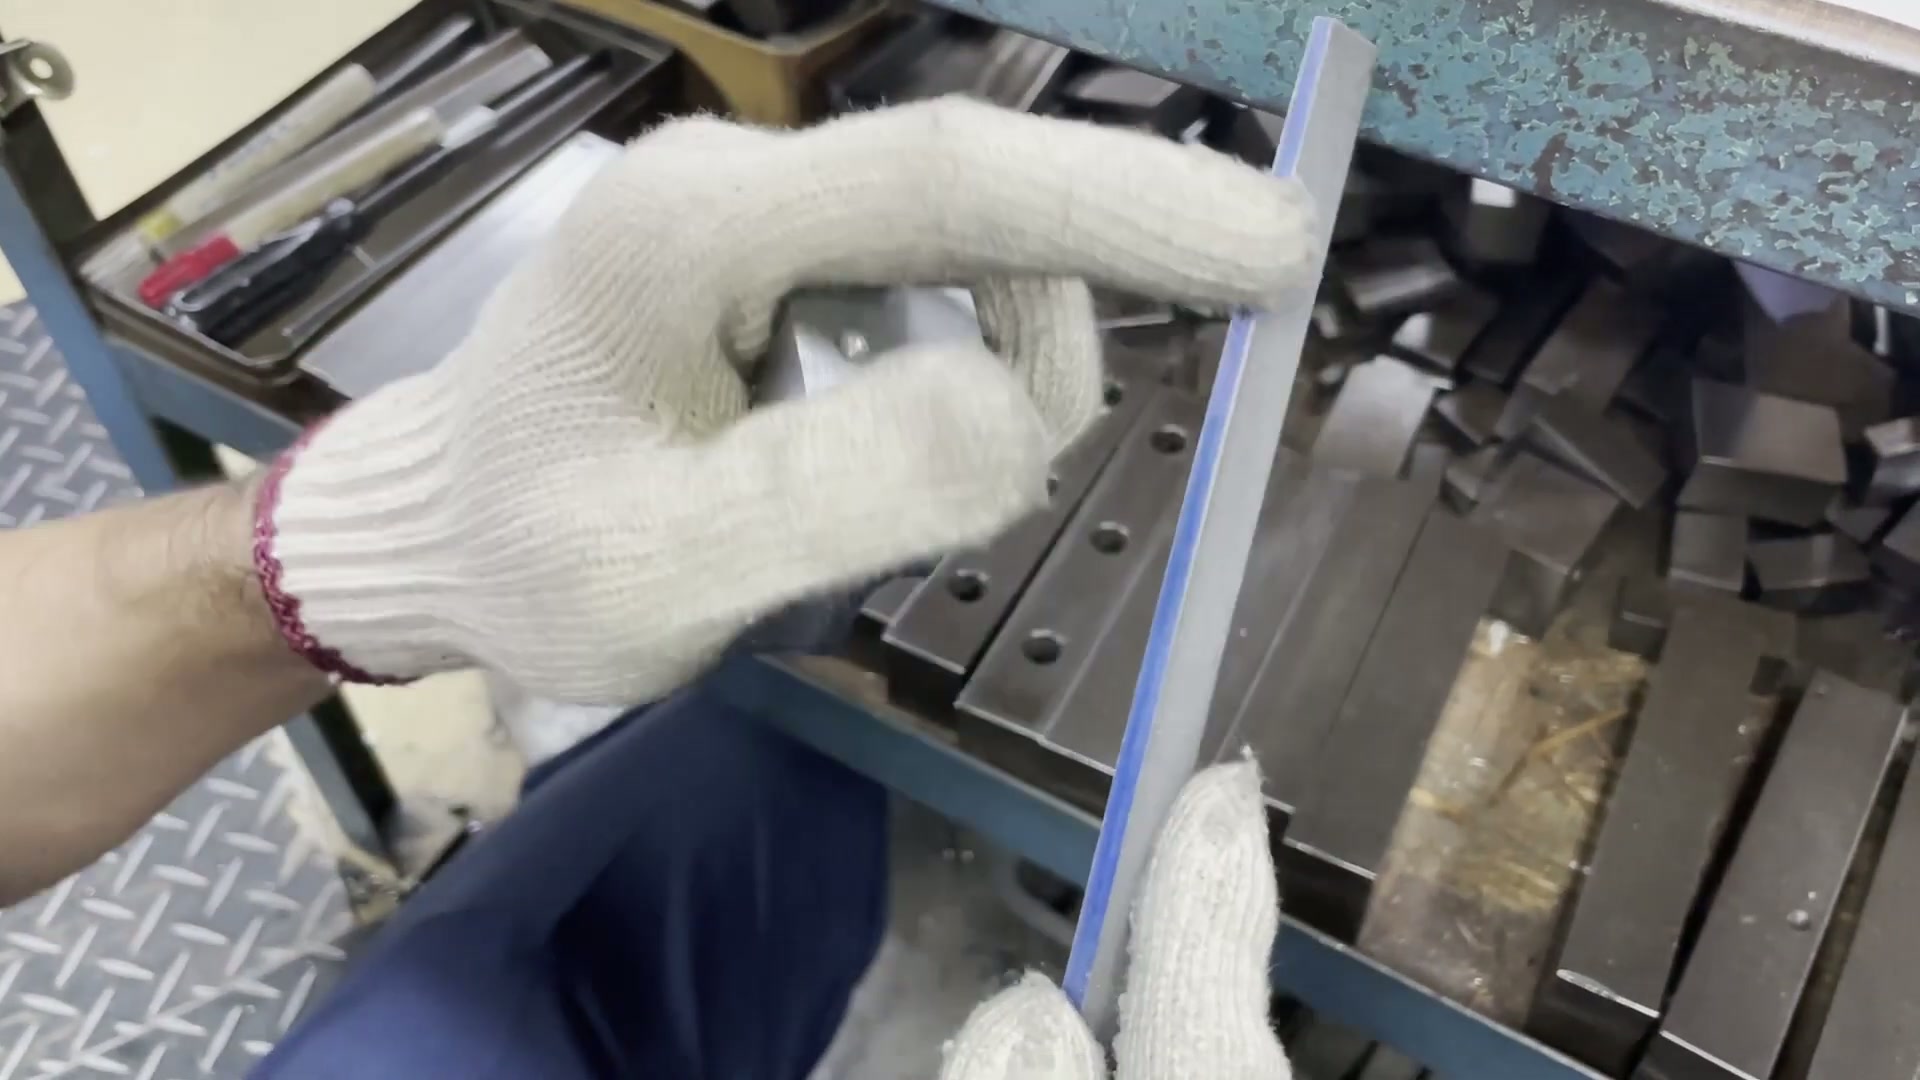
Place the blue-marked side into the radius and begin filing along the curve.
これは経験しないとってこと? これはこっち側使う 青い方 こう当てる カーブに沿ってガリガリガリッと削ってくんやけどAI drafted this step from the speech or on-screen source text below. Practitioner approval is required before formal use.
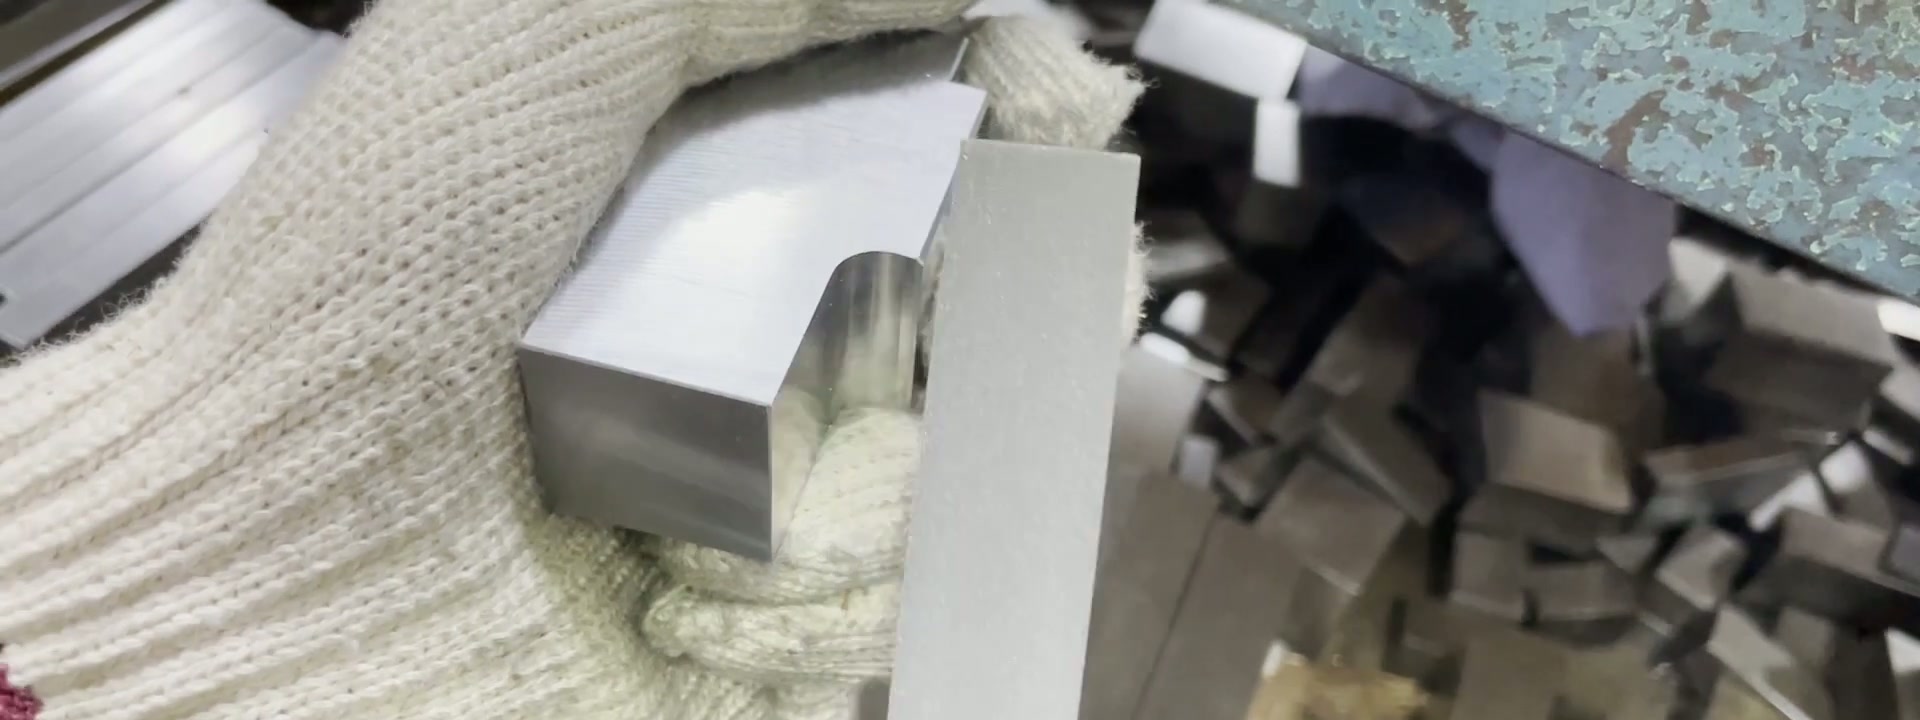
Track the curve by feel, raising the tool progressively as you cut.
Why
A fixed presentation lets the tool drift sideways along the radius.
これも手の感覚やねー カーブに沿って削る こうやってやれば絶対にさ、このRの部分に沿ってさ、こっちにゴリゴリゴリっとずれてくんやん これを起こさせながら削っていくAI drafted this step from the speech or on-screen source text below. Practitioner approval is required before formal use.
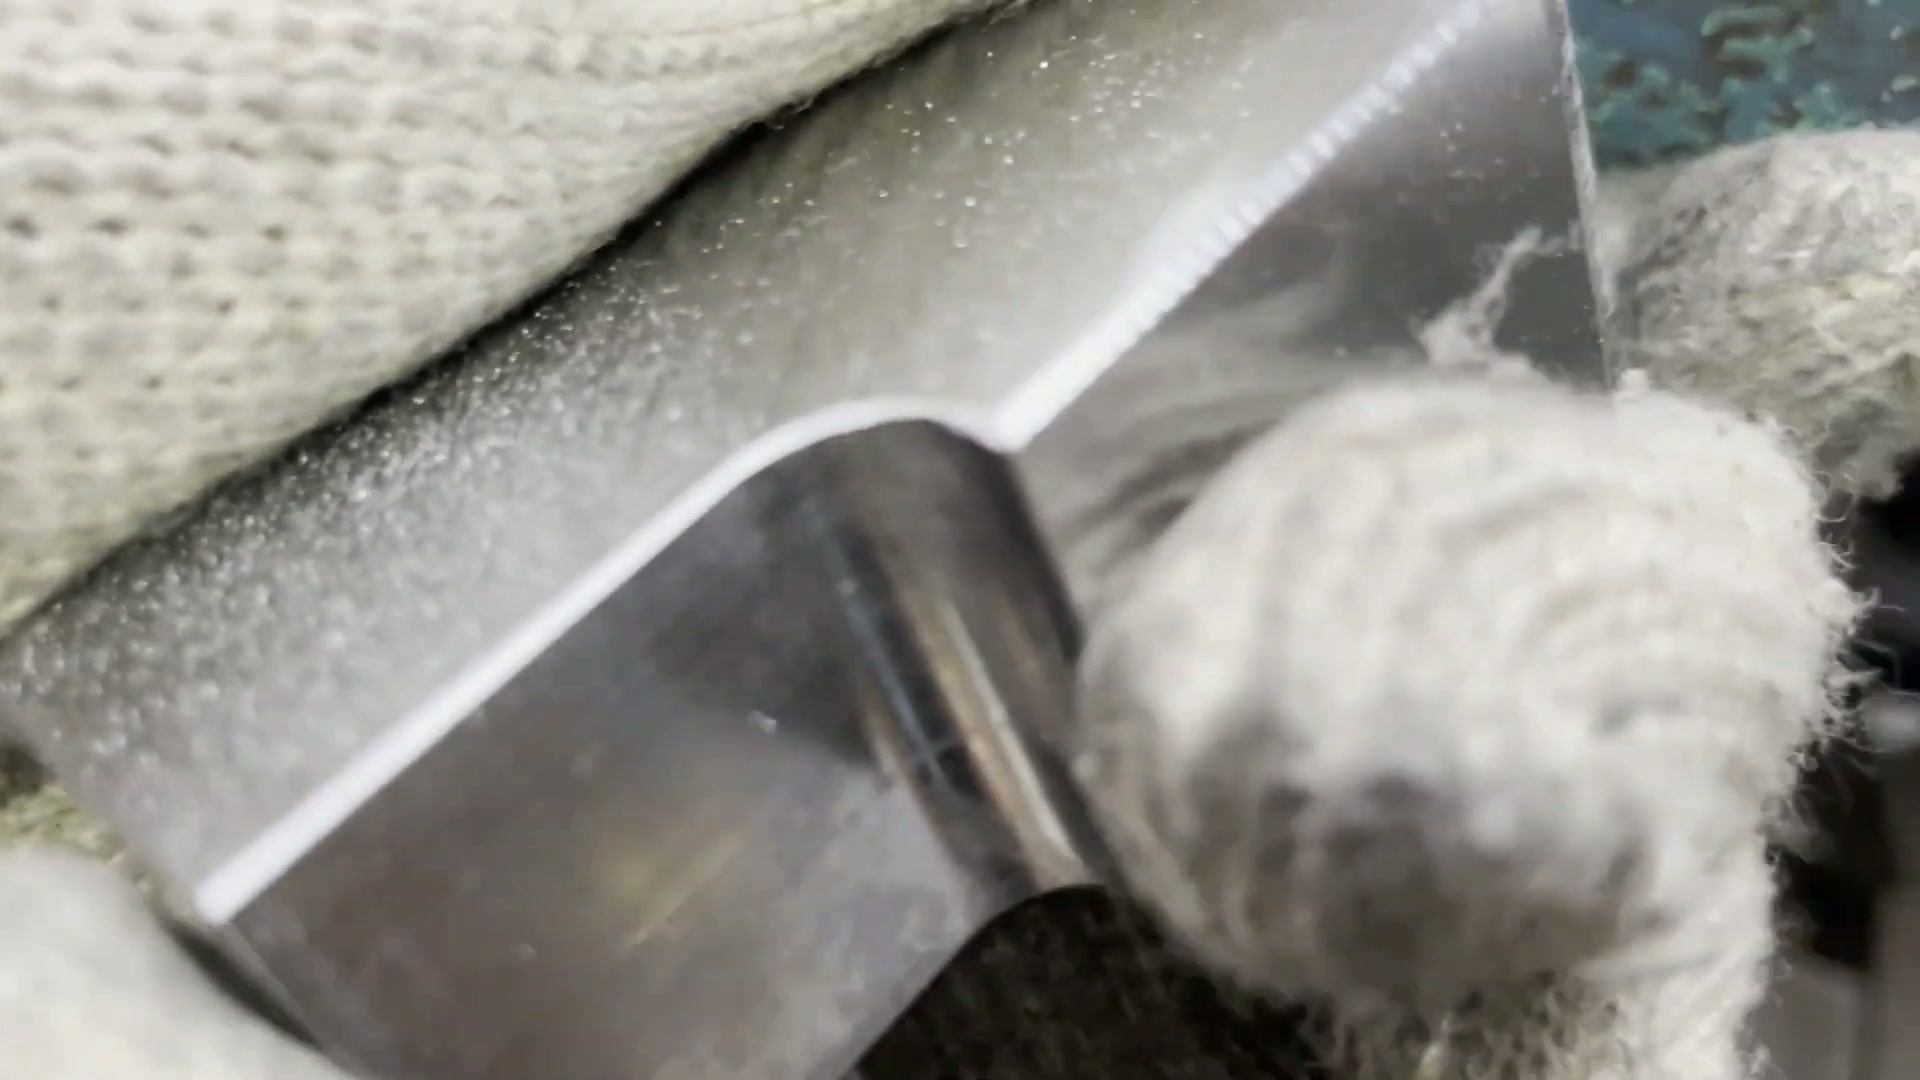
Make a final short, light pass and confirm there is no burr and the radius is formed.
バリないよ ちゃんとRになってる最後にここでスーッとこさわる 説明したコツのあれやね これバリ取り取らへんはずよ ヤスリバリがなくなったAI drafted this step from the speech or on-screen source text below. Practitioner approval is required before formal use.
Feel the face; verify width and snagging
File the long edge while feeling the face, checking that the filed width stays consistent from start to finish. Touch the edge to confirm it does not snag or collect fibers.
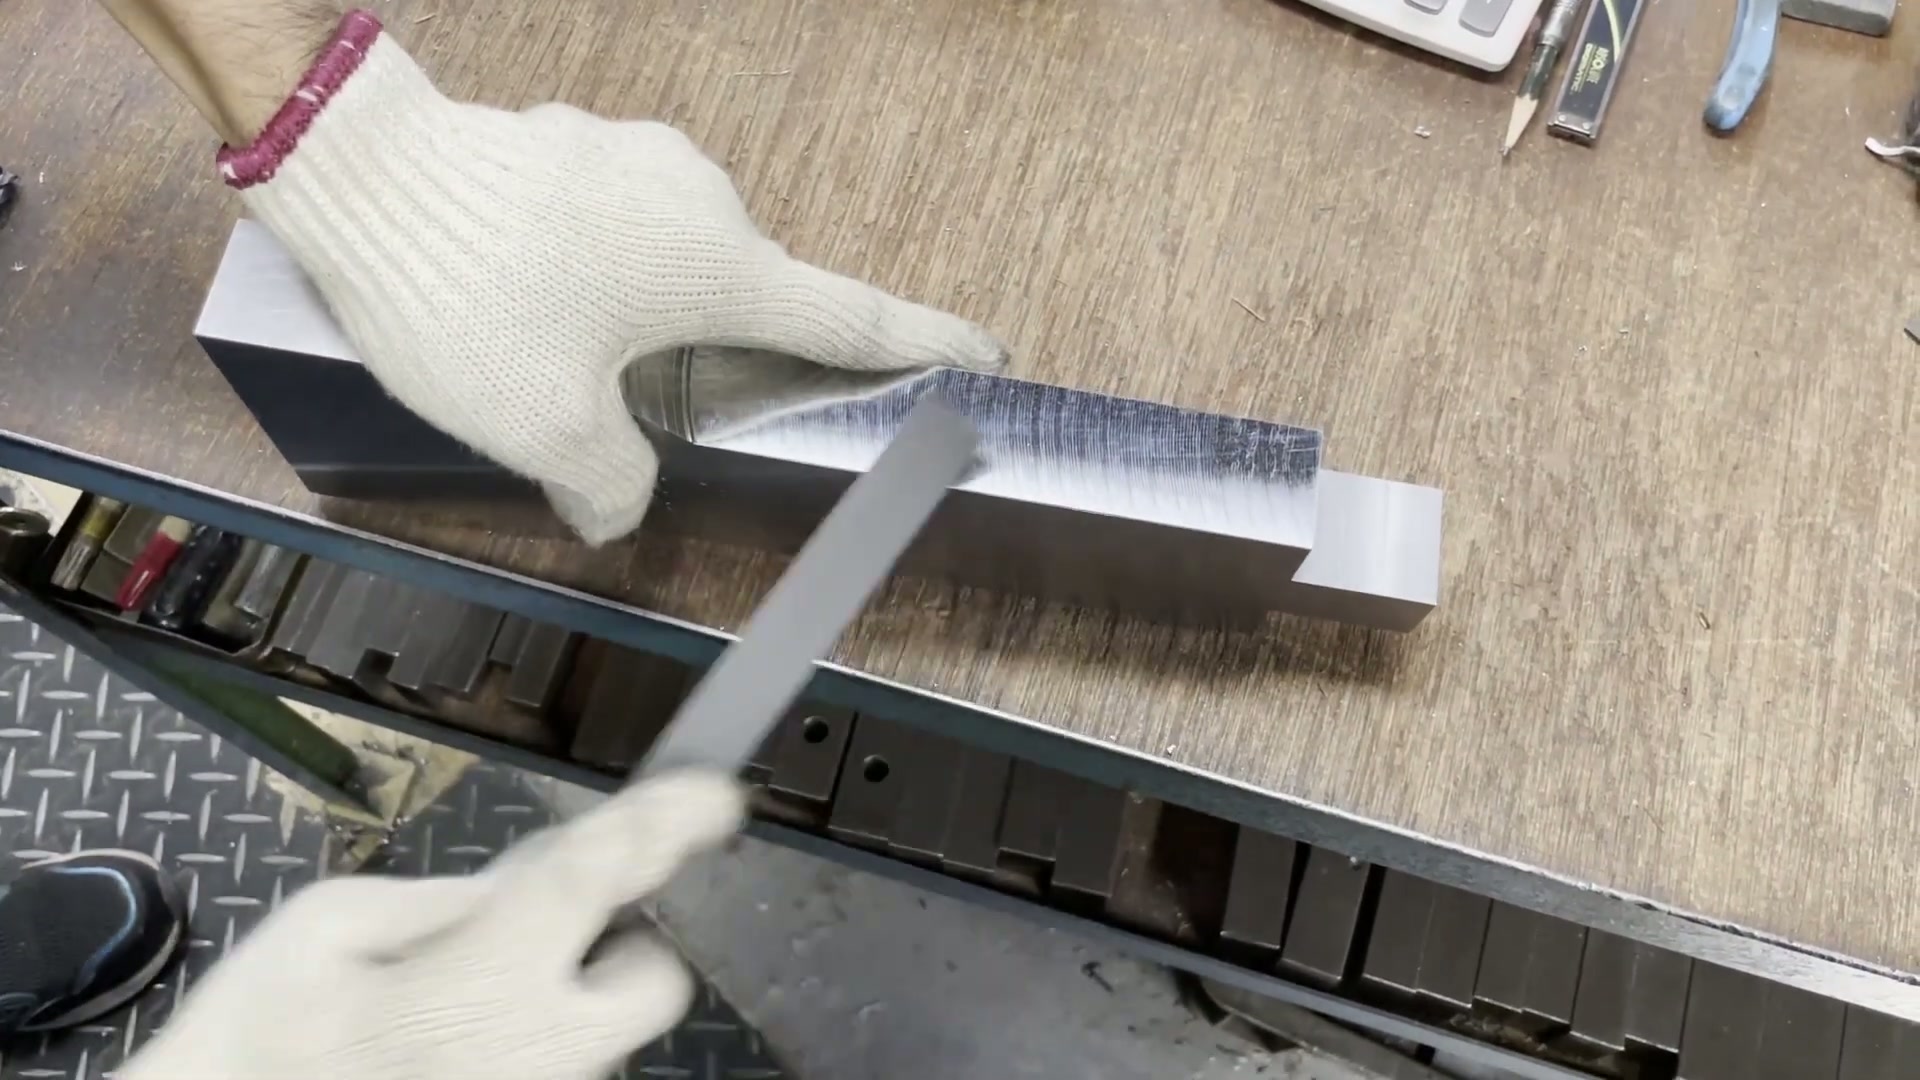
Move the file along the long edge while maintaining a feel for the face.
よし、最後にこんなでっかいのの おお、でか これはアルビキュアでも適当にやってもいいもんださ 面を感じながらね、かけてみようか。AI drafted this step from the speech or on-screen source text below. Practitioner approval is required before formal use.
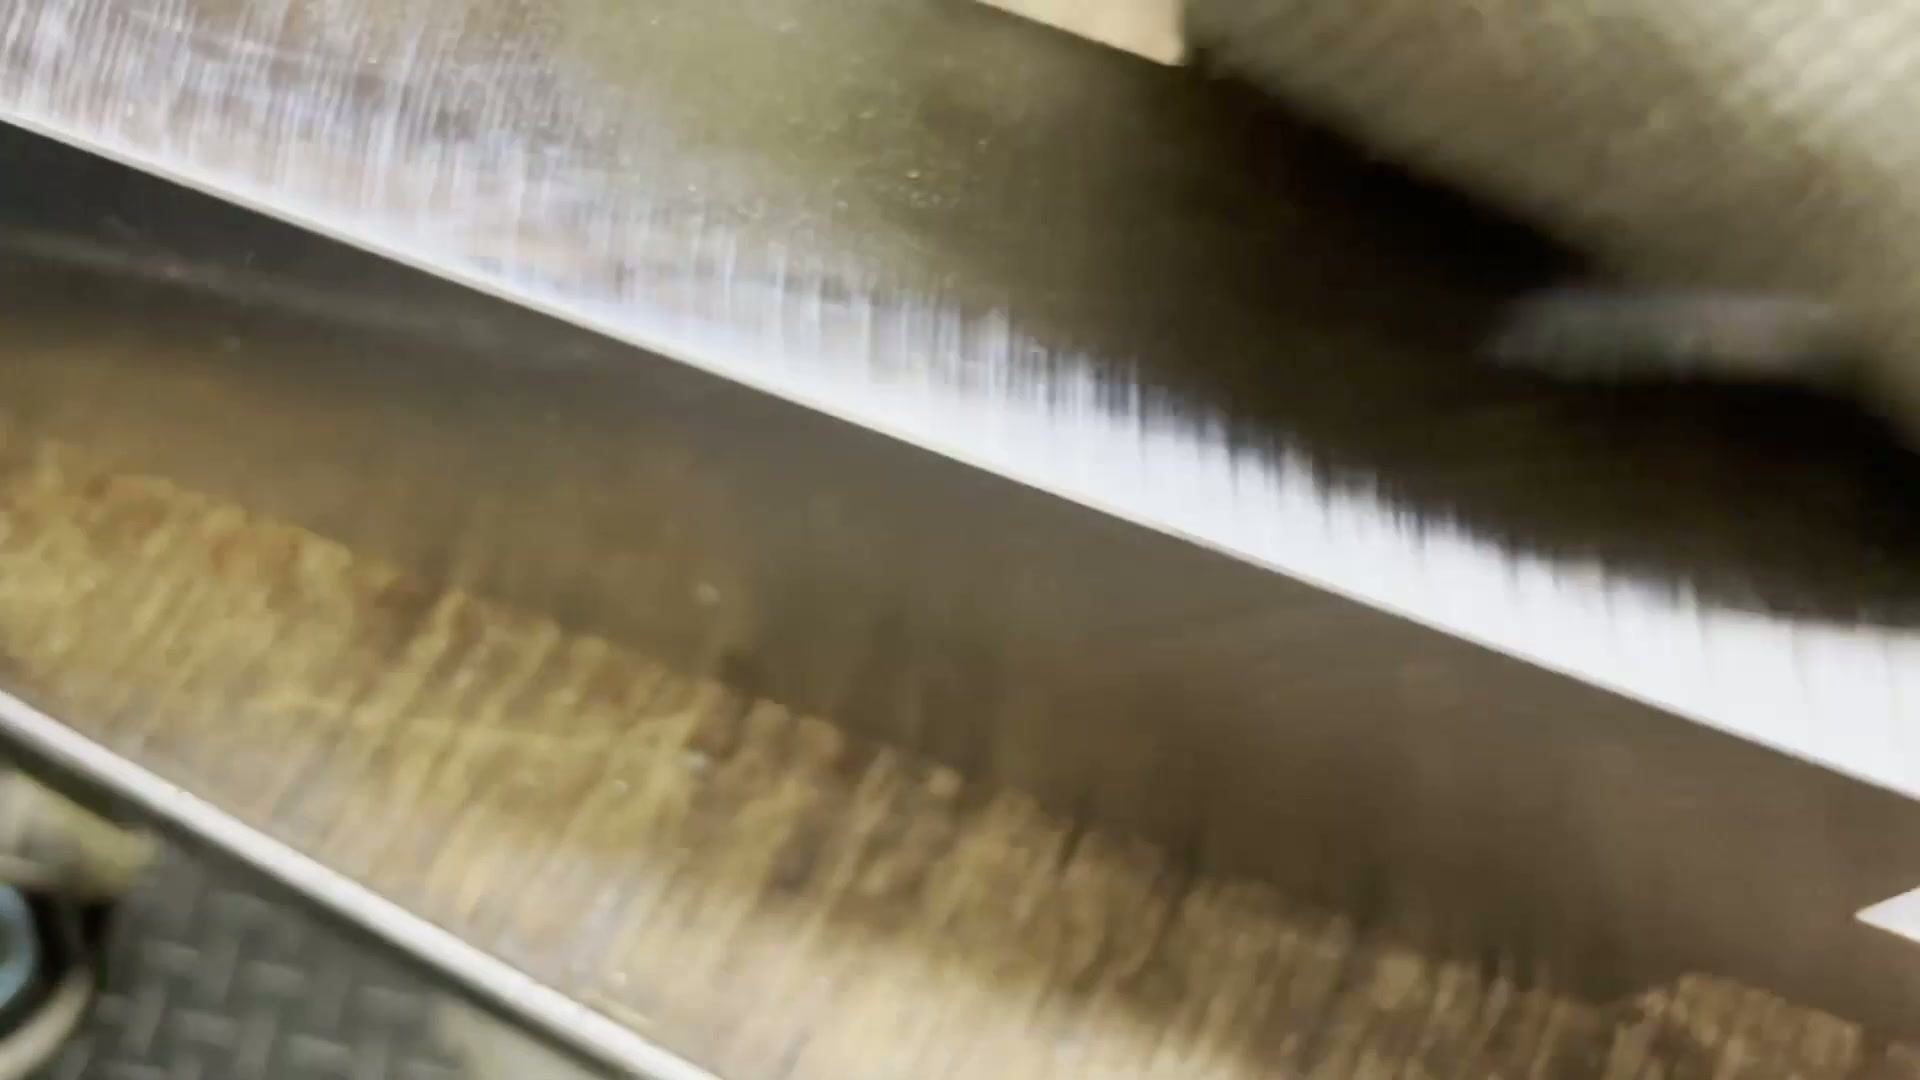
Inspect whether the filed band has the same width from start to finish.
Why
The practitioner uses width consistency as a criterion for clean filing.
ヤスリの綺麗さっていうのはね、ここのサイズがどれだけ揃ってるかなんだよ。最初から最後まで。 この削ったこの感じが。 幅ってこと?AI drafted this step from the speech or on-screen source text below. Practitioner approval is required before formal use.
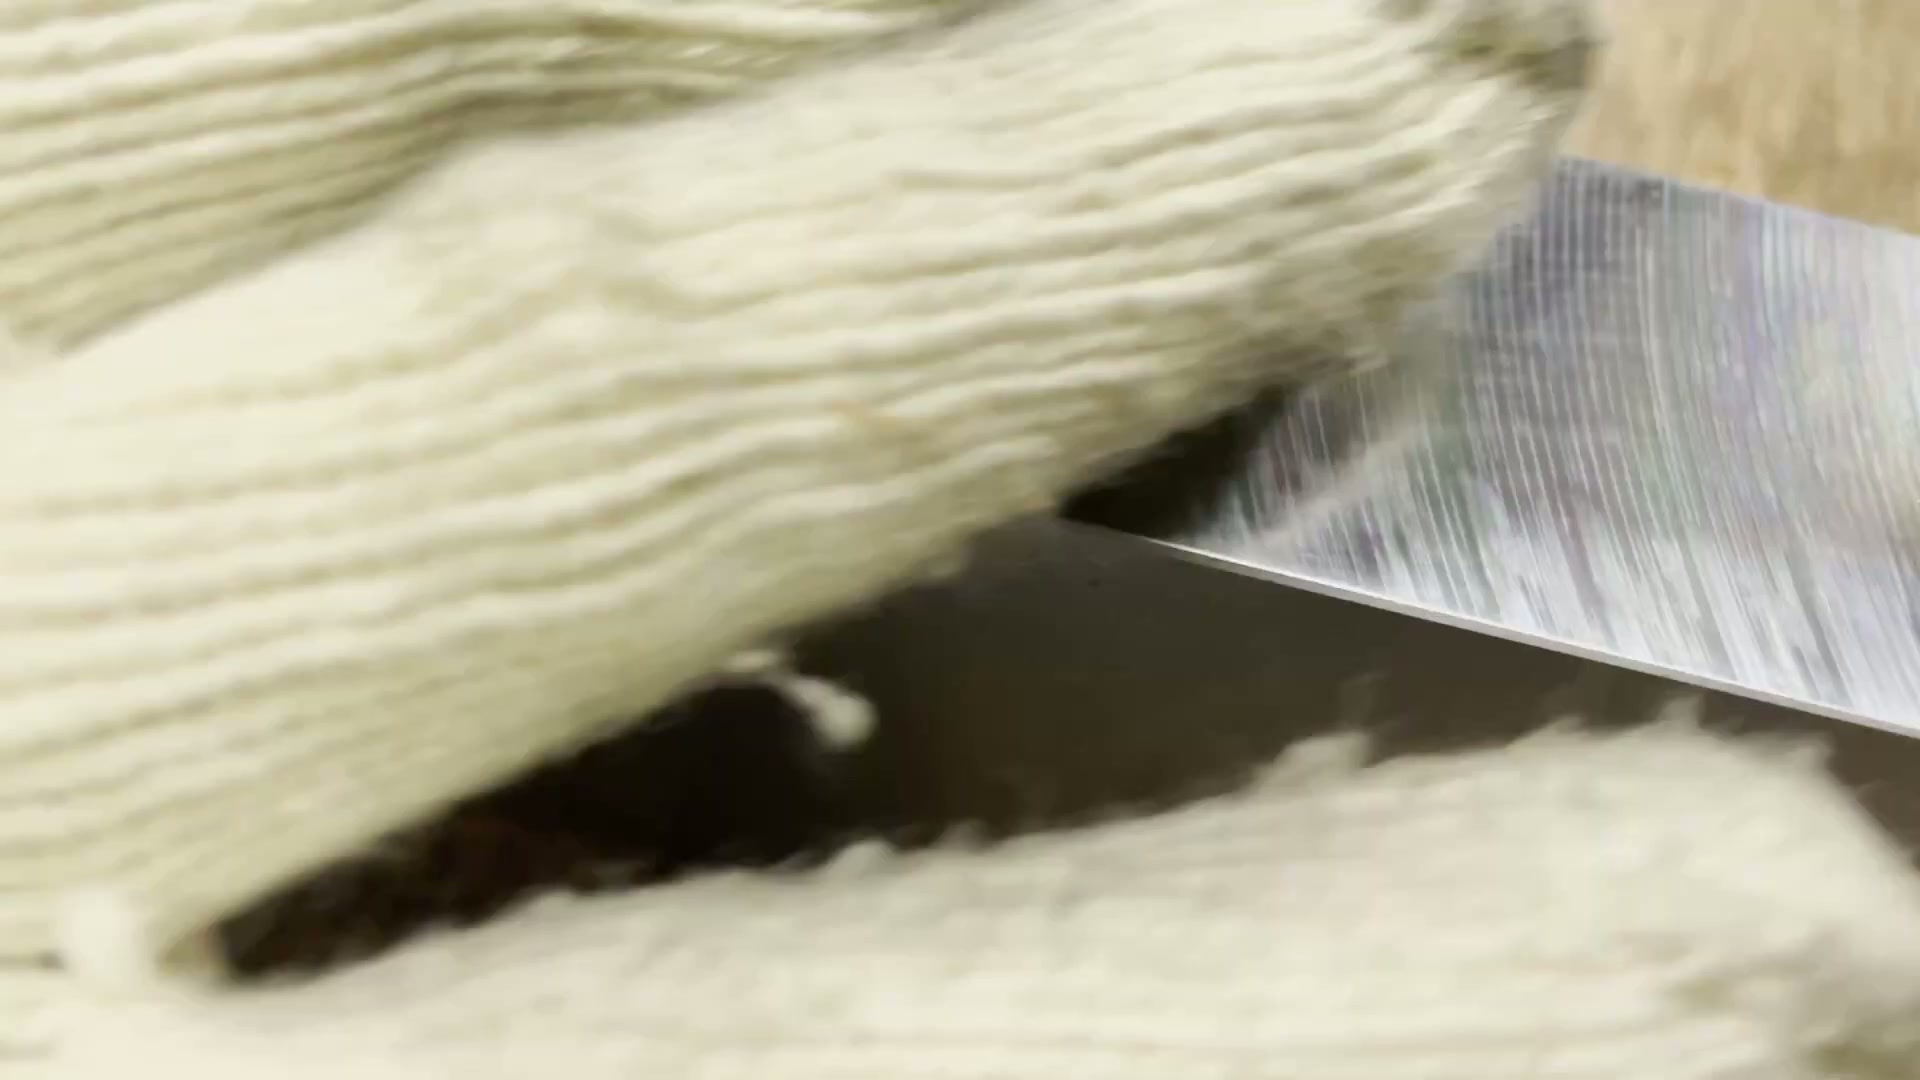
Finally touch the edge and check for snagging or fibers catching on it.
最後に触ったでしょ? これでバレてないんだよ 引っかかってない 毛も付いてないAI drafted this step from the speech or on-screen source text below. Practitioner approval is required before formal use.
Continue with this source
Switching views preserves the same source hash across instruction, analysis, skill structure, evidence, and human review.