AI draft · Human review pending

Visual learning guide · v0.1

Filing Fundamentals — From File Choice to Surface Finish

Choose the tool, create the surface, verify the finish.

SOURCE FRAME

【職人の道具】初心者向け ヤスリの使い方

0:10

Executive summary

The practitioner distinguishes file size, cut and profile for the area, removes saw and hammer irregularities, and progresses from coarse to fine files. He uses sheen and a straightedge on flat faces, contact patterns and a smooth line on curves, then demonstrates bracing the work and cutting on the push stroke.

8 Source-backed
04

Learning routes

13

Evidence-backed steps

01

Source video

Compare all sources

Source-by-source perspectives

Keep the sources separate and inspect what each one contributes.

Video 1 · Workshop filing

家内事業町工場の日々

3 Learning routes

The practitioner changes how the file is presented for L-shaped corners, radiused curves and long straight edges, checking surface feel, missed areas, burrs, filed width and snagging.

  • Finish an L-shaped corner
  • Finish a radiused curve
  • True a long straight edge
Open this guide

Video 5 · Kyoto engraver

えいじいちゃんねる 京都の金工職人

4 Learning routes

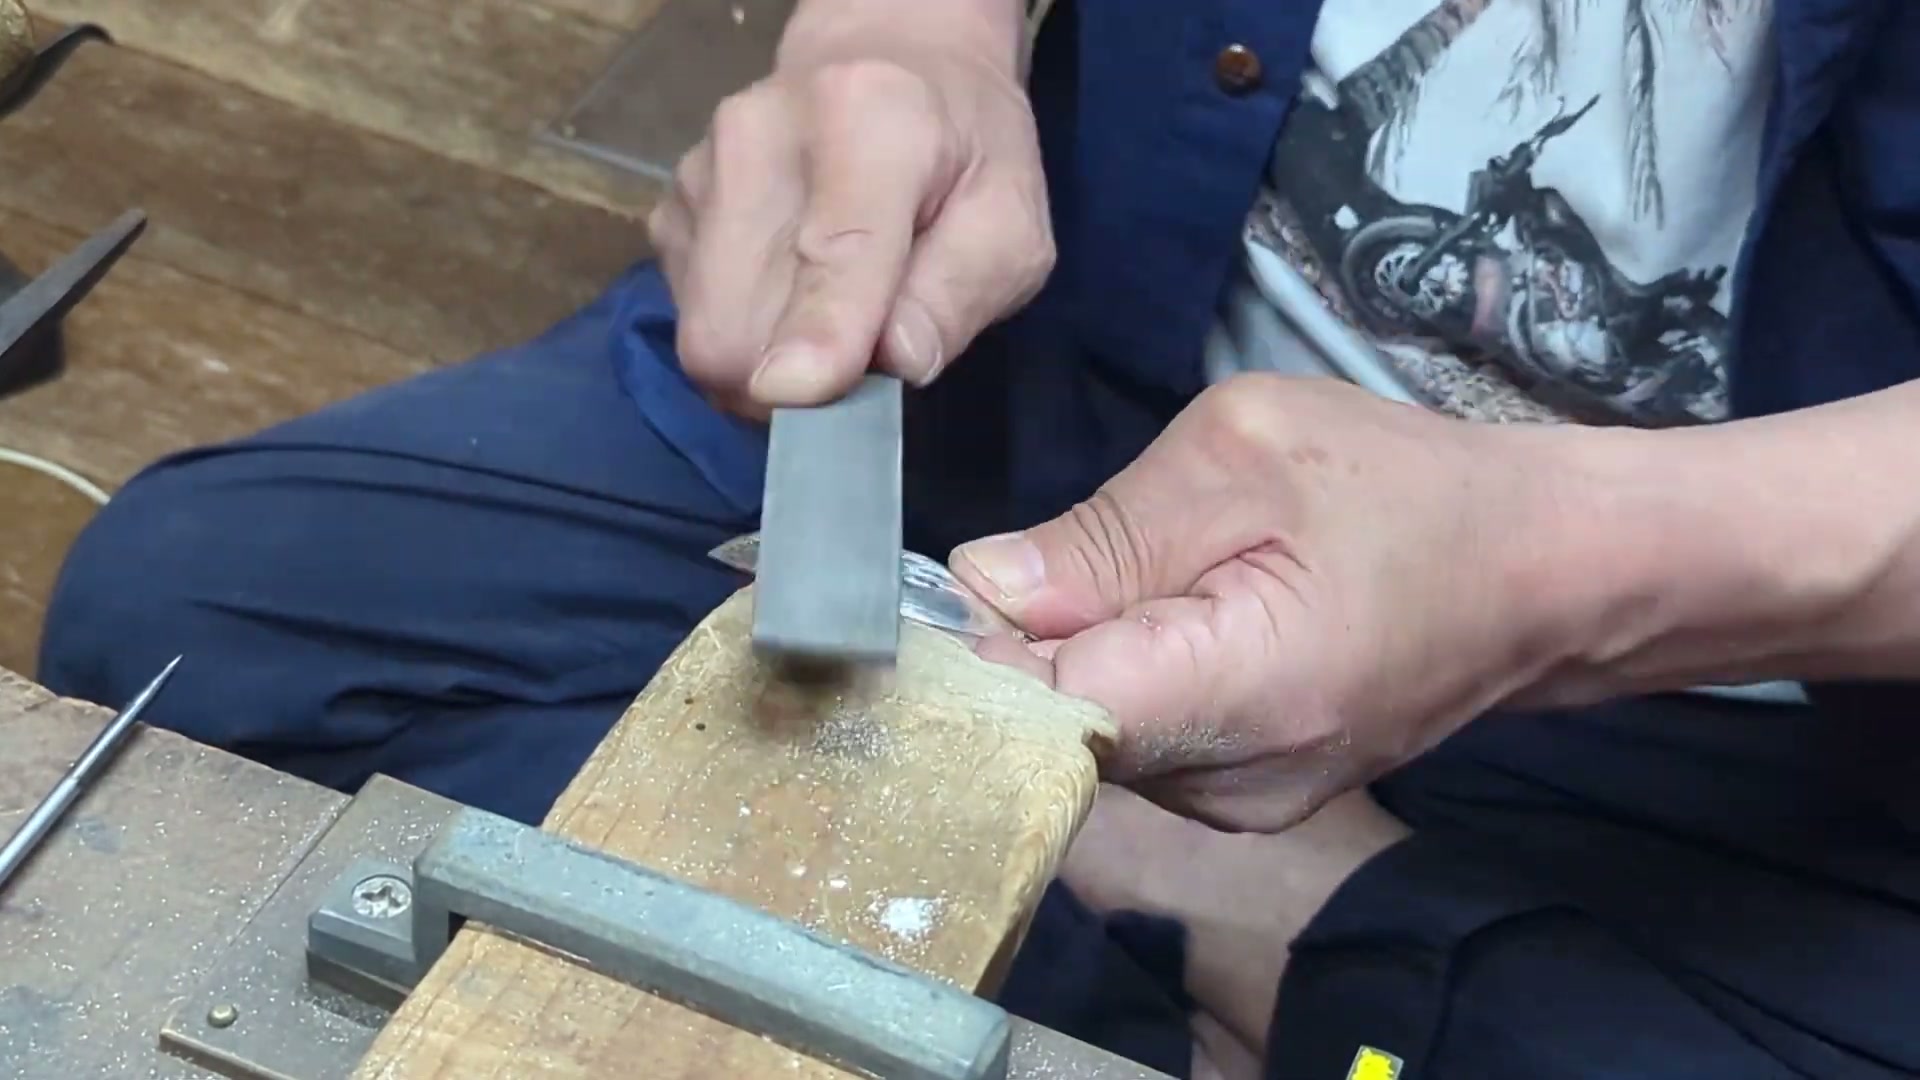
The practitioner distinguishes file size, cut and profile for the area, removes saw and hammer irregularities, and progresses from coarse to fine files. He uses sheen and a straightedge on flat faces, contact patterns and a smooth line on curves, then demonstrates bracing the work and cutting on the push stroke.

  • Choose a file for the area
  • Finish a sawn edge flat
  • Smooth a hammer-marked curve
  • Cut on the push stroke
Selected

Video 6 · Dayel grinder

Dayel Diesel

3 Learning routes

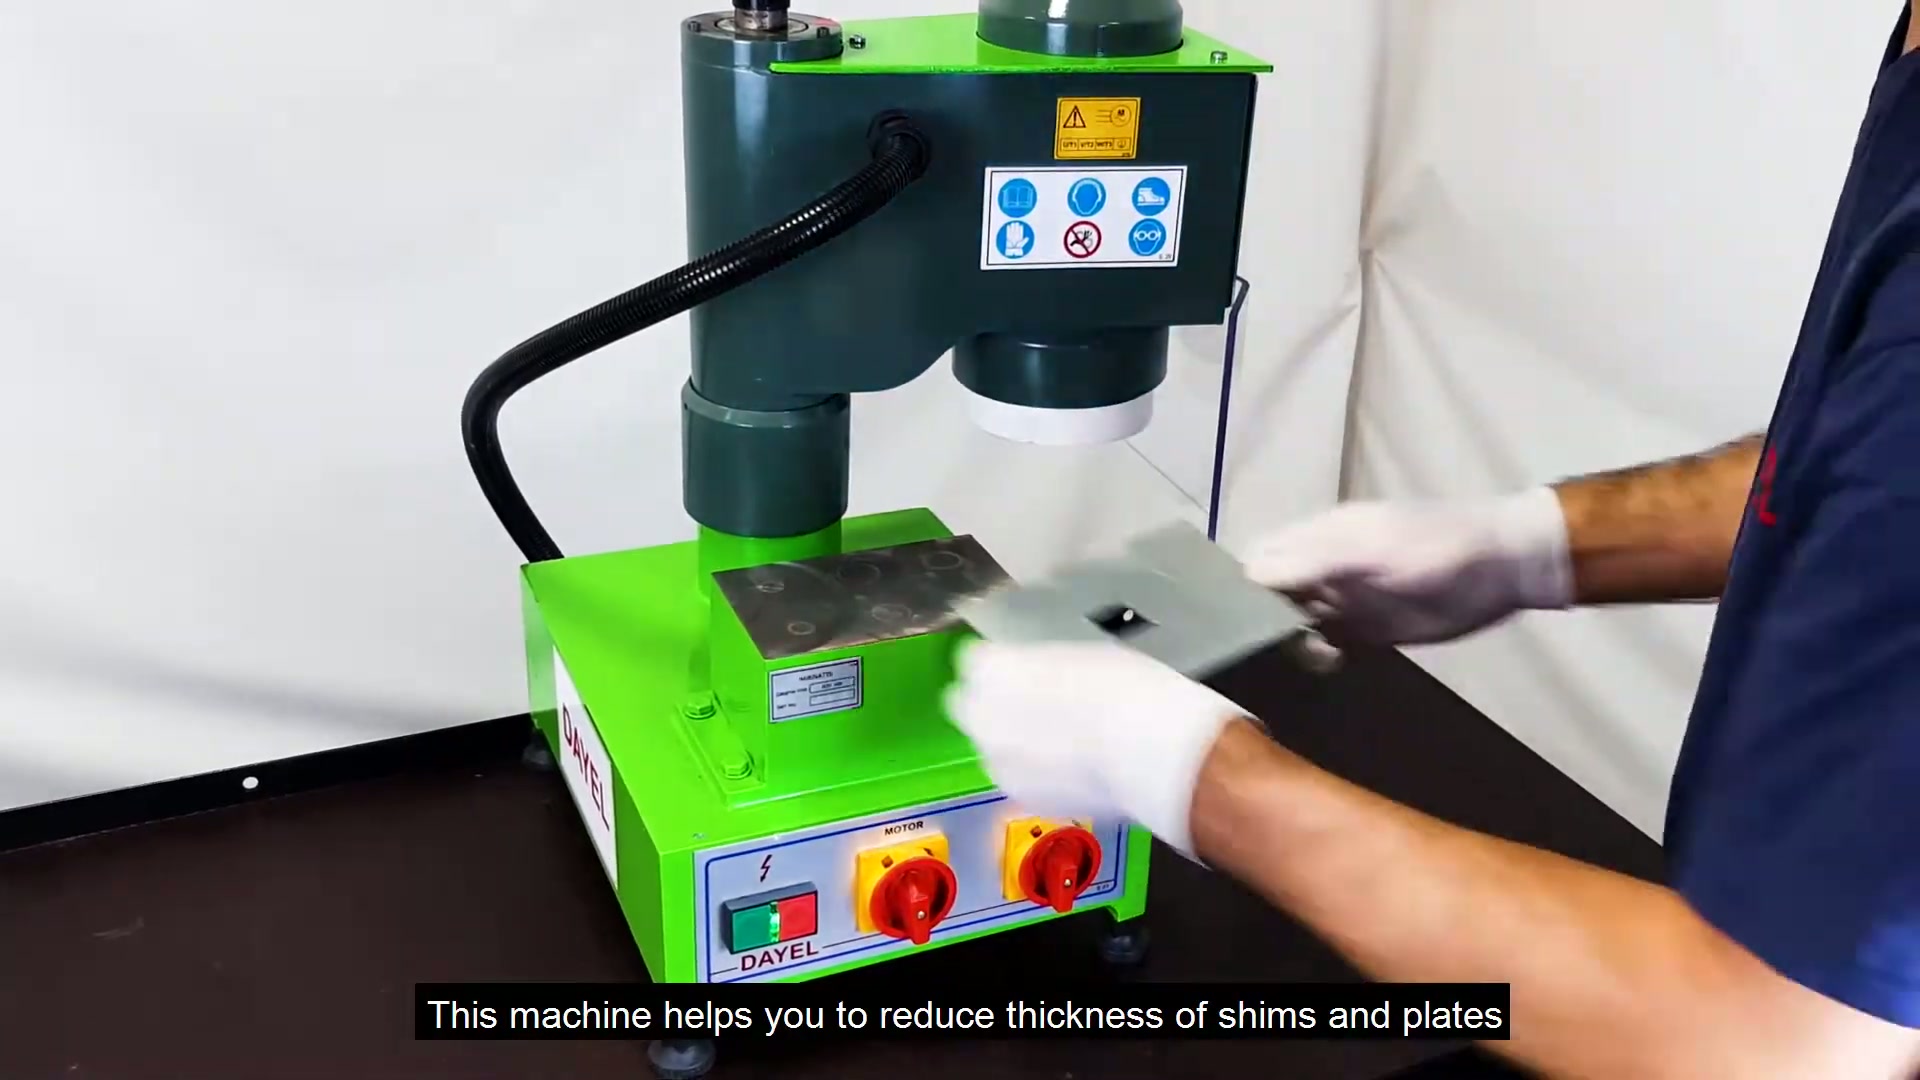
The video states a thickness-reduction purpose, powered magnetic table, digital Z adjustment and manual X movement, transparent cover, supported part types, auxiliary plates, motor and single-phase supply. It does not explain operating sequence, settings, stopping criteria or inspection.

  • Stated purpose and workholding
  • Cover, part types and auxiliary plates
  • Stated motor and supply
Open this guide

Video 7 · DONGTAI compact grinder

Ying Zhang / DONGTAI

4 Learning routes

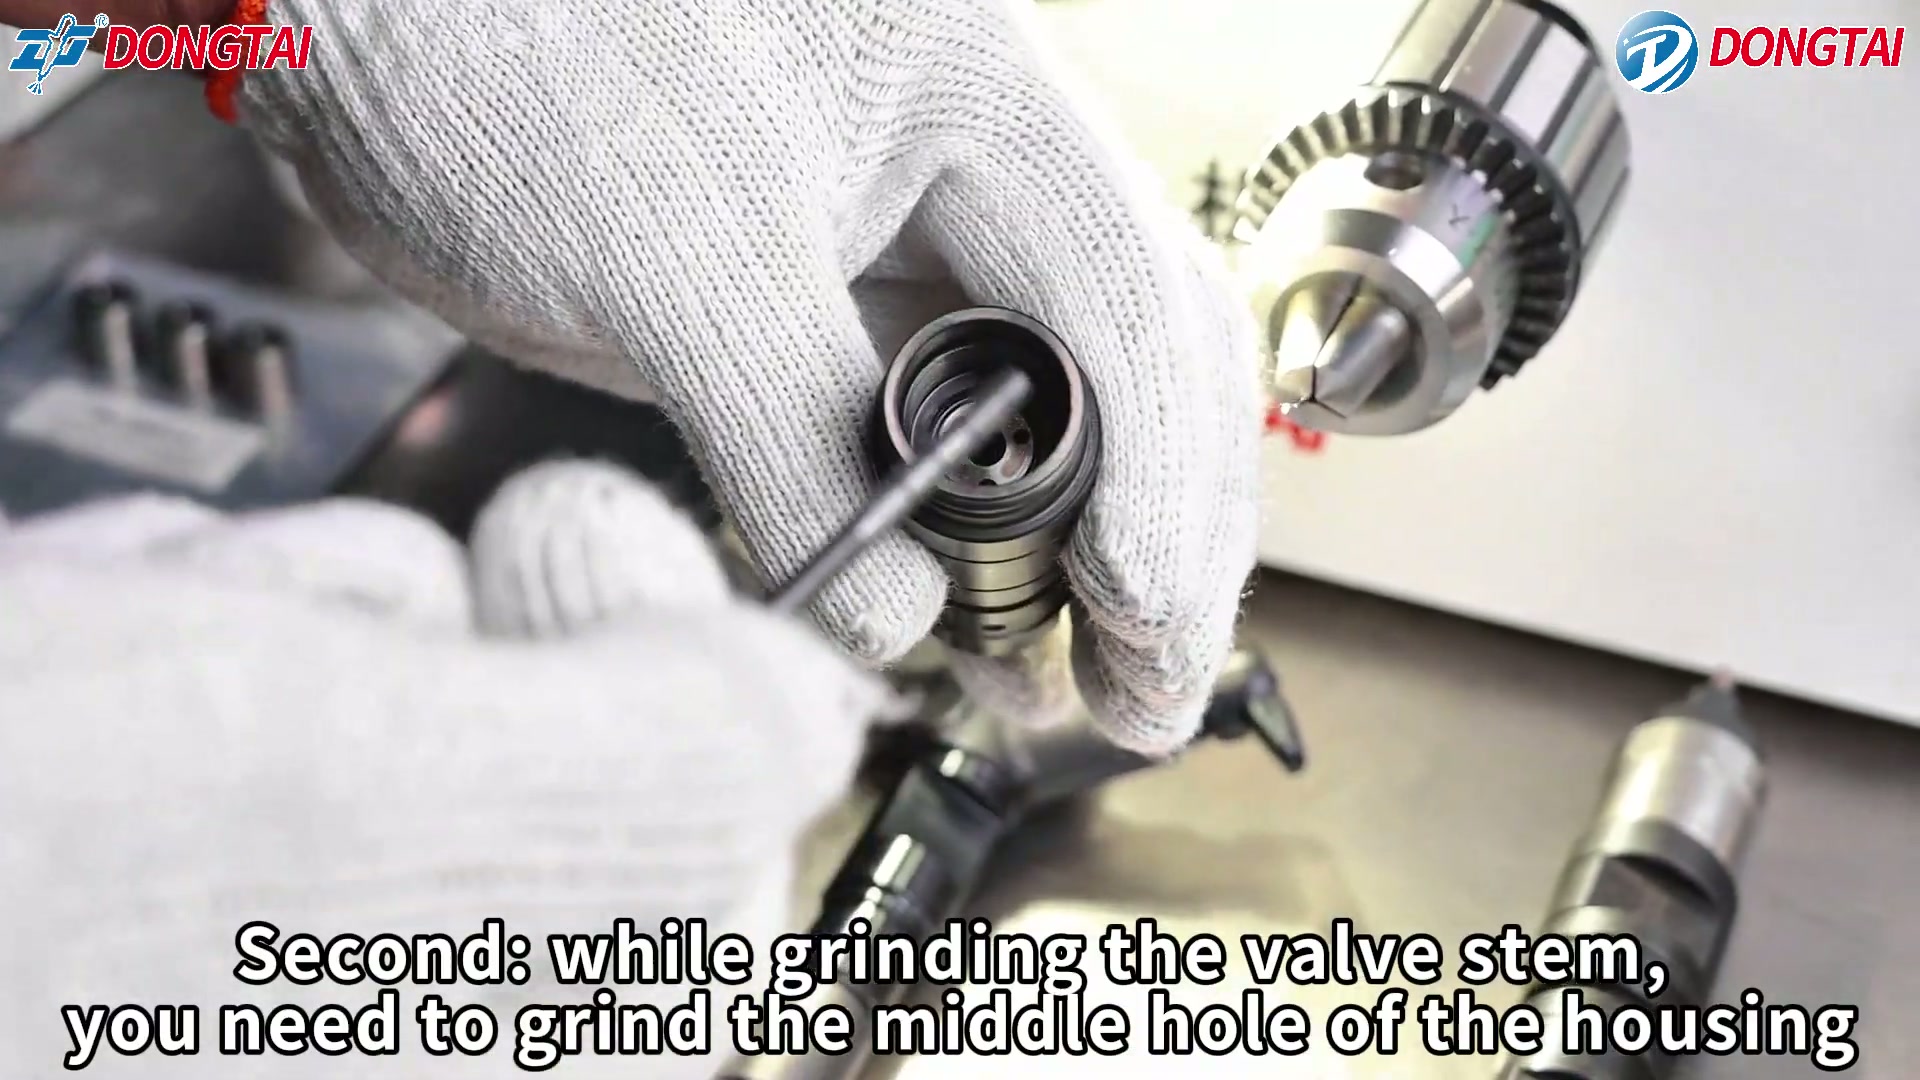
The on-screen text covers direction, light, start and speed controls; an order for valve-stem and housing-bore work; holder selection; forward/back grinding movement; a tapered rod; and diameter, flexibility, stroke and flow checks. There is no expert narration, so terminology and intent require practitioner confirmation.

  • Review controls and the stated sequence
  • Valve-stem sequence shown on screen
  • Tapered-rod sequence shown on screen
  • Housing work and stated checks
Open this guide

Video 8 · Titans ID wheel

Titans of CNC

3 Learning routes

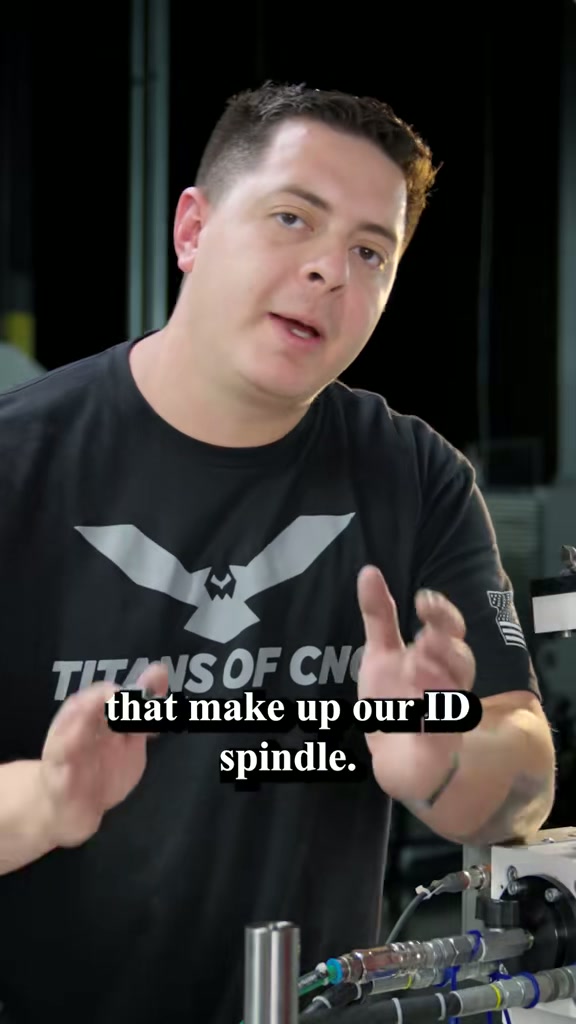
The practitioner shows three components: main shaft, threaded mounting arbor and grinding wheel. He scuffs the arbor face with a file, cleans with alcohol, mixes resin and hardener, coats the arbor, drops on and spins the wheel, then adds epoxy in the centre. He links cleanliness and a good bond to the stated 20,000–30,000 rpm operating range.

  • Identify the three components
  • Prepare the bonding face and epoxy
  • Mount and bond the wheel
Open this guide
01Demonstration module

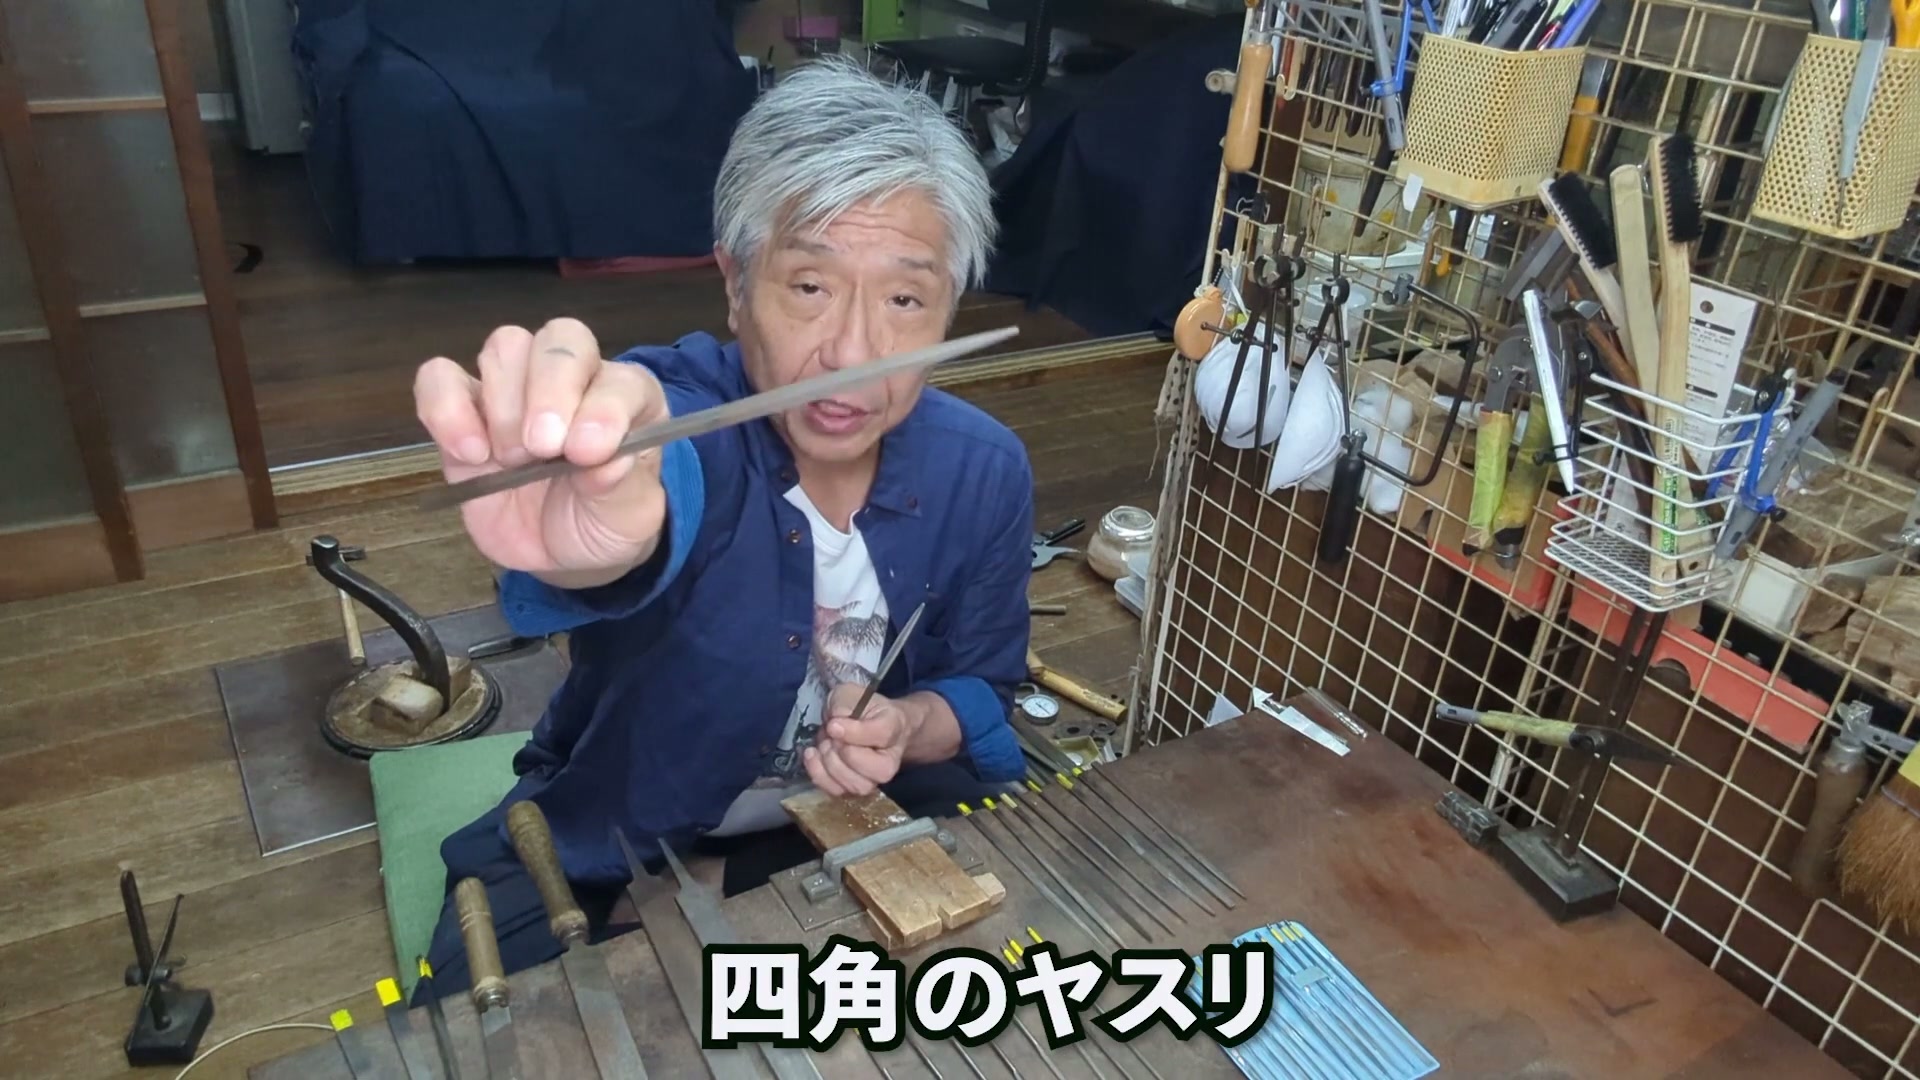
Choose a file for the area

Distinguish size, cut and profile

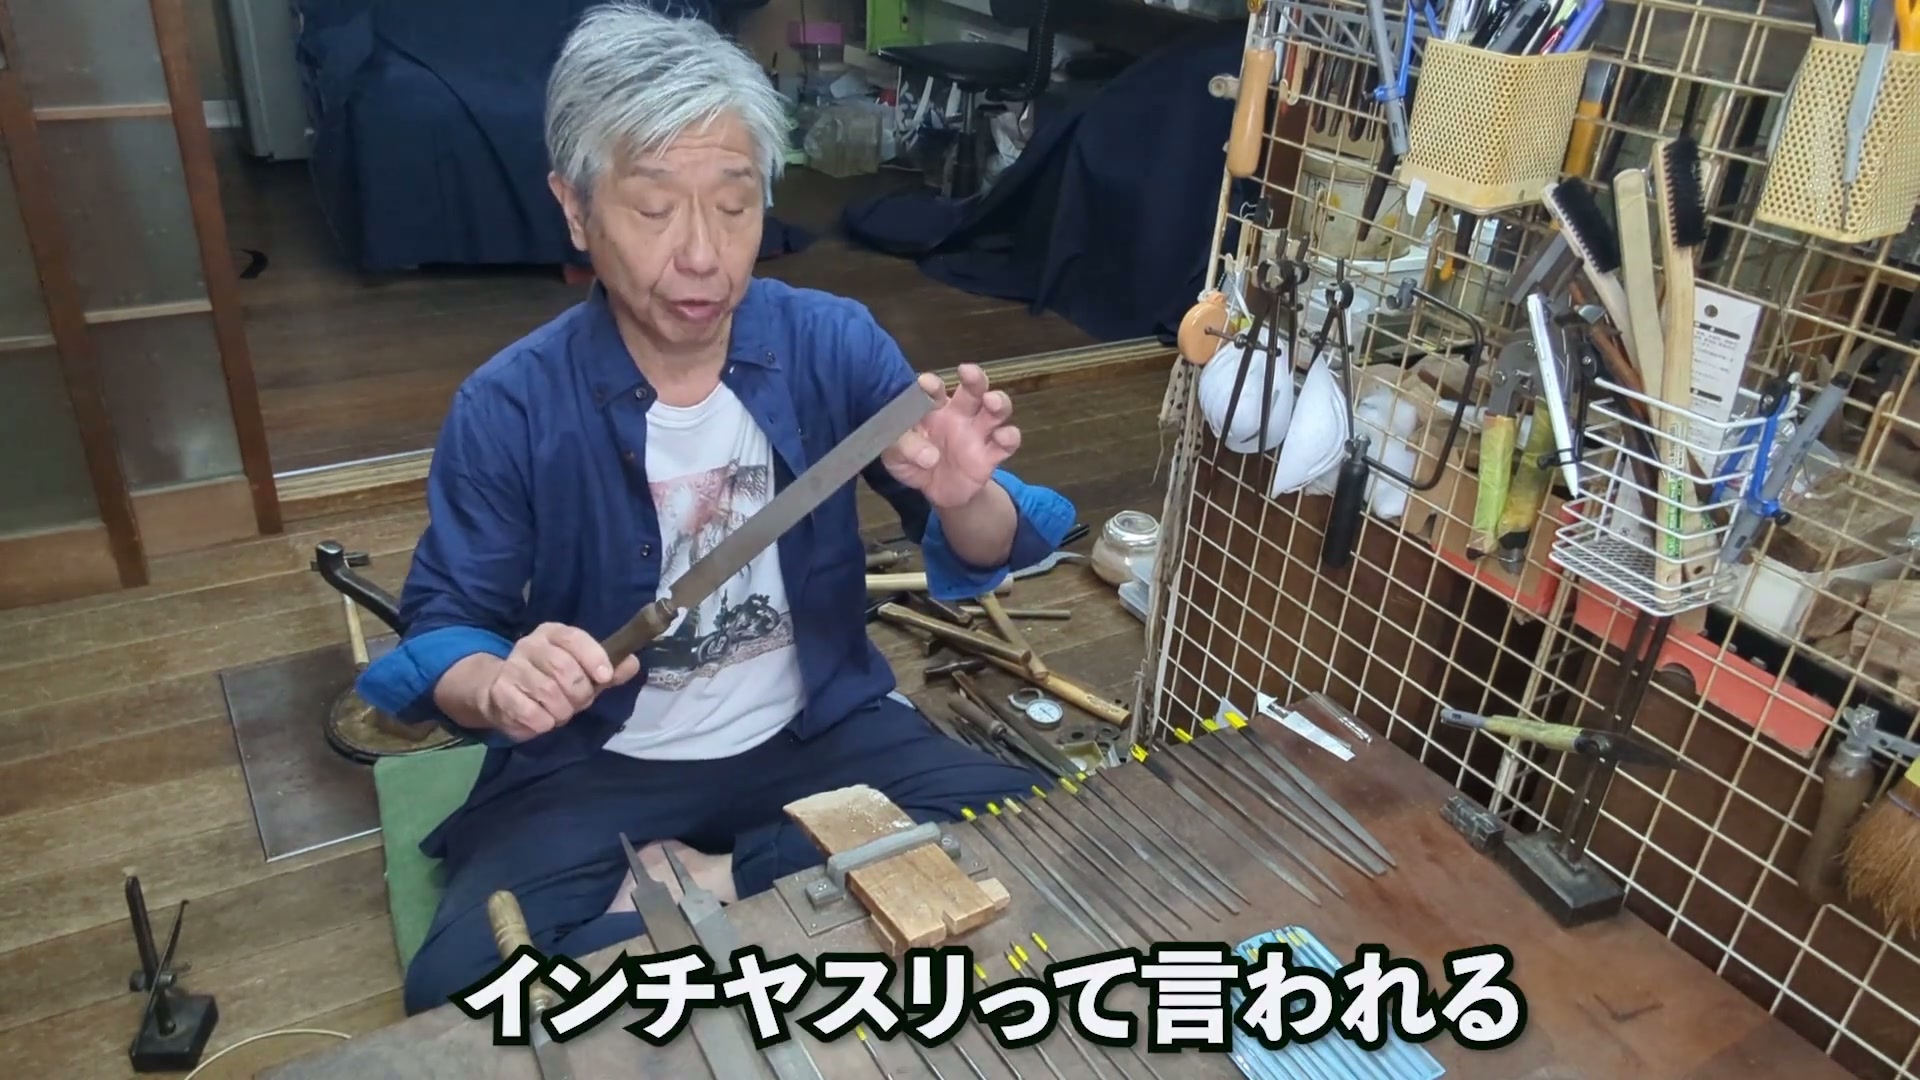
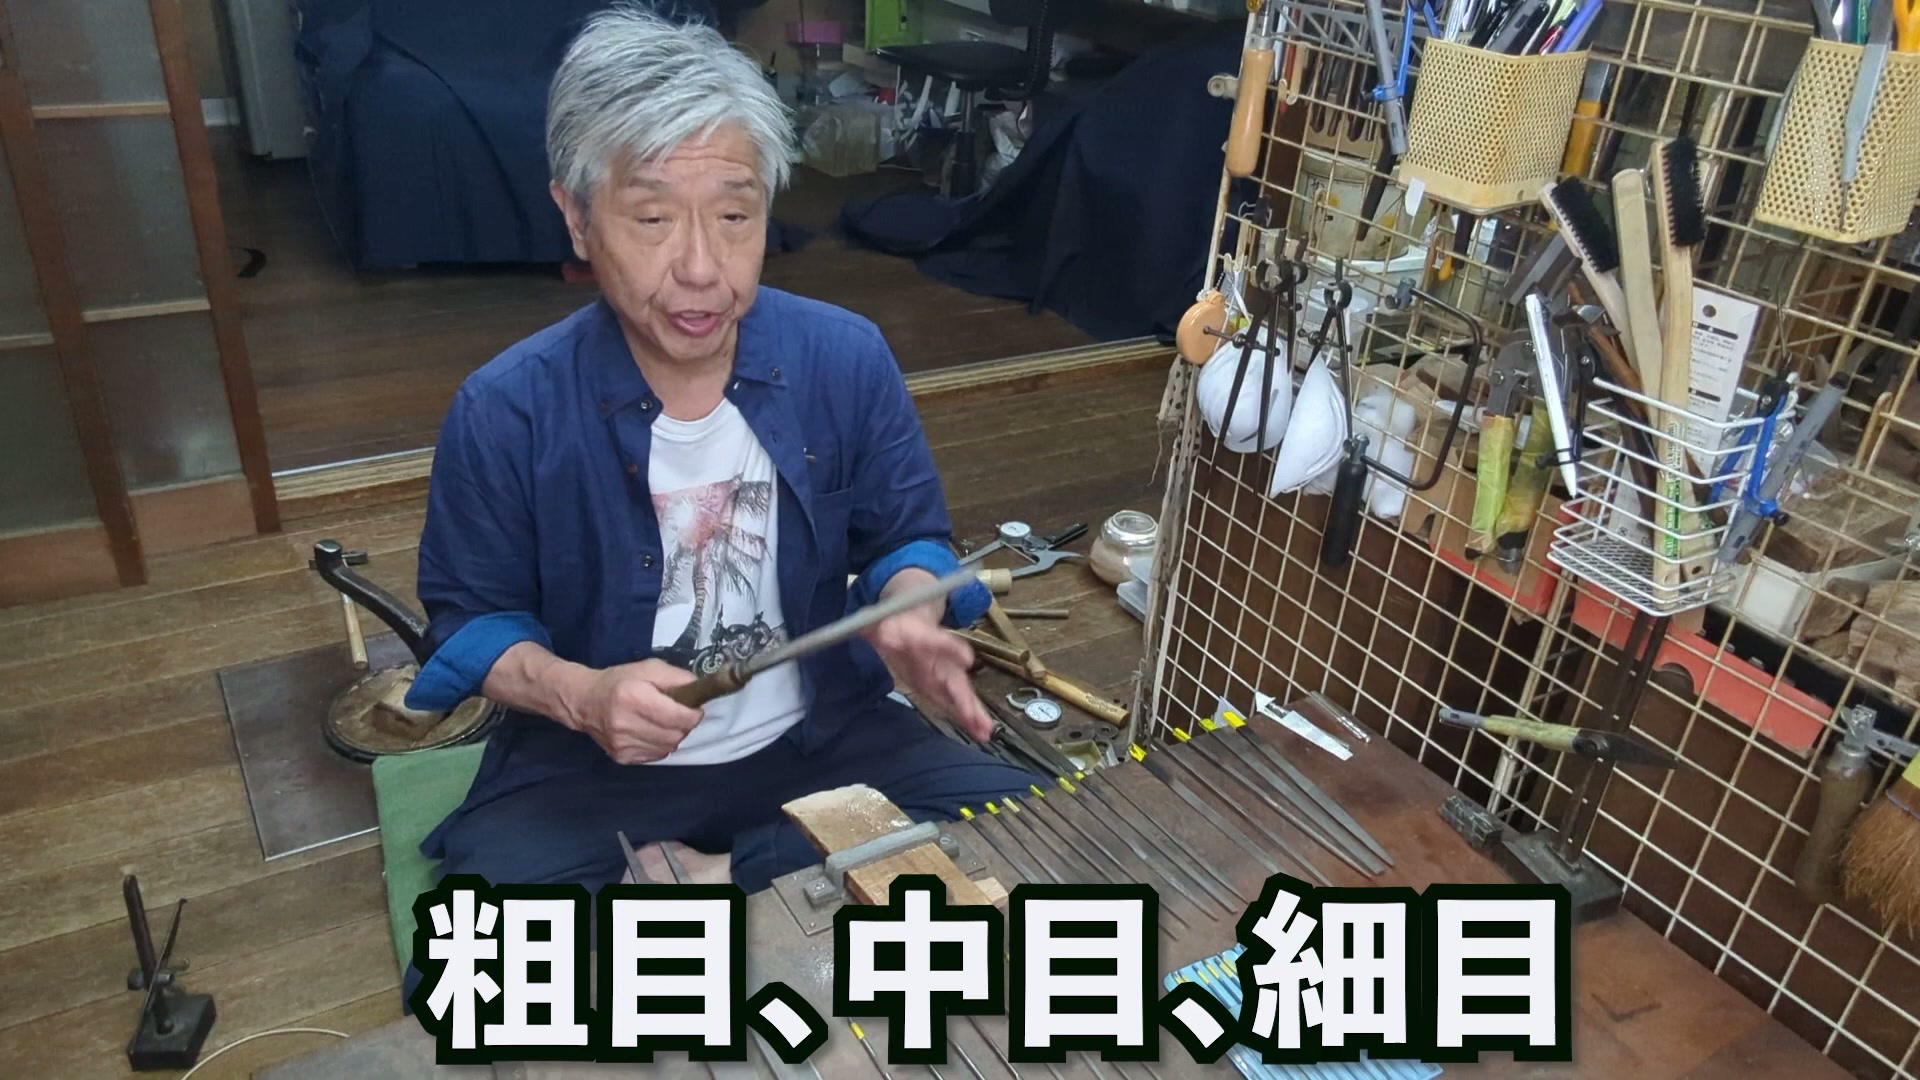
Files differ in size, coarse/medium/fine cut, and profiles such as flat, half-round, triangular and square. The practitioner matches the shape to the area and identifies precision files for fine locations.

Check the available sizes
File size
SOURCE FRAME0:10
1Source-backed

Check the available sizes

Distinguish the large inch file from the smaller file options.

Inspect source evidence
インチヤスリって言われる大きなヤスリがあります。もう少し小さなヤスリもあります。

AI drafted this step from the speech or on-screen source text below. Practitioner approval is required before formal use.

Distinguish the cut grade
Coarse · medium · fine
SOURCE FRAME0:16
2Source-backed

Distinguish the cut grade

Identify whether the file is coarse, medium or fine.

Inspect source evidence
ヤスリの中にも粗め、中め、細めっていうような、ヤスリ自体の粗さの違いもあります。

AI drafted this step from the speech or on-screen source text below. Practitioner approval is required before formal use.

Match the profile to the area
File profile
SOURCE FRAME0:27
3Source-backed

Match the profile to the area

Choose a flat, half-round, triangular, square or other profile for the area; use a precision file for fine locations.

Why

The practitioner explicitly says the filing shape is matched to the location.

Inspect source evidence
平ヤスリ、半丸と言われるヤスリ、三角、四角のヤスリ。場所に合わせて削っていくわけですね。細かなところを削りたいという時に精密ヤスリというのがあります。

AI drafted this step from the speech or on-screen source text below. Practitioner approval is required before formal use.

02Demonstration module

Finish a sawn edge flat

Remove irregularities, refine file marks, check flatness

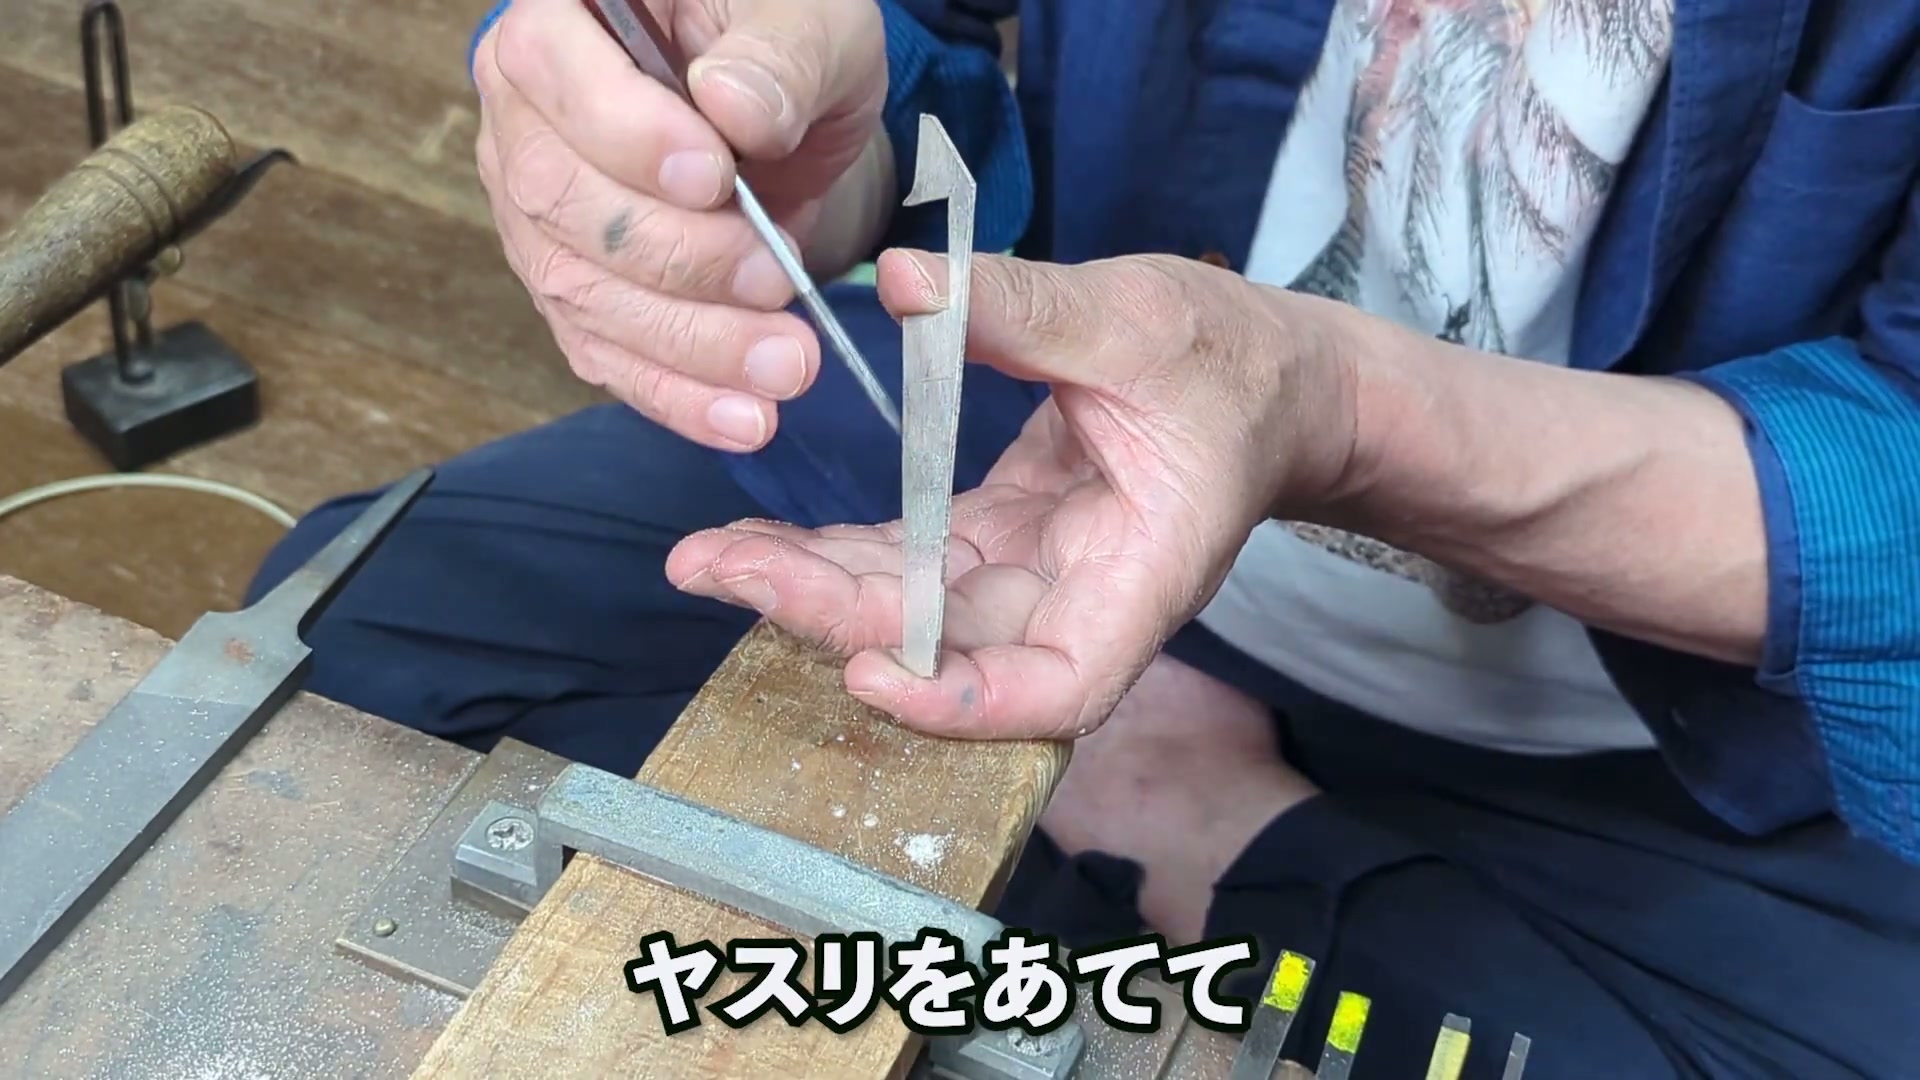
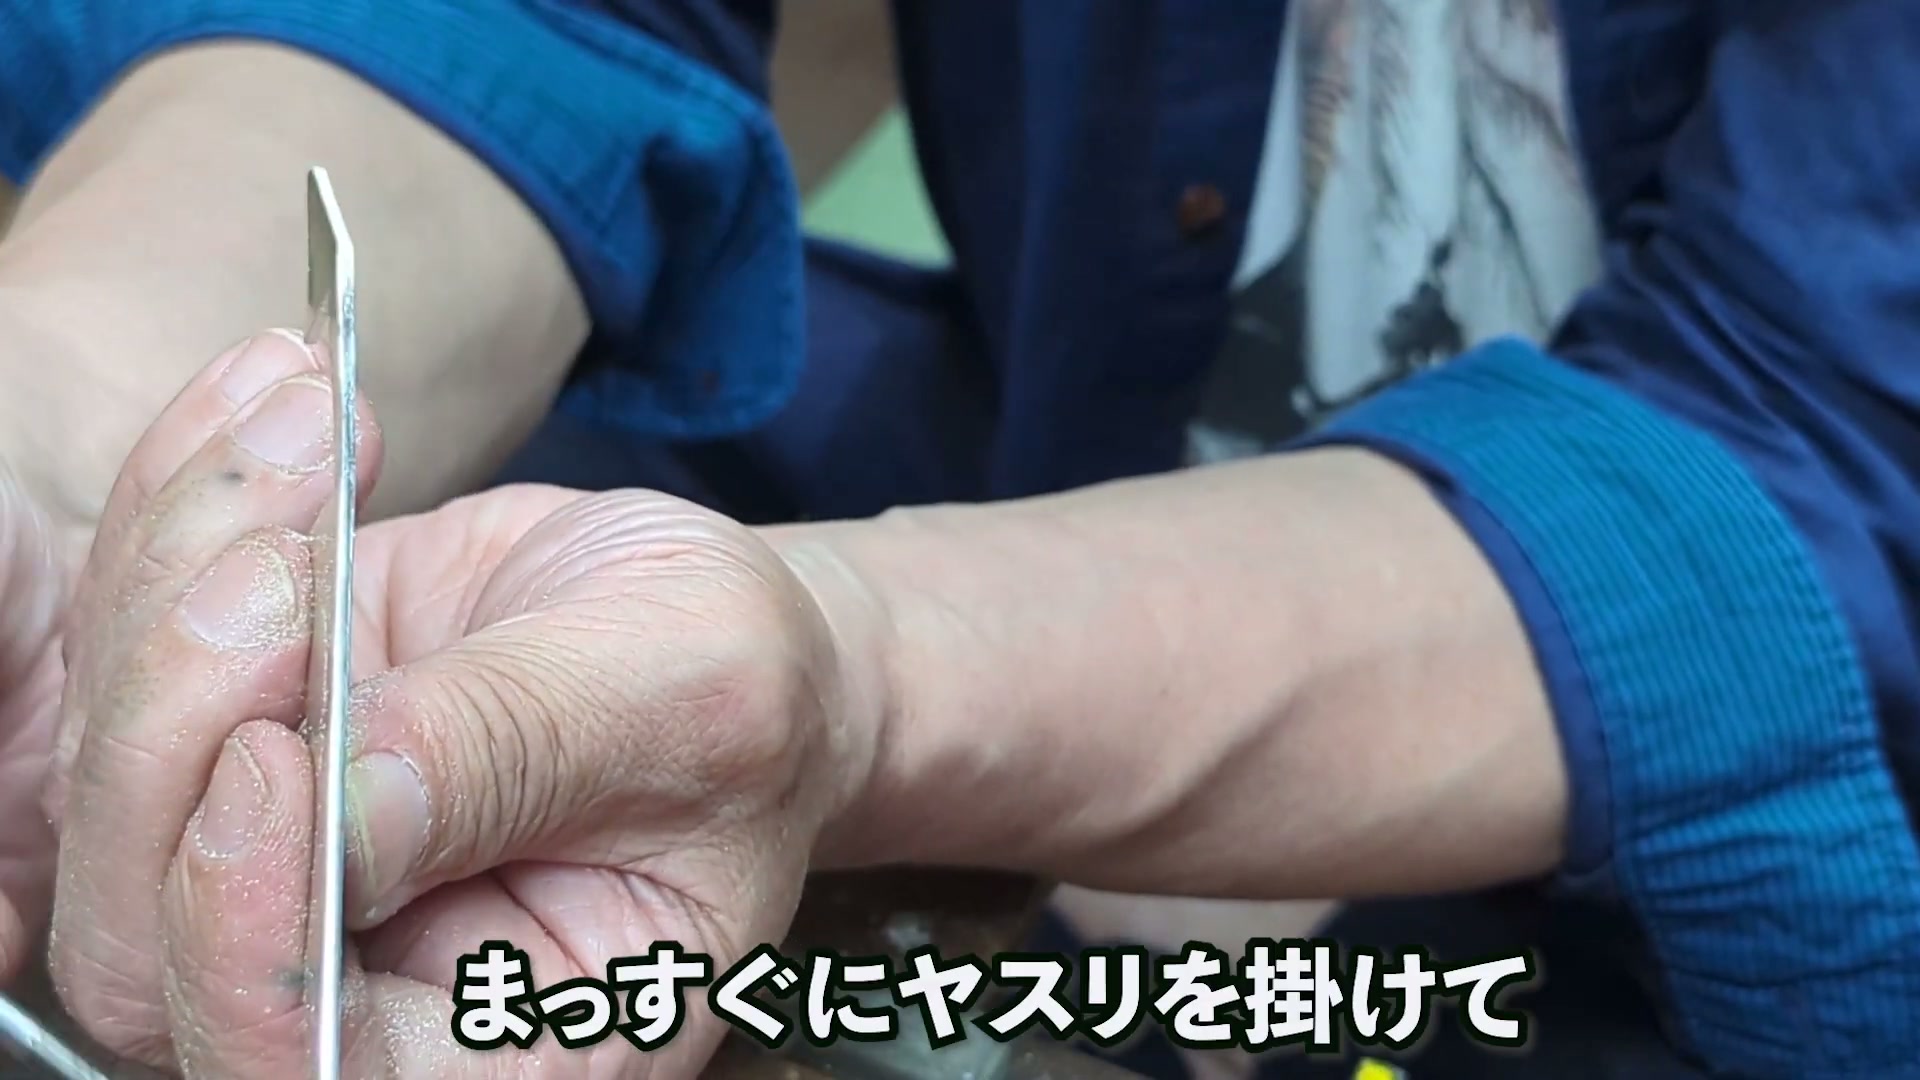
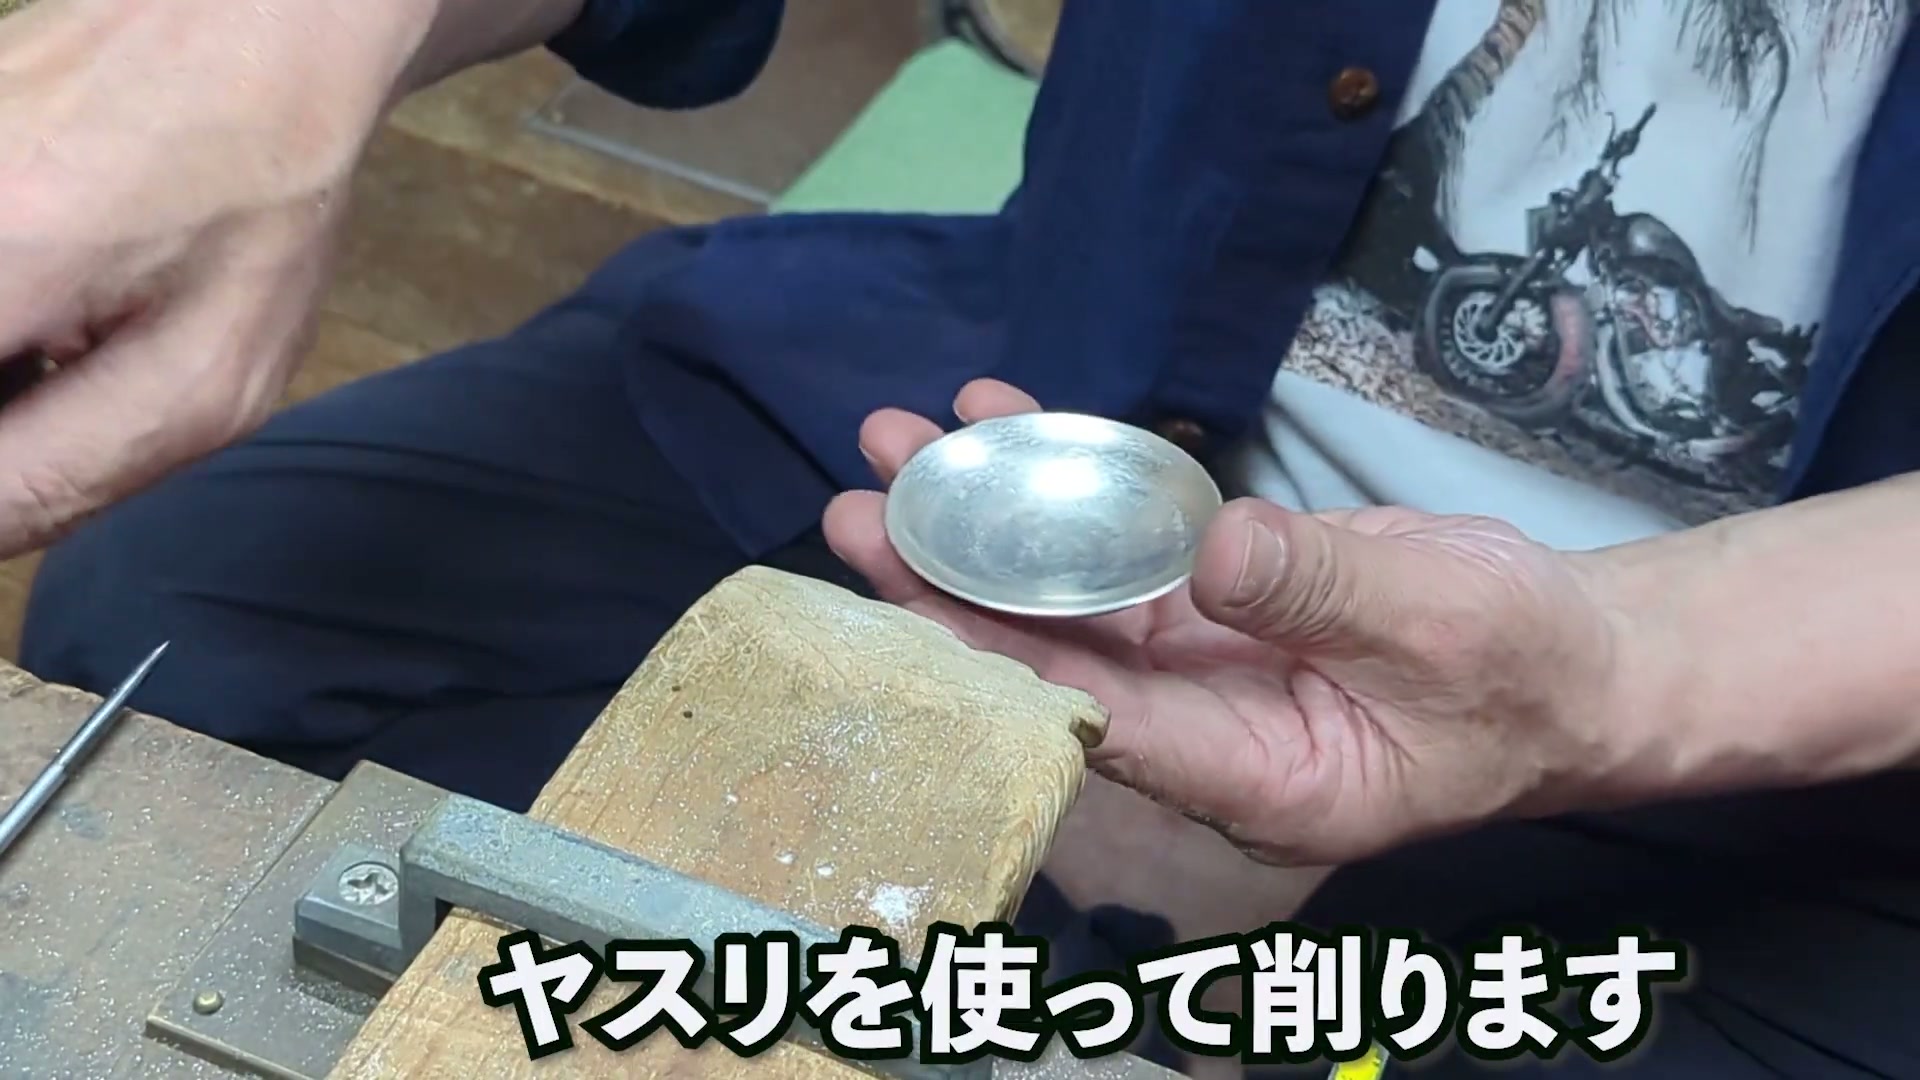
Remove the irregular saw-cut edge until the full face shows sheen. Then use a finer file to remove coarse marks and place a straightedge against the face to distinguish flatness from waviness.

Remove the saw-cut irregularities
Sawn face
SOURCE FRAME1:12
1Source-backed

Remove the saw-cut irregularities

Apply the file to the sawn face and remove its irregularities.

Why

This creates the flat base surface described by the practitioner.

Inspect source evidence
糸のこで切ってもやっぱりガタガタがあるんですね。ヤスリを当ててガタガタを取ってしまおうということですね。これで全体が光沢面になったということは、ここがまっすぐの面になったという。

AI drafted this step from the speech or on-screen source text below. Practitioner approval is required before formal use.

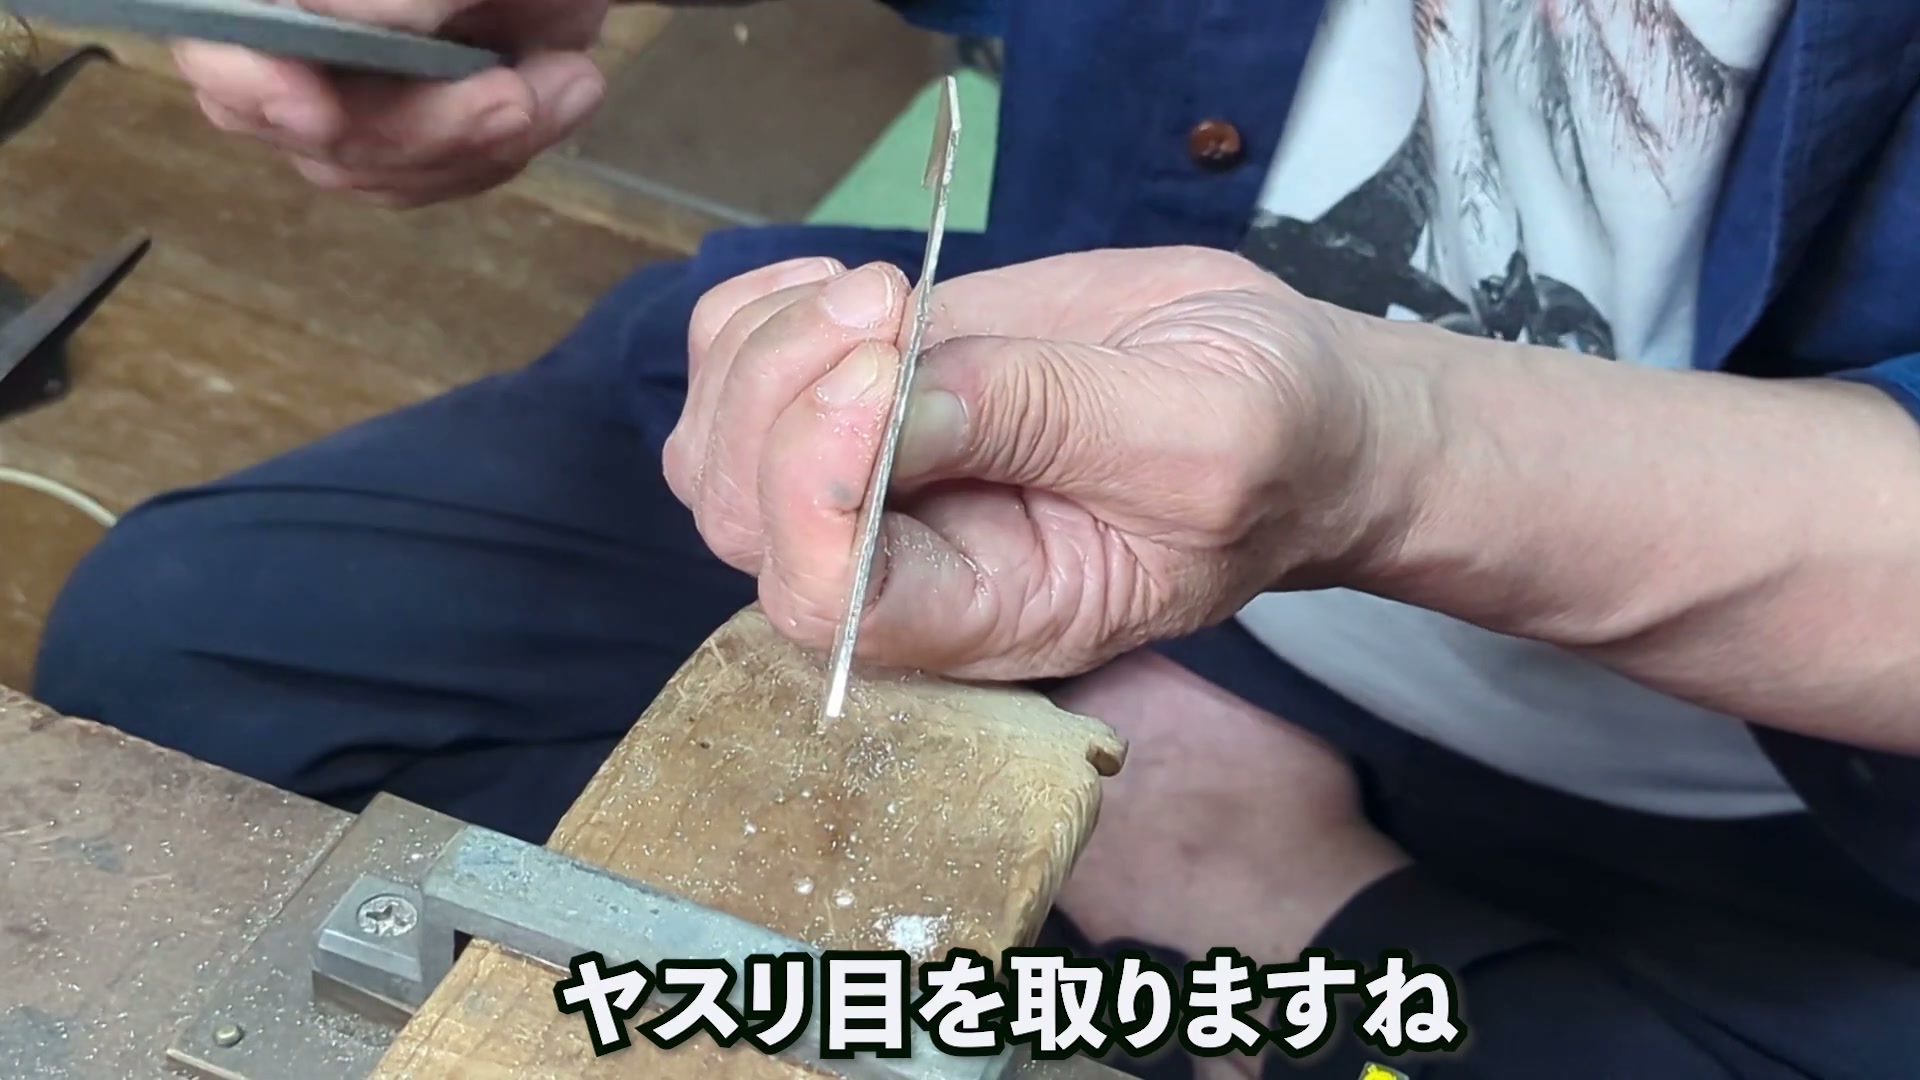
Remove coarse marks with a finer file
Finer file
SOURCE FRAME1:31
2Source-backed

Remove coarse marks with a finer file

After the coarse file, change to a finer file and remove the earlier file marks.

Why

The practitioner uses the fine file specifically to remove the previous coarse marks.

Inspect source evidence
粗いヤスリを細かなヤスリでヤスリ目を取りますね。実際に肉眼で見ると細かなヤスリで前の粗いヤスリを取ることができたということになります。

AI drafted this step from the speech or on-screen source text below. Practitioner approval is required before formal use.

Check the face with a straightedge
Straightedge contact
SOURCE FRAME1:57
3Source-backed

Check the face with a straightedge

Place a straightedge against the narrow face and compare the flat and wavy areas.

Why

The practitioner says a clean finish requires filing that creates a flat state.

Inspect source evidence
ここからここまではまっすぐにヤスリをかけてヘラを当てているので、すごくフラットな状態があると思うんですけど、ここから上は糸のこで切った状態のところにヘラを当てているので、なみなみとなった感じ。綺麗に物をしようと思うと、フラットな状態を作るためのヤスリのかけ方というのが必要になります。

AI drafted this step from the speech or on-screen source text below. Practitioner approval is required before formal use.

03Demonstration module

Smooth a hammer-marked curve

Read contact, follow the radius, vary direction

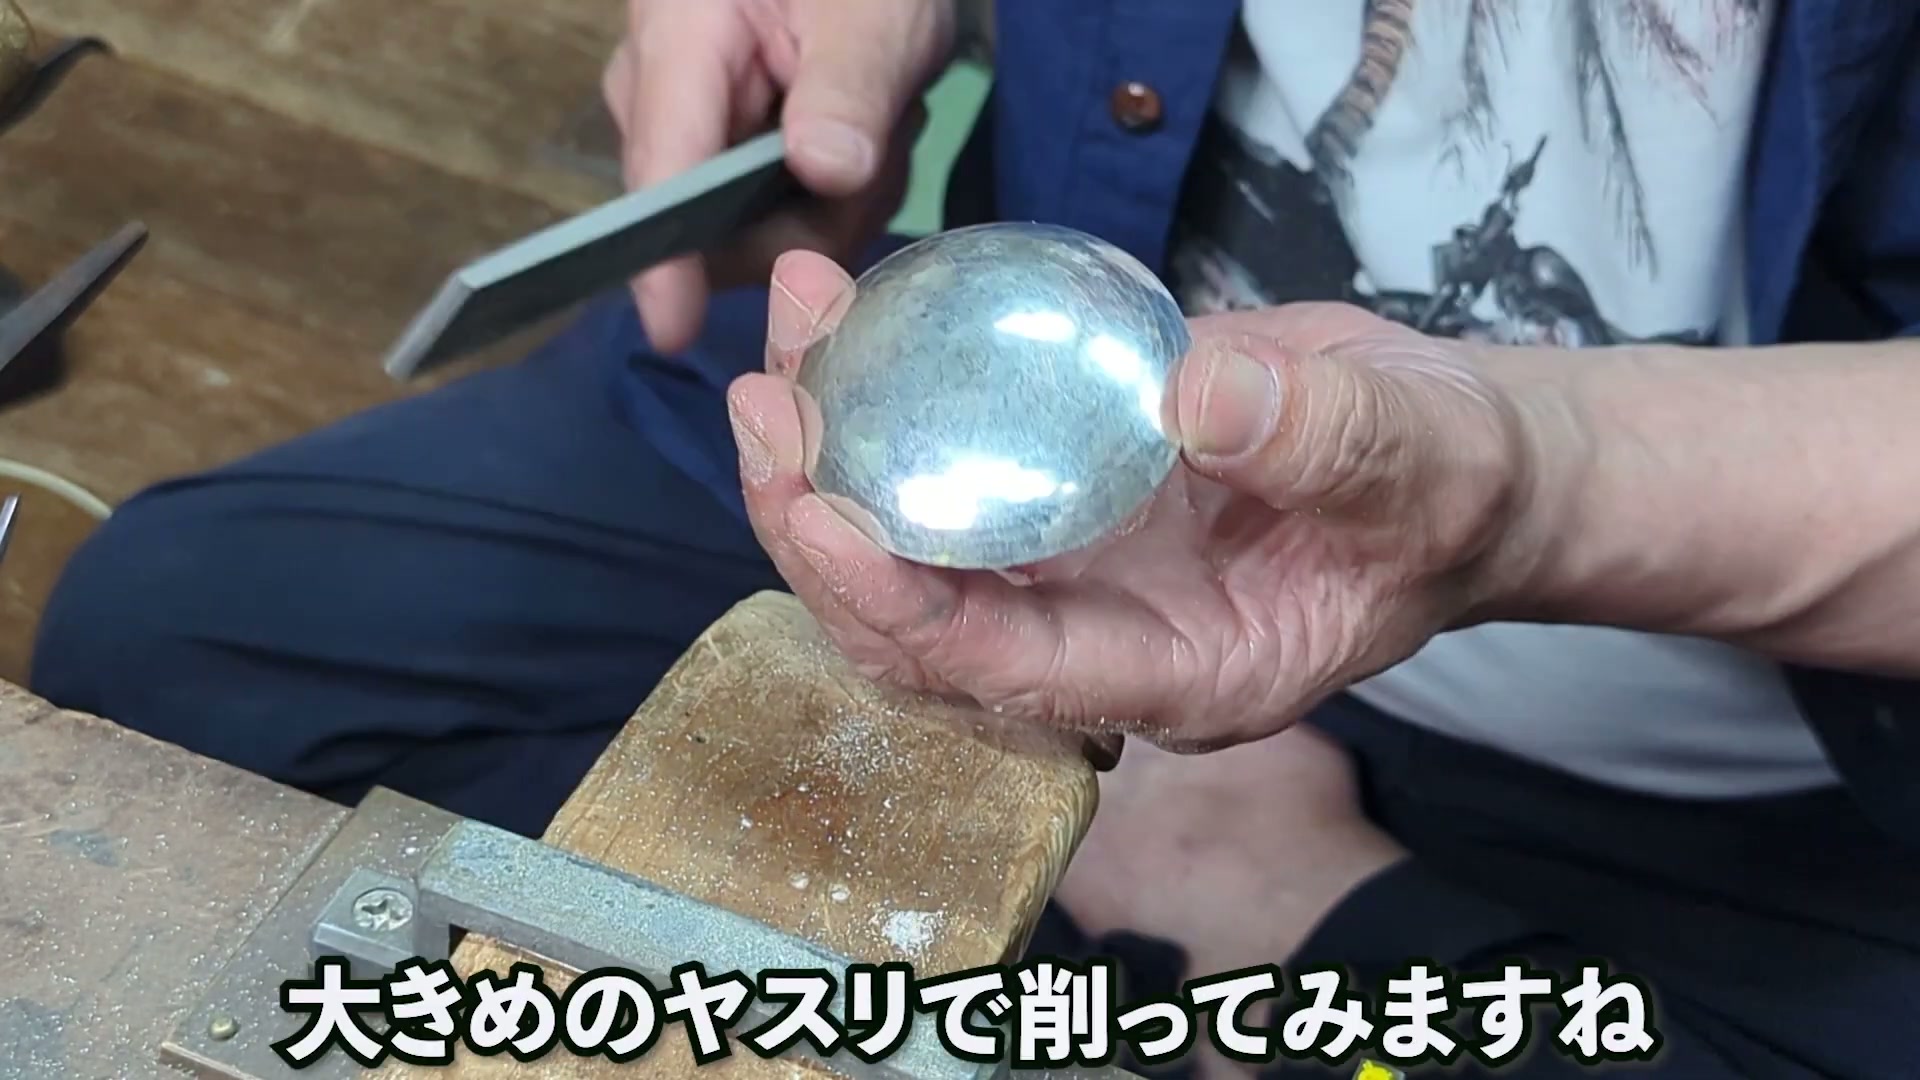
When hammer marks are not to be retained, use a larger file to remove unevenness and follow the radius. Eliminate the alternating contact and non-contact areas, work from multiple directions, and progress to a finer file.

Remove hammer marks with a larger file
Hammer-marked face
SOURCE FRAME2:29
1Source-backed

Remove hammer marks with a larger file

When the hammer texture is not being retained, use a larger file to remove the uneven marks.

Why

Hammer-forming leaves uneven marks on the object.

Inspect source evidence
鼻筋で叩いて立体物を作ったりすると金槌の跡が残っています。これを取ってきれいにしたいって思う場合は金槌の跡の凸凹を取らなあかんですね。それを取るのに大きめのヤスリで削ってみますね。

AI drafted this step from the speech or on-screen source text below. Practitioner approval is required before formal use.

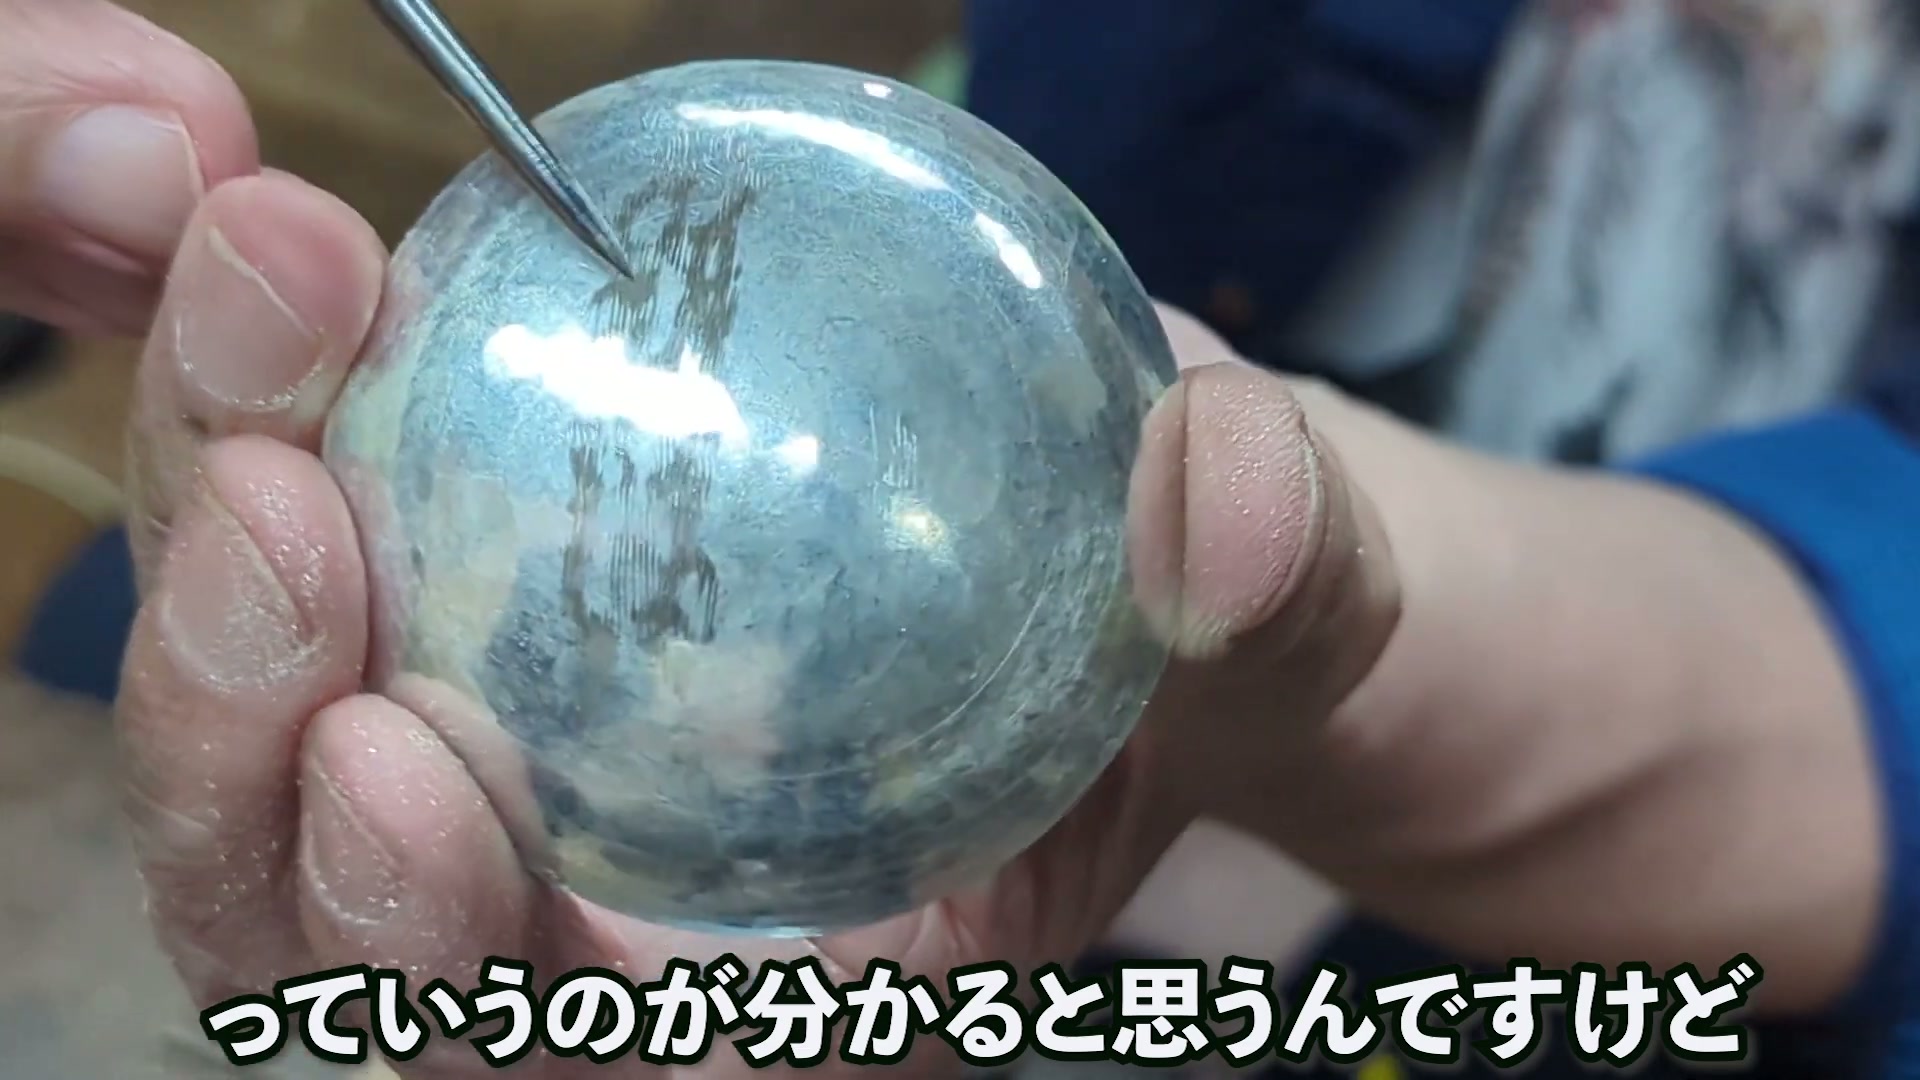
File with the radius
Contact on radius
SOURCE FRAME2:41
2Source-backed

File with the radius

Do not work only one spot; move the file with the radius of the curved surface.

Why

Removing the alternating contact and non-contact areas produces a smoother line.

Inspect source evidence
ヤスリで削ると当たってないところ、当たってるところっていうのがわかると思うんですけれども、同じとこだけを削るんじゃなくてこのRに合わせて削ってやると、当たるところ当たらないところができます。これをなくしてやると、より滑らかなラインの面が出来上がります。

AI drafted this step from the speech or on-screen source text below. Practitioner approval is required before formal use.

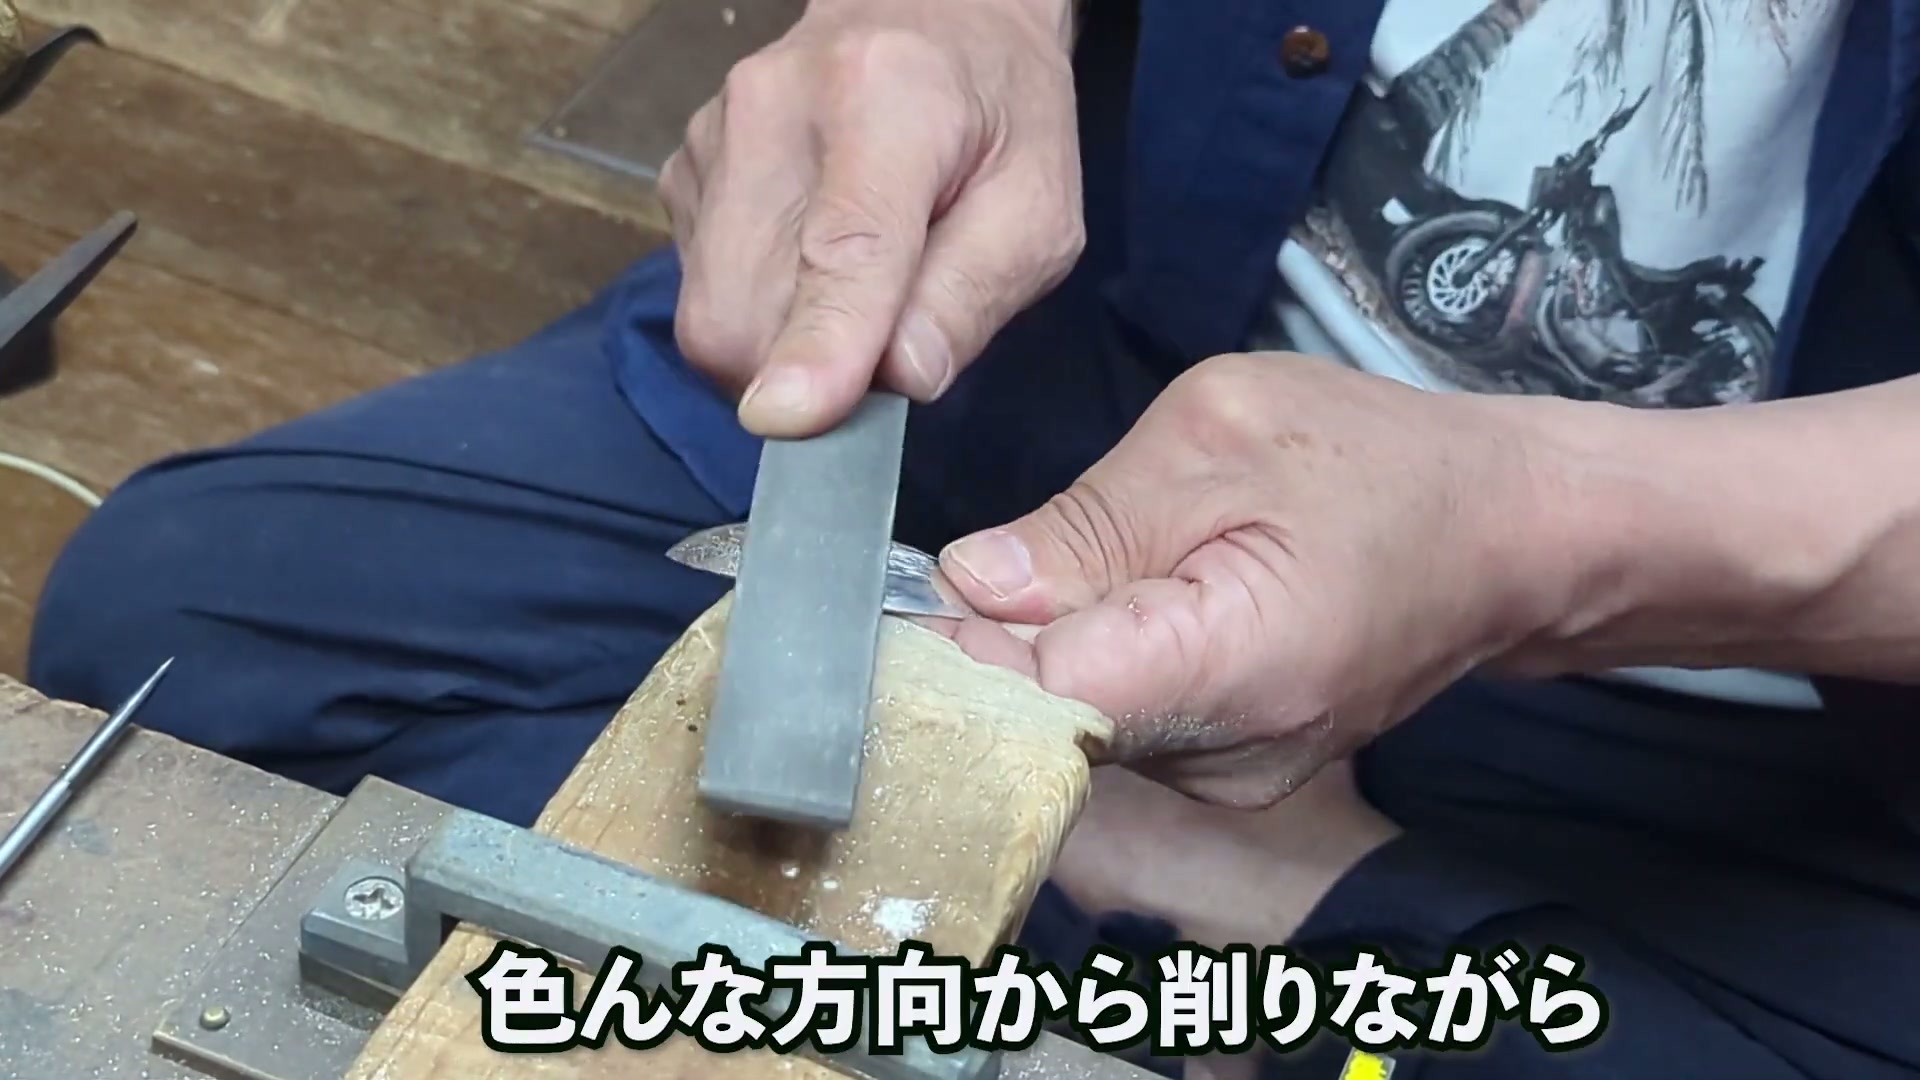
Remove depressions from multiple directions
Changing direction
SOURCE FRAME3:06
3Source-backed

Remove depressions from multiple directions

File from several directions rather than only one, working out the depressions.

Inspect source evidence
この時のコツは、同じ方向からだけじゃなくて、いろんな方向から削りながら、凹みを取るように削っていってやります。

AI drafted this step from the speech or on-screen source text below. Practitioner approval is required before formal use.

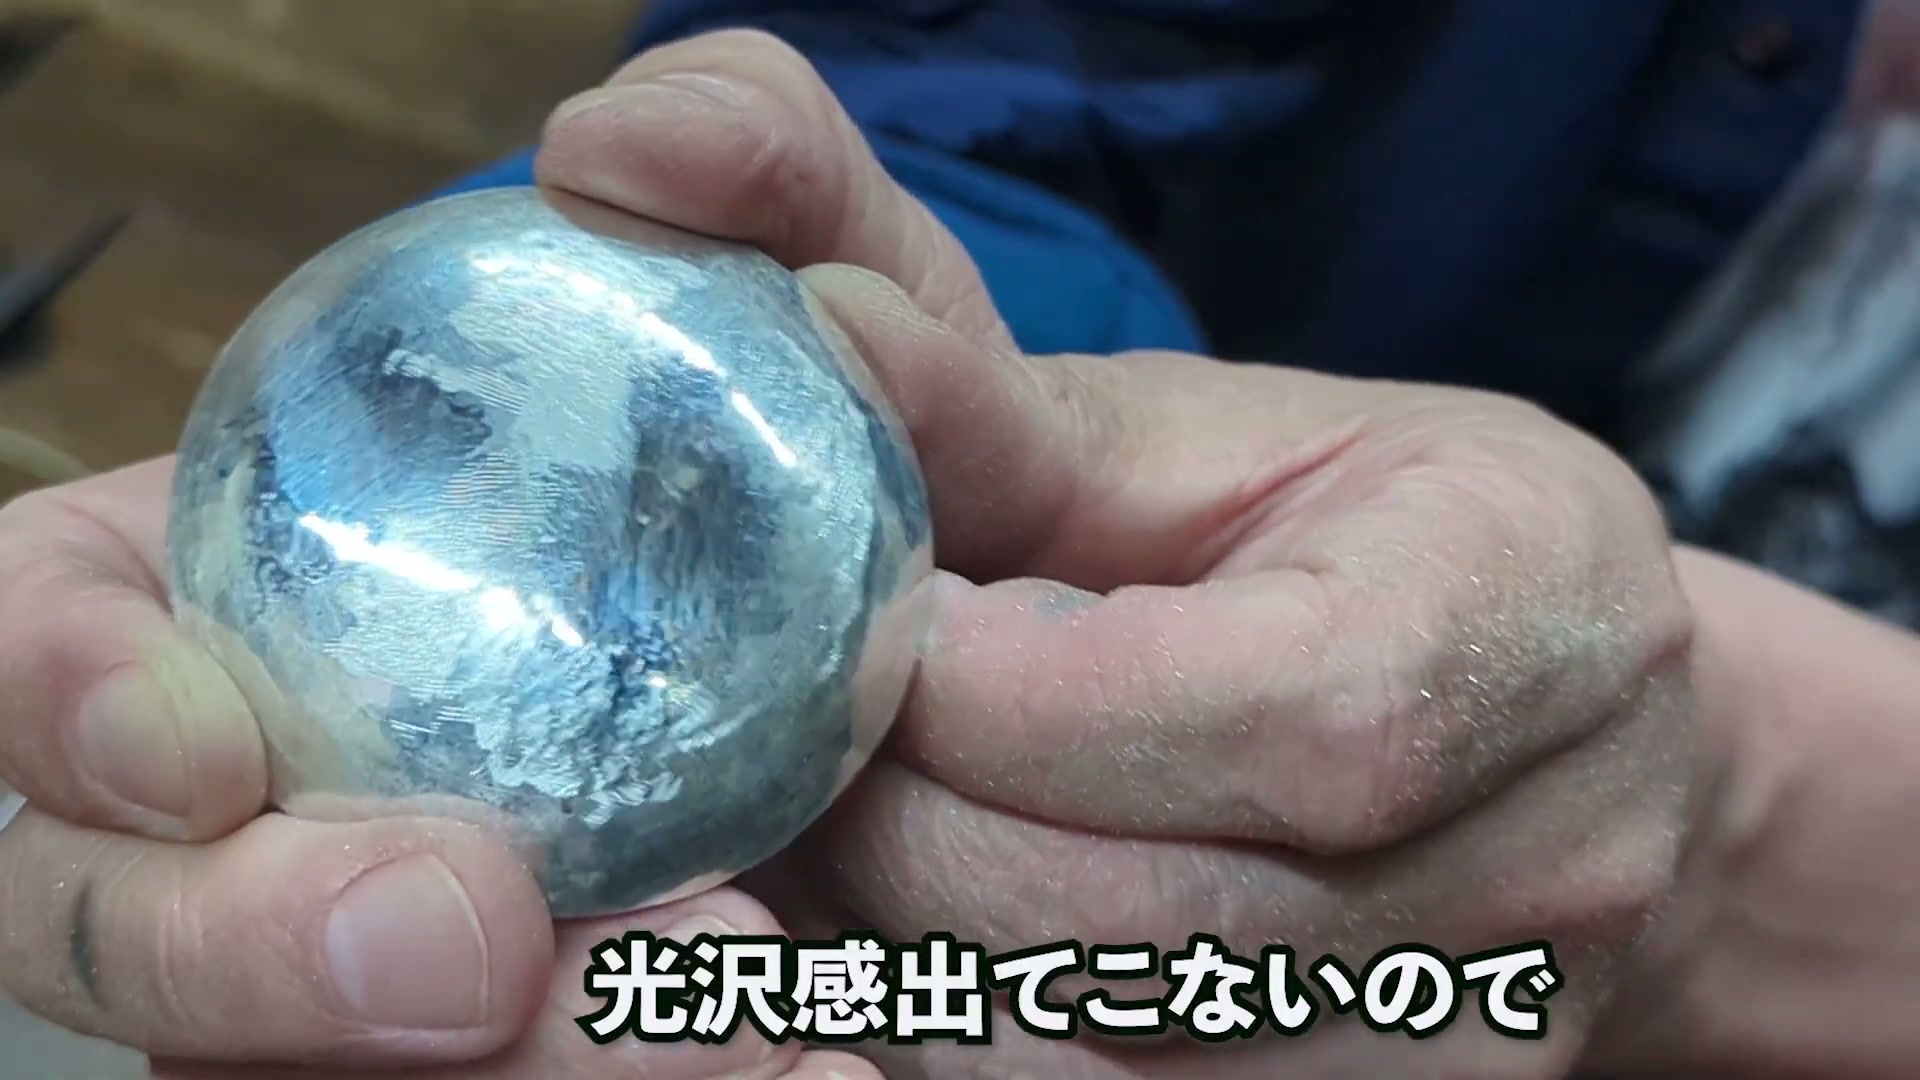
Progress to a finer file
Fine-filed surface
SOURCE FRAME3:49
4Source-backed

Progress to a finer file

Do not stop at the coarse file; change to a finer file and refine the surface.

Why

The practitioner says the demonstrated sheen will not appear if the work remains at the coarse-file stage.

Inspect source evidence
そして細かなヤスリを使って。こちらがヤスリで綺麗に取ってからヘラを当てた面の形。滑らかな面を作ったりできるんですけども。ヤスリも粗いままで減らしてもこんだけの光沢感出てこないので、細かなヤスリに変えていって磨いてやるっていうのが必要。

AI drafted this step from the speech or on-screen source text below. Practitioner approval is required before formal use.

04Demonstration module

Cut on the push stroke

Straighten the face, brace the work, respect cut direction

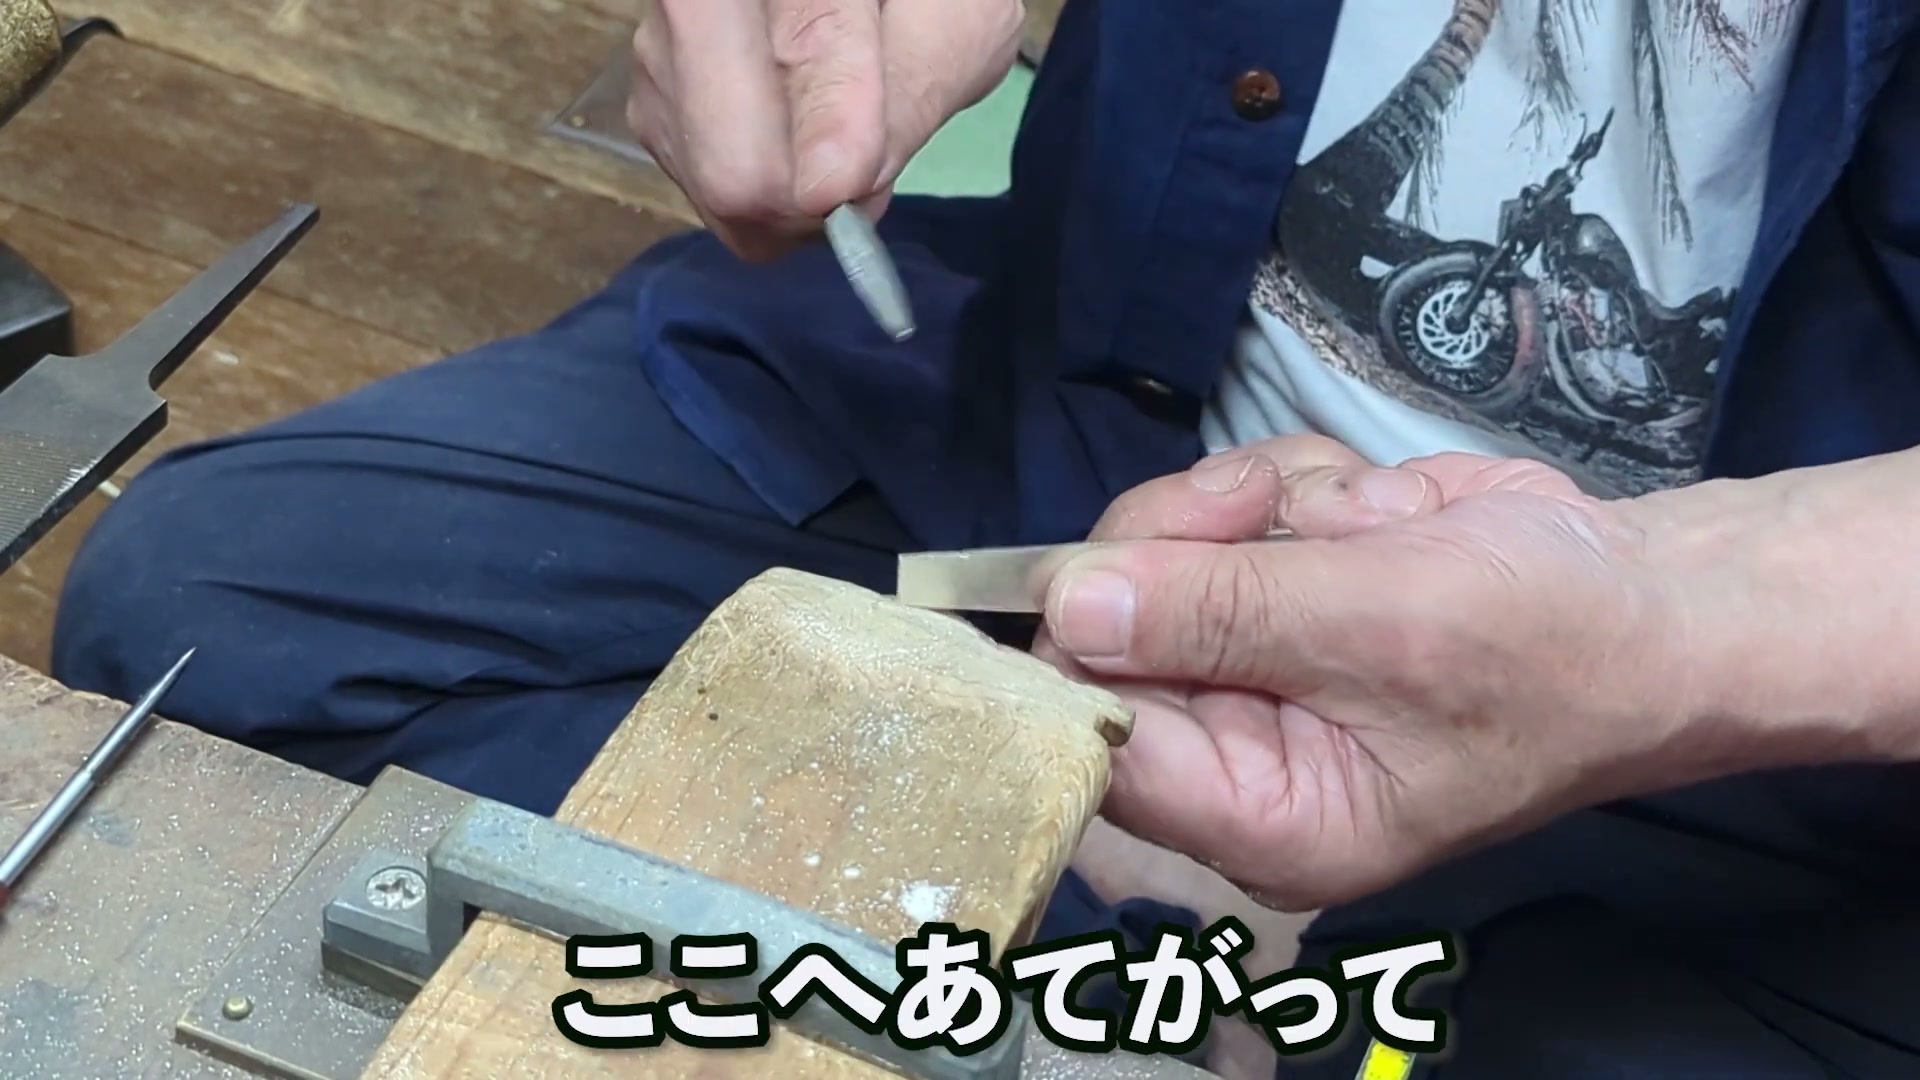
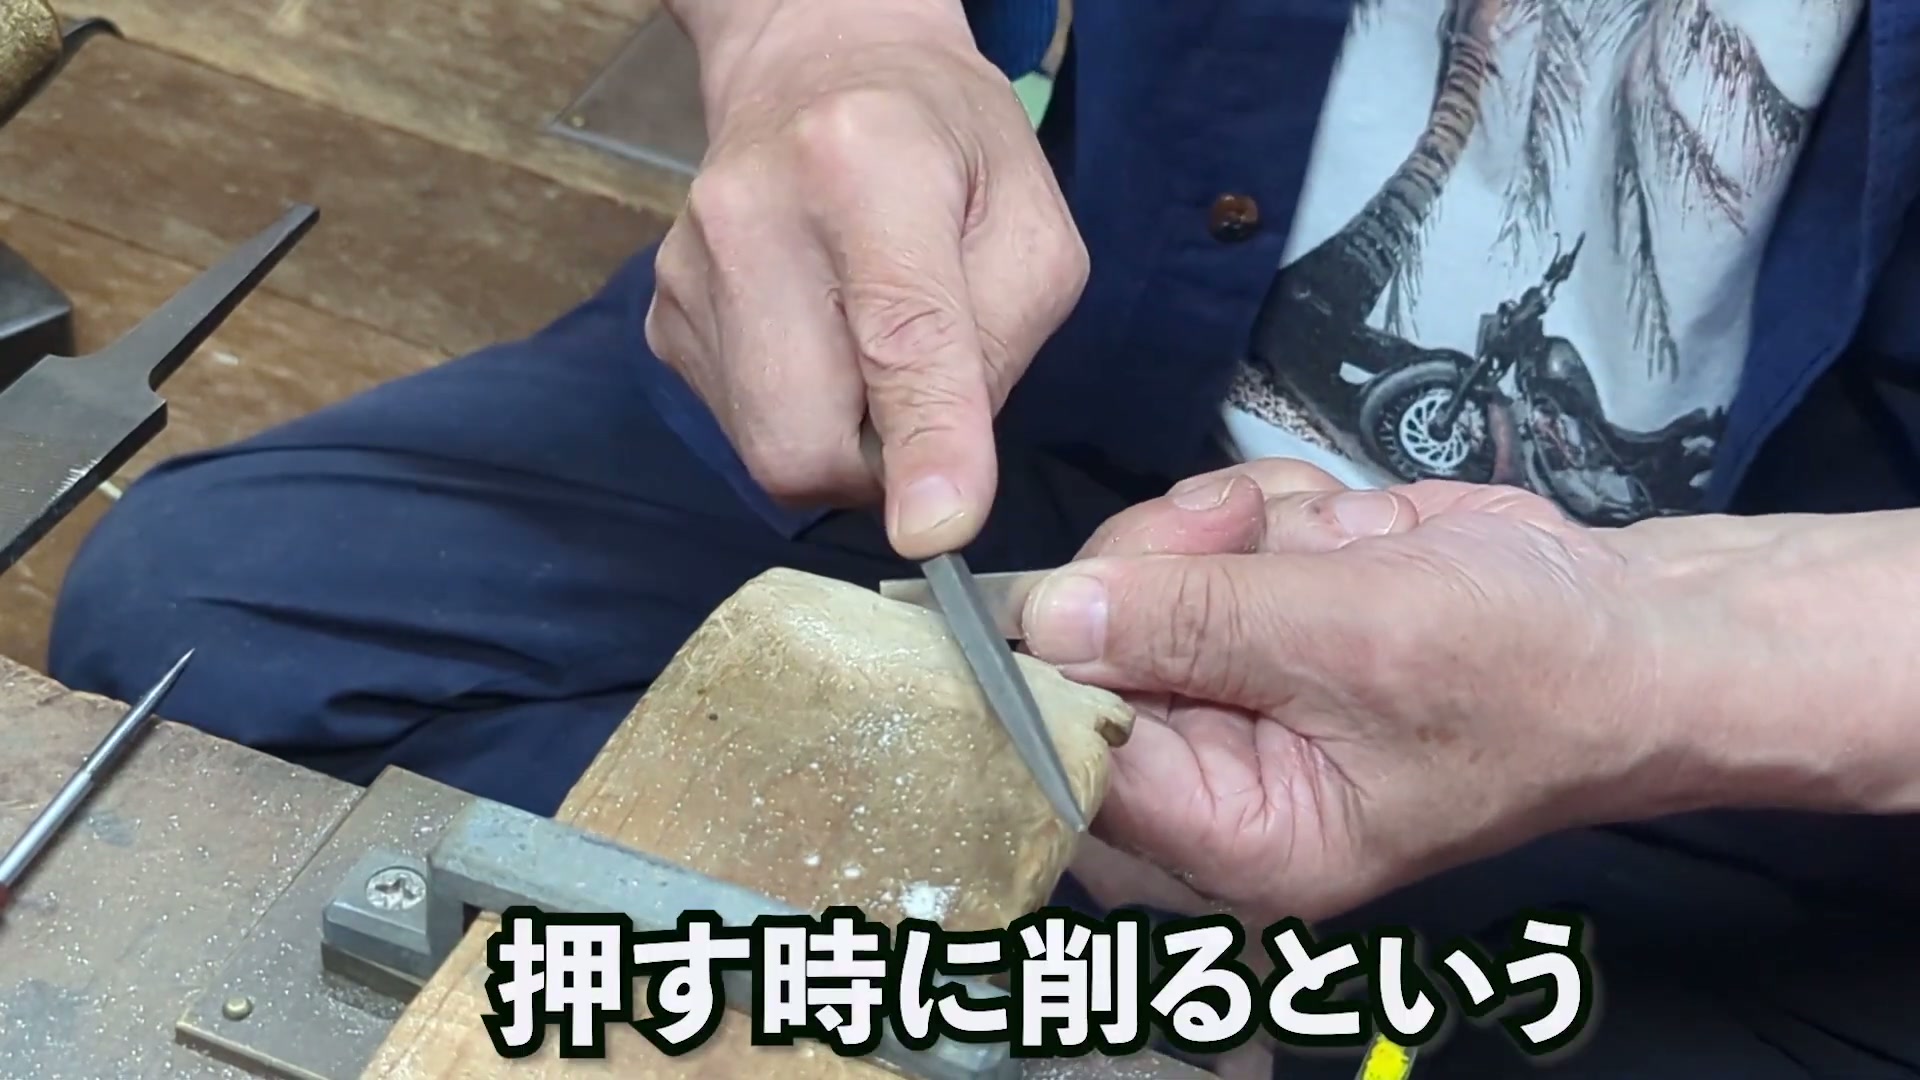
A narrow face can also be filed straight. The practitioner braces the work against the bench pin to resist the push and emphasizes the basic direction: the file cuts when pushed, not when pulled back.

File the narrow face straight
Narrow face
SOURCE FRAME3:58
1Source-backed

File the narrow face straight

Apply the file to a narrow face that needs to be made straight.

Inspect source evidence
ここの面なんかもやっぱり真っ直ぐにしておきたいなっていう時なんかも、ヤスリを使って削ります。こんな風にして真っ直ぐに削ったりします。

AI drafted this step from the speech or on-screen source text below. Practitioner approval is required before formal use.

Brace the work against the bench pin
Bench-pin support
SOURCE FRAME4:33
2Source-backed

Brace the work against the bench pin

Place the work against the bench pin so it resists the forward push.

Why

The practitioner says the bench pin is there to stop the work being driven forward.

Inspect source evidence
ヤスリの基本的なことをまず知らないとダメだと思うんですけど、ヤスリって削る方向があります。押す時には削れるけれども、引く時には削れないんですね。これも向こうに押される勢いを止めるために、このスリ板があるので、ここへ当てがって、押す時に削るということがすごい大事。

AI drafted this step from the speech or on-screen source text below. Practitioner approval is required before formal use.

Cut while pushing
Push direction
SOURCE FRAME4:35
3Source-backed

Cut while pushing

Cut on the forward push. Do not treat the return pull as a cutting stroke.

Why

The practitioner states that the file cuts on the push, not on the pull.

Inspect source evidence
ヤスリの基本的なことをまず知らないとダメだと思うんですけど、ヤスリって削る方向があります。押す時には削れるけれども、引く時には削れないんですね。これも向こうに押される勢いを止めるために、このスリ板があるので、ここへ当てがって、押す時に削るということがすごい大事。

AI drafted this step from the speech or on-screen source text below. Practitioner approval is required before formal use.

Continue with this source

One source, five connected views

Switching views preserves the same source hash across instruction, analysis, skill structure, evidence, and human review.