AI draft · Human review pending

Visual learning guide · v0.1

Bond an ID Grinding Wheel to Its Arbor

Turn a 59-second demonstration into component, preparation and bonding modules.

SOURCE FRAME

Gluing an ID Grinding Wheel?

0:04

Executive summary

The practitioner shows three components: main shaft, threaded mounting arbor and grinding wheel. He scuffs the arbor face with a file, cleans with alcohol, mixes resin and hardener, coats the arbor, drops on and spins the wheel, then adds epoxy in the centre. He links cleanliness and a good bond to the stated 20,000–30,000 rpm operating range.

7 Source-backed
03

Learning routes

10

Evidence-backed steps

01

Source video

Compare all sources

Source-by-source perspectives

Keep the sources separate and inspect what each one contributes.

Video 1 · Workshop filing

家内事業町工場の日々

3 Learning routes

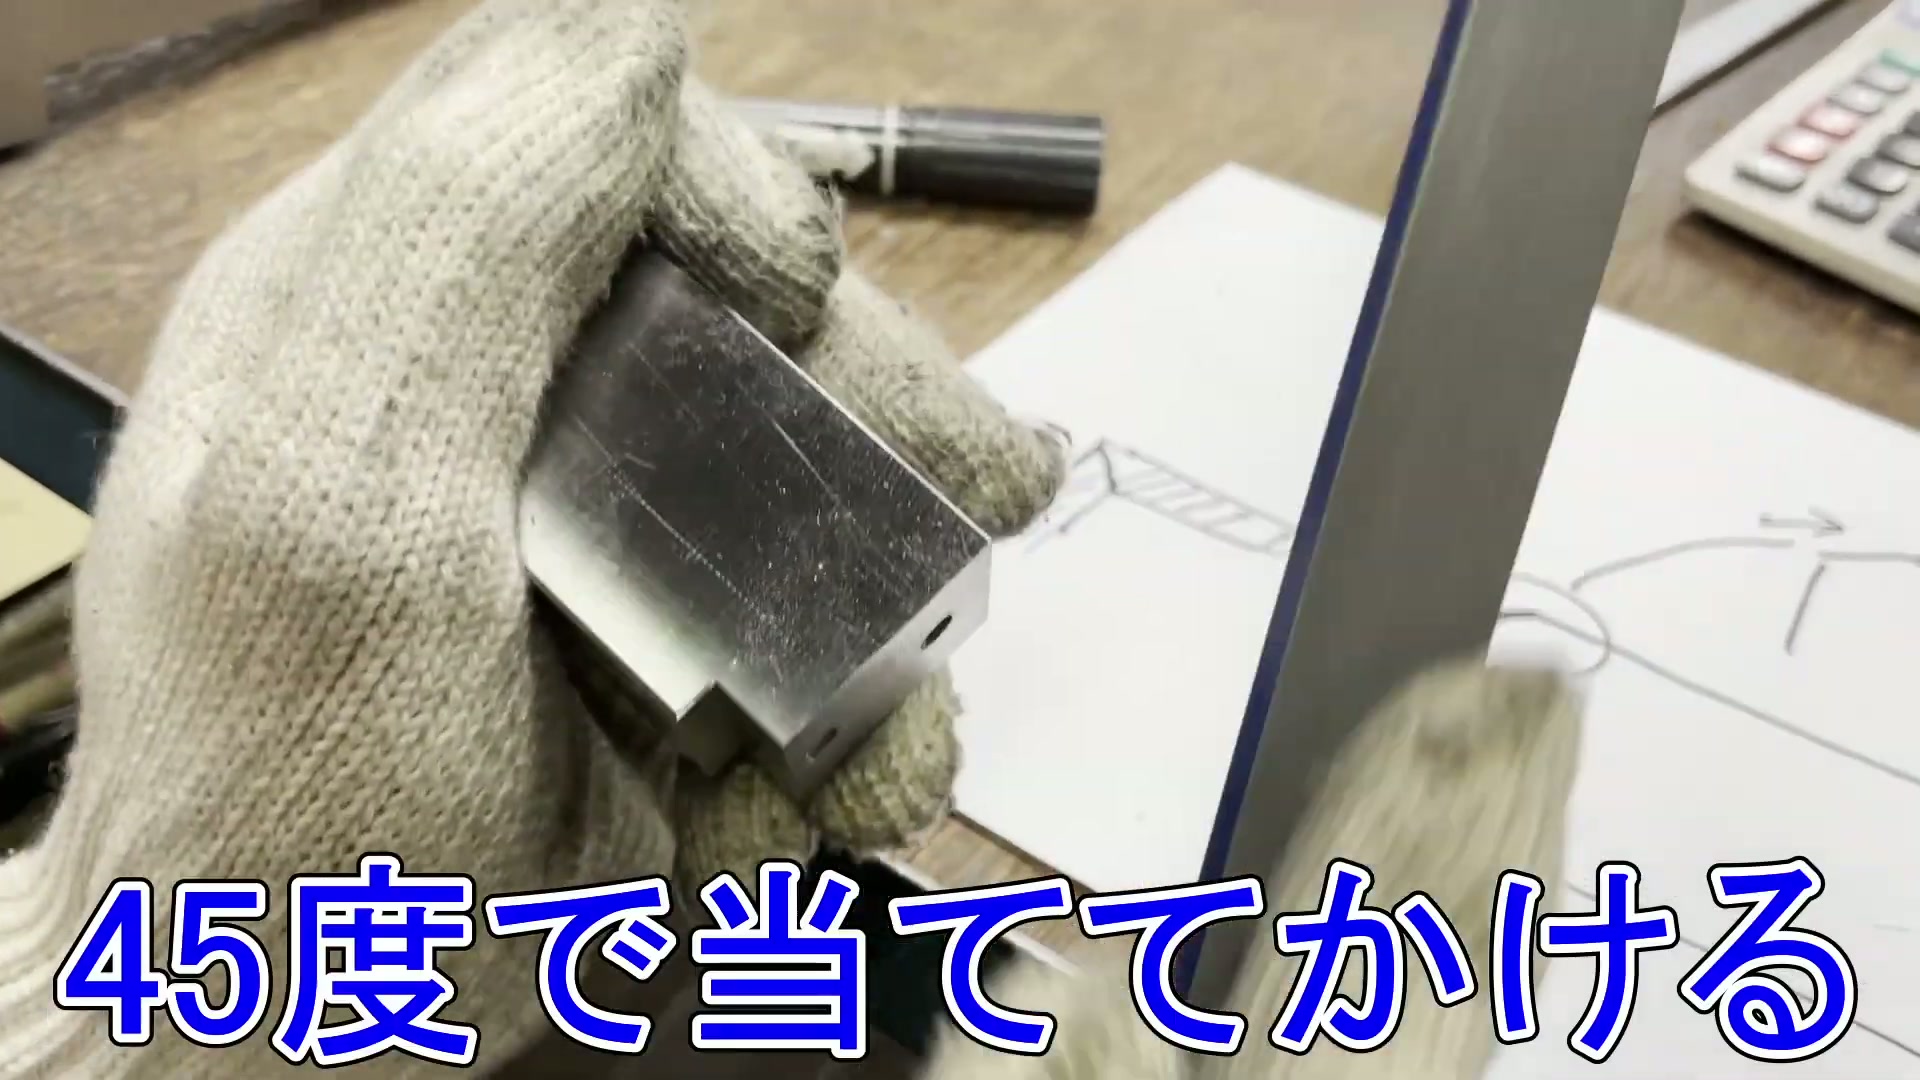
The practitioner changes how the file is presented for L-shaped corners, radiused curves and long straight edges, checking surface feel, missed areas, burrs, filed width and snagging.

  • Finish an L-shaped corner
  • Finish a radiused curve
  • True a long straight edge
Open this guide

Video 5 · Kyoto engraver

えいじいちゃんねる 京都の金工職人

4 Learning routes

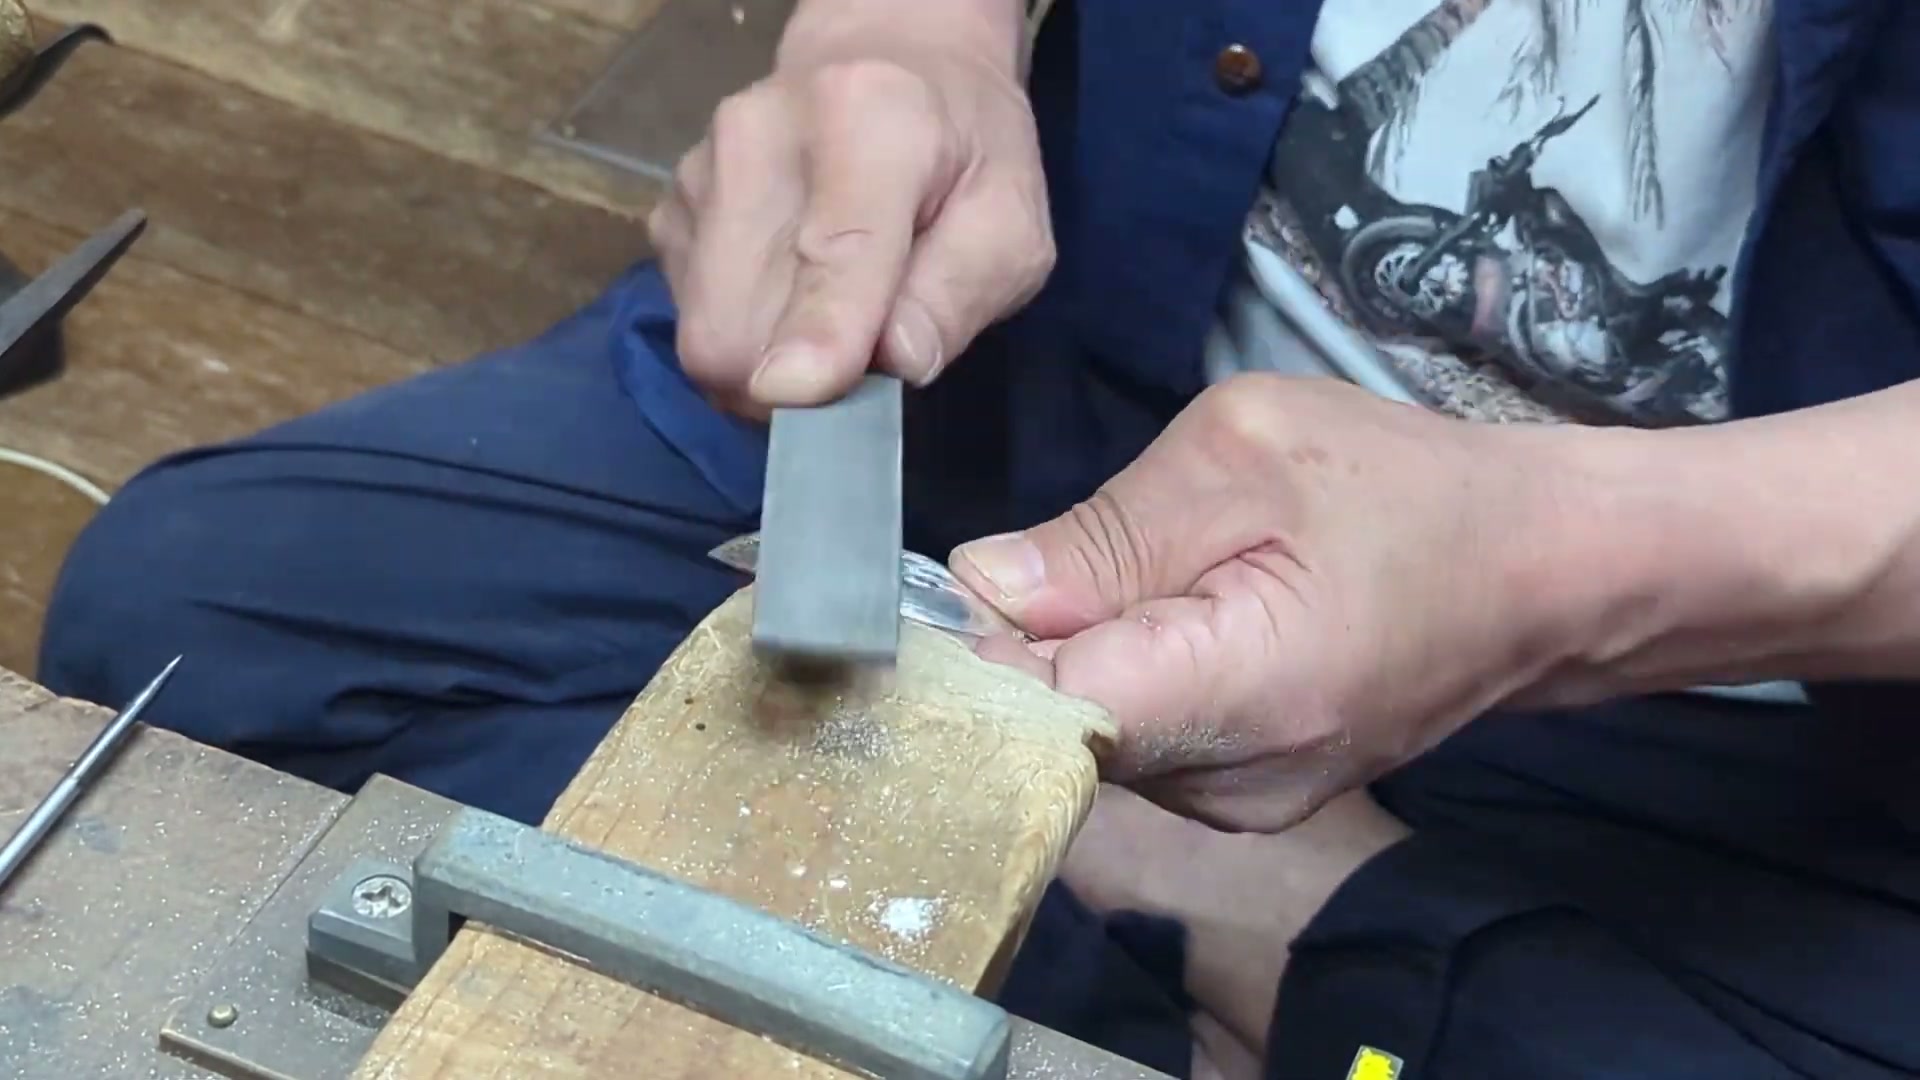
The practitioner distinguishes file size, cut and profile for the area, removes saw and hammer irregularities, and progresses from coarse to fine files. He uses sheen and a straightedge on flat faces, contact patterns and a smooth line on curves, then demonstrates bracing the work and cutting on the push stroke.

  • Choose a file for the area
  • Finish a sawn edge flat
  • Smooth a hammer-marked curve
  • Cut on the push stroke
Open this guide

Video 6 · Dayel grinder

Dayel Diesel

3 Learning routes

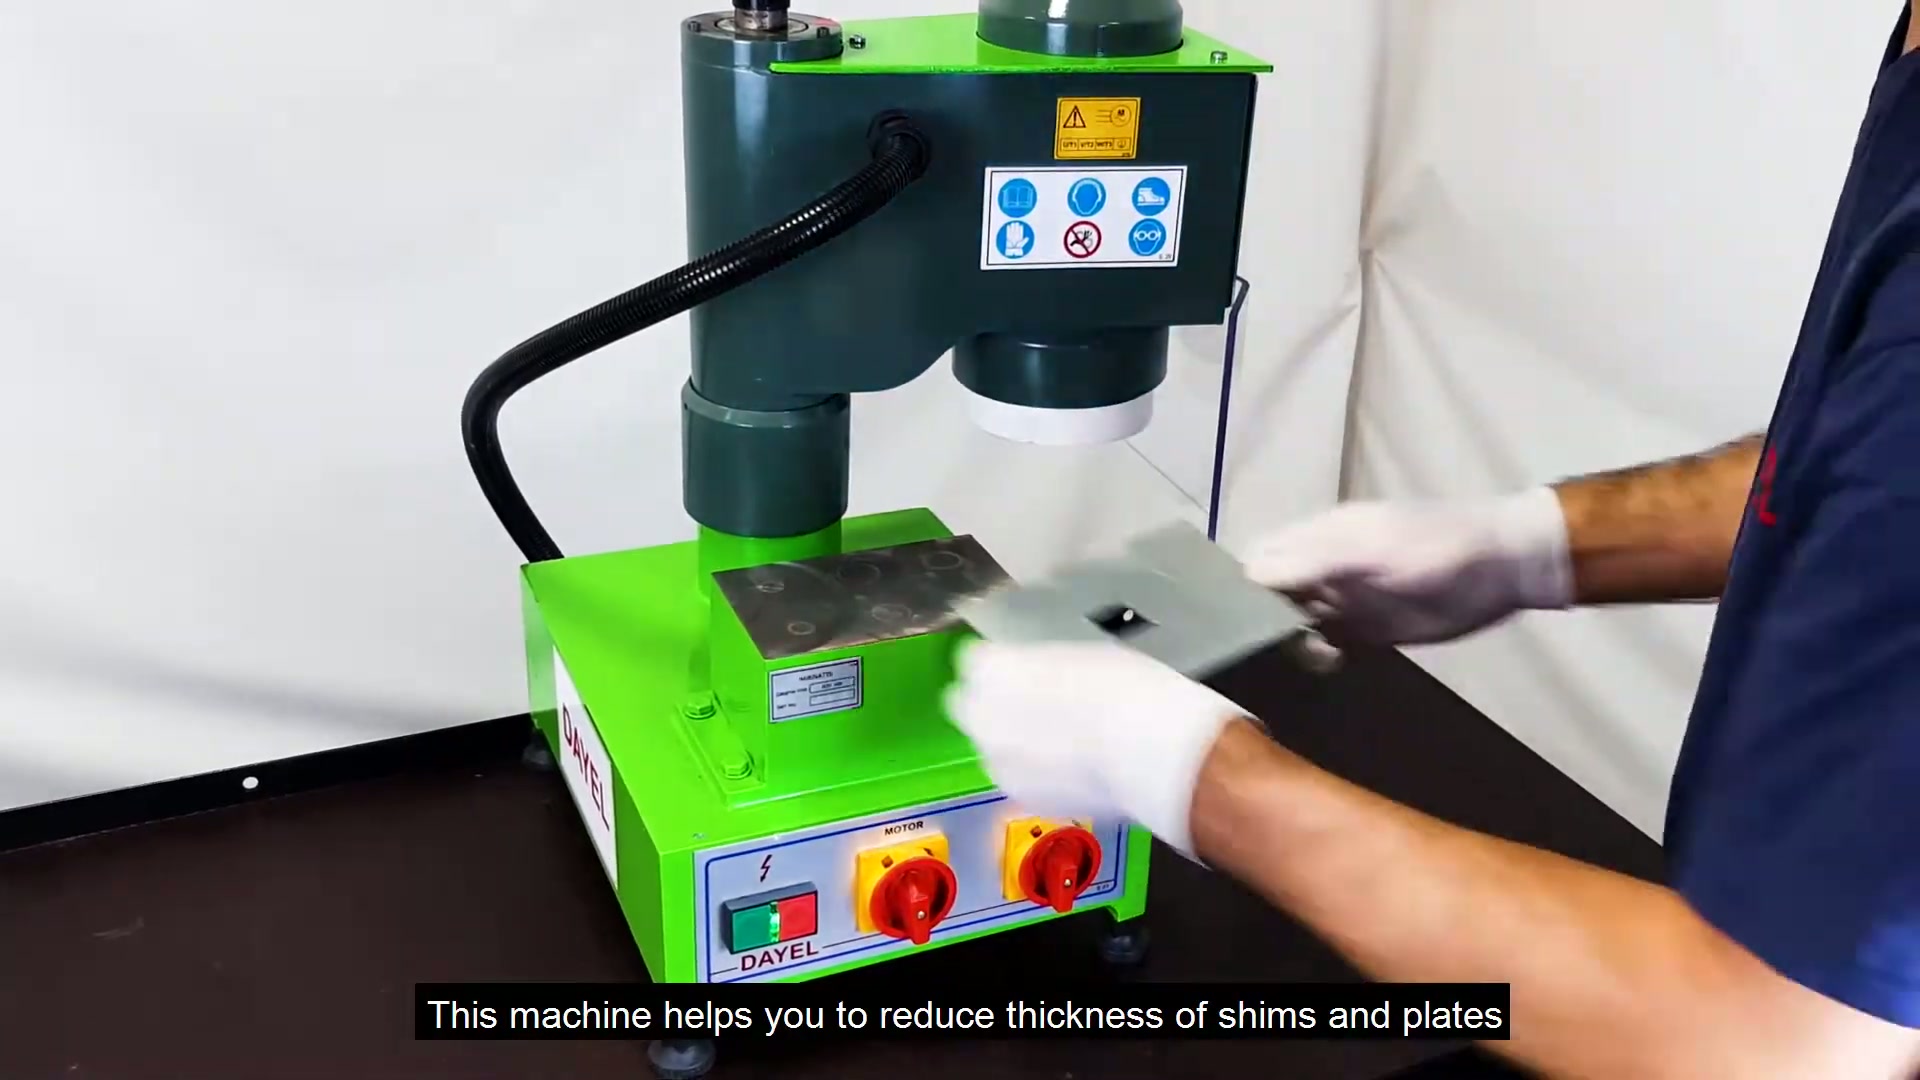
The video states a thickness-reduction purpose, powered magnetic table, digital Z adjustment and manual X movement, transparent cover, supported part types, auxiliary plates, motor and single-phase supply. It does not explain operating sequence, settings, stopping criteria or inspection.

  • Stated purpose and workholding
  • Cover, part types and auxiliary plates
  • Stated motor and supply
Open this guide

Video 7 · DONGTAI compact grinder

Ying Zhang / DONGTAI

4 Learning routes

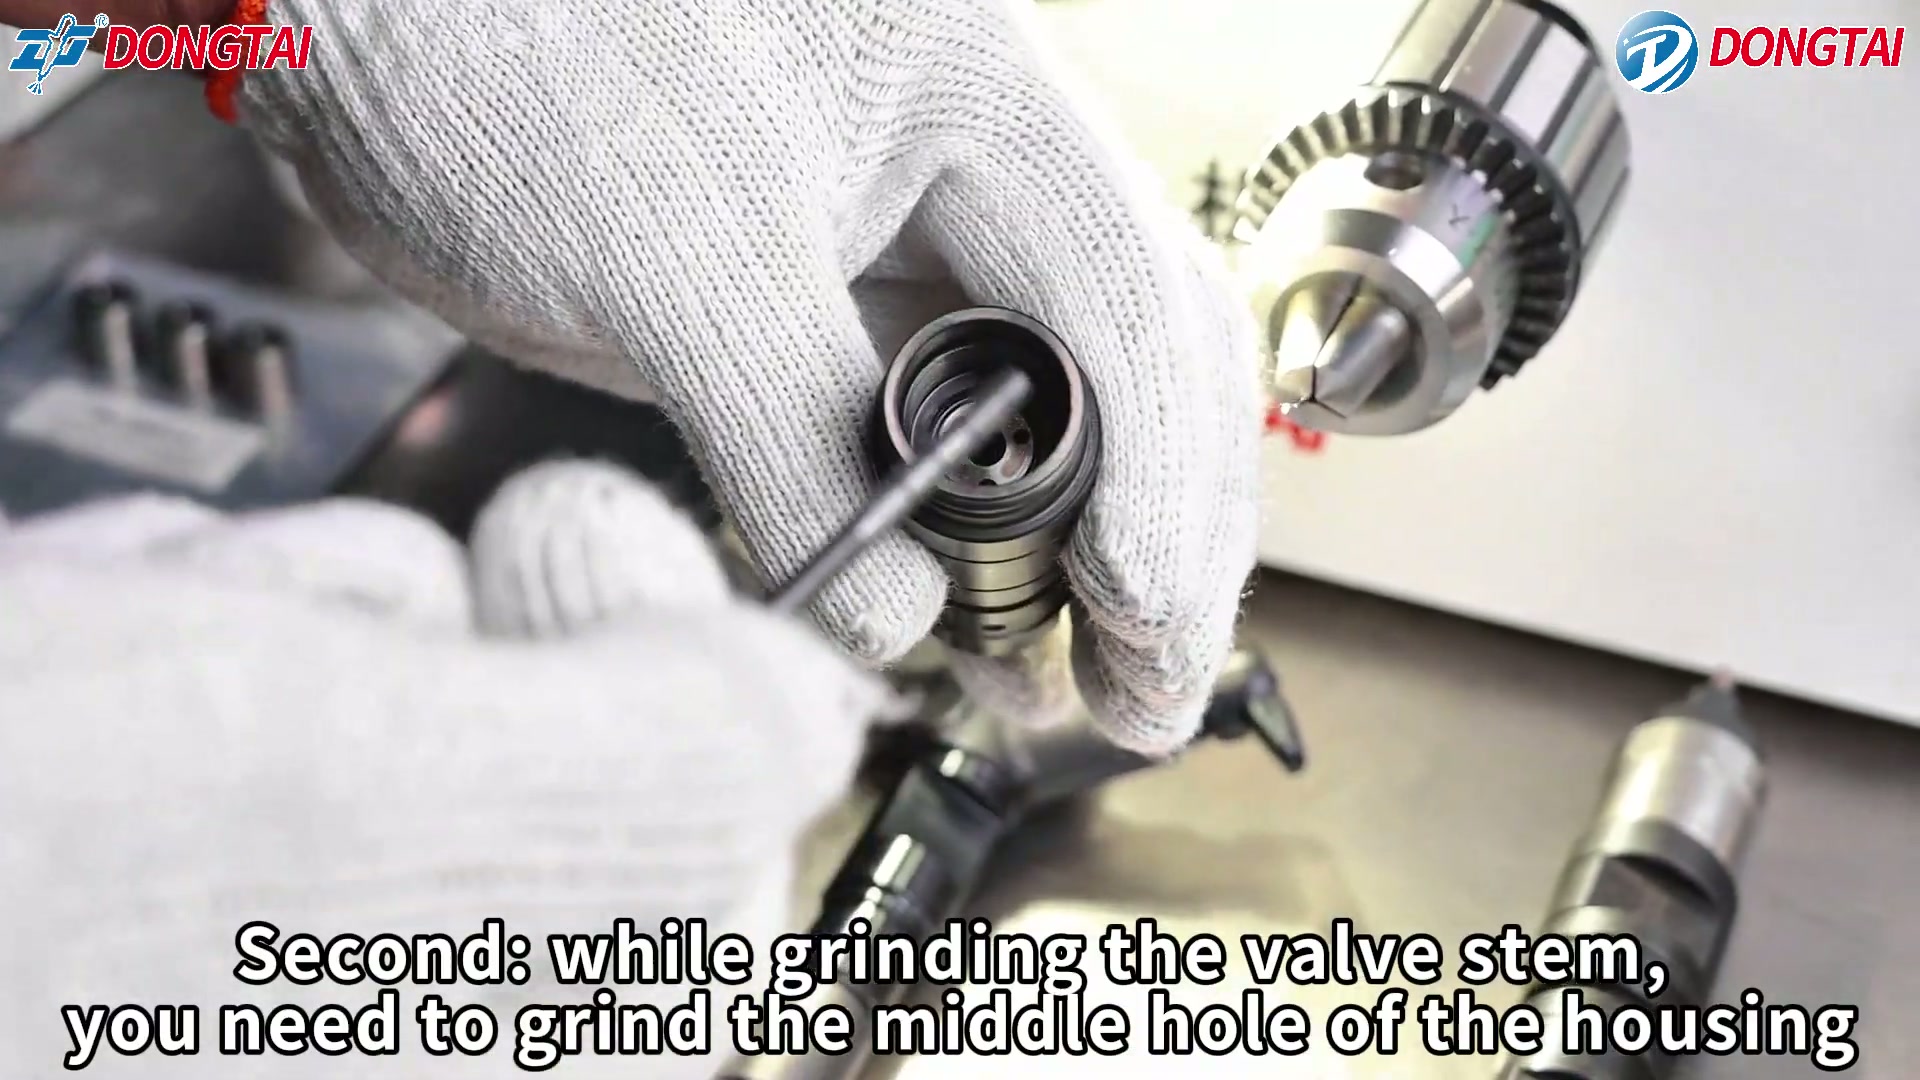
The on-screen text covers direction, light, start and speed controls; an order for valve-stem and housing-bore work; holder selection; forward/back grinding movement; a tapered rod; and diameter, flexibility, stroke and flow checks. There is no expert narration, so terminology and intent require practitioner confirmation.

  • Review controls and the stated sequence
  • Valve-stem sequence shown on screen
  • Tapered-rod sequence shown on screen
  • Housing work and stated checks
Open this guide

Video 8 · Titans ID wheel

Titans of CNC

3 Learning routes

The practitioner shows three components: main shaft, threaded mounting arbor and grinding wheel. He scuffs the arbor face with a file, cleans with alcohol, mixes resin and hardener, coats the arbor, drops on and spins the wheel, then adds epoxy in the centre. He links cleanliness and a good bond to the stated 20,000–30,000 rpm operating range.

  • Identify the three components
  • Prepare the bonding face and epoxy
  • Mount and bond the wheel
Selected
01Demonstration module

Identify the three components

Main shaft, arbor and wheel

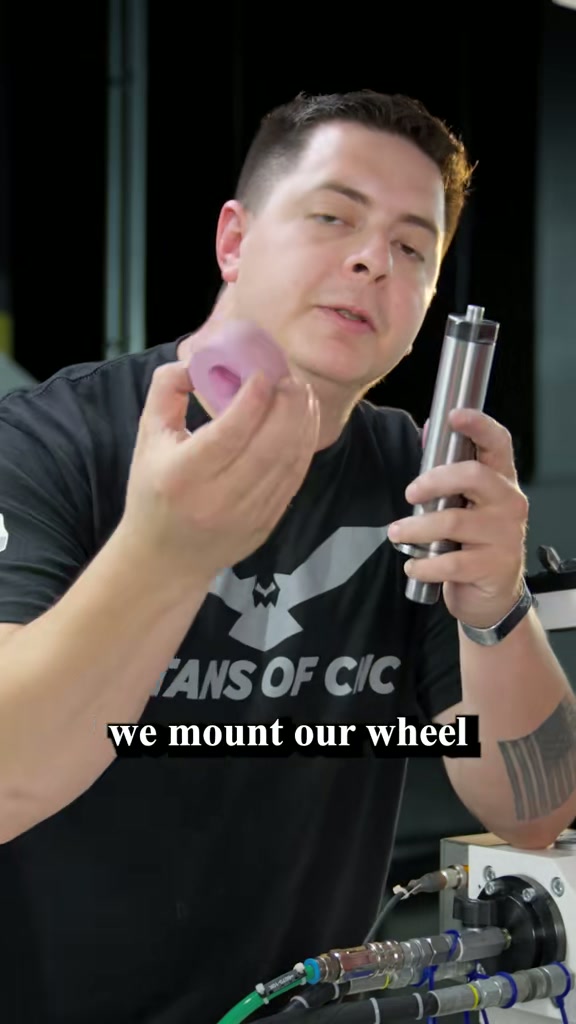
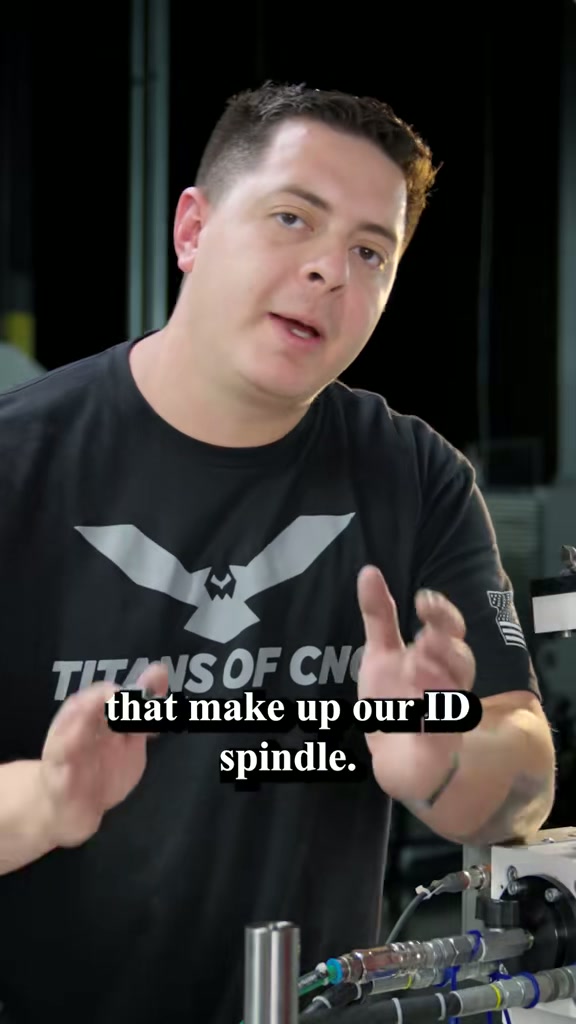
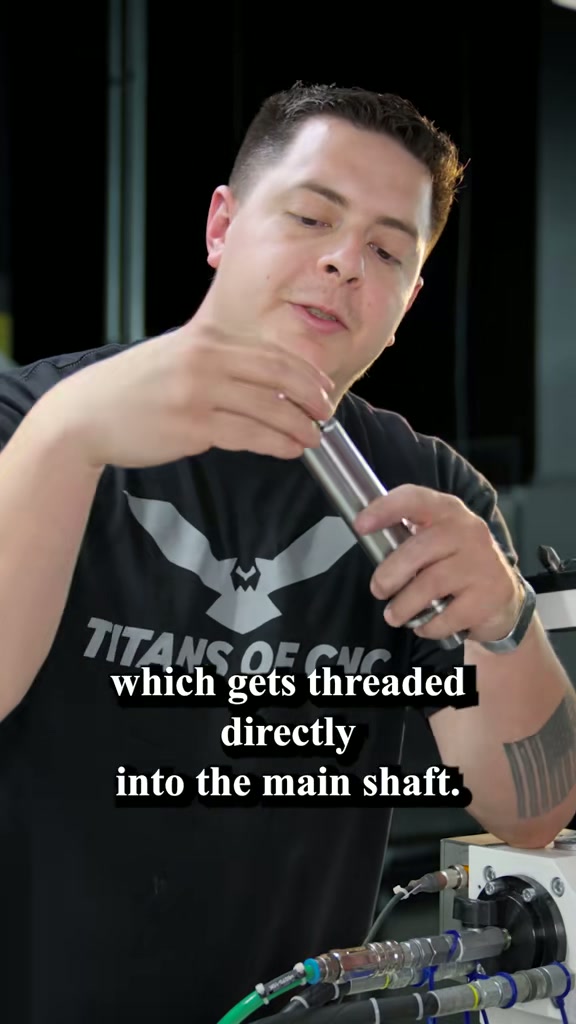
The practitioner names three RID-spindle components: main shaft, mounting arbor threaded into the shaft, and the wheel mounted after the arbor is fully threaded.

Separate the three components
Three components
SOURCE FRAME0:04
1Source-backed

Separate the three components

Identify the main shaft, mounting arbor and grinding wheel as separate components.

Inspect source evidence
So there's going to be three components that make up our RID spindle. There's going to be the main shaft, the mounting arbor, which gets threaded directly into the main shaft, and then once it's all the way threaded in, we mount our wheel. Today we're going to be using a TeraLit RAA 100 grit pink wheel. So in order to mount this wheel, the first thing I did was I scuffed up the face with a file,

AI drafted this step from the speech or on-screen source text below. Practitioner approval is required before formal use.

Thread the arbor into the shaft
Threaded connection
SOURCE FRAME0:08
2Source-backed

Thread the arbor into the shaft

Thread the mounting arbor directly into the main shaft, as stated in the demonstration.

Inspect source evidence
So there's going to be three components that make up our RID spindle. There's going to be the main shaft, the mounting arbor, which gets threaded directly into the main shaft, and then once it's all the way threaded in, we mount our wheel. Today we're going to be using a TeraLit RAA 100 grit pink wheel. So in order to mount this wheel, the first thing I did was I scuffed up the face with a file,

AI drafted this step from the speech or on-screen source text below. Practitioner approval is required before formal use.

Identify the demonstrated wheel
Grinding wheel
SOURCE FRAME0:14
3Source-backed

Identify the demonstrated wheel

Identify the pink wheel the practitioner describes as RAA 100 grit.

Inspect source evidence
So there's going to be three components that make up our RID spindle. There's going to be the main shaft, the mounting arbor, which gets threaded directly into the main shaft, and then once it's all the way threaded in, we mount our wheel. Today we're going to be using a TeraLit RAA 100 grit pink wheel. So in order to mount this wheel, the first thing I did was I scuffed up the face with a file,

AI drafted this step from the speech or on-screen source text below. Practitioner approval is required before formal use.

02Demonstration module

Prepare the bonding face and epoxy

File, alcohol, resin and hardener

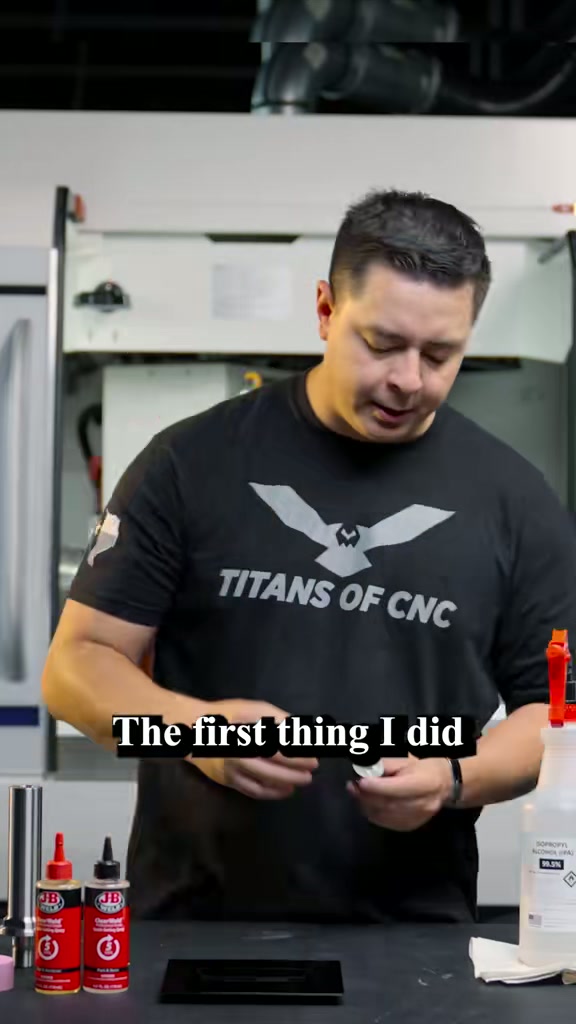
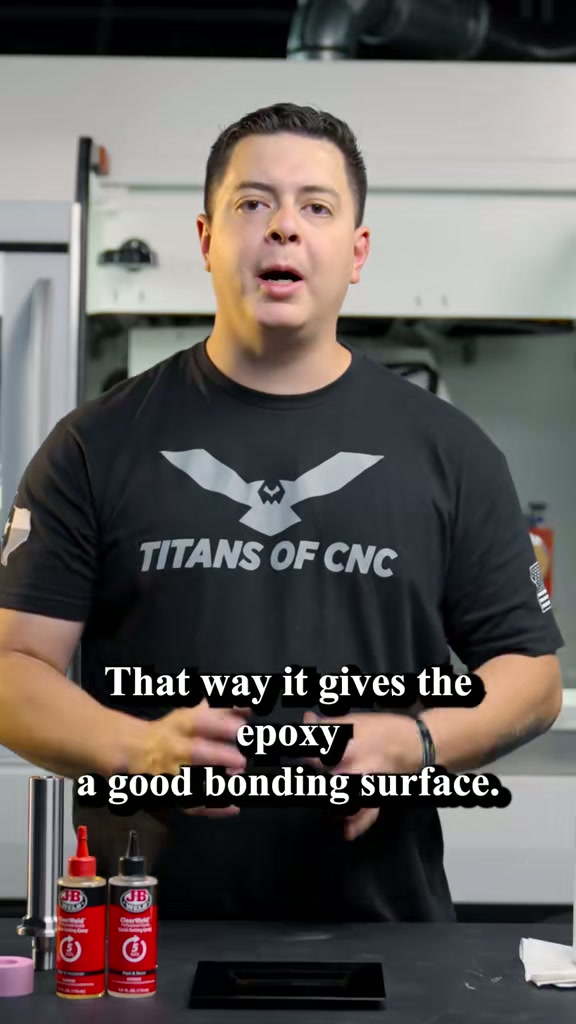
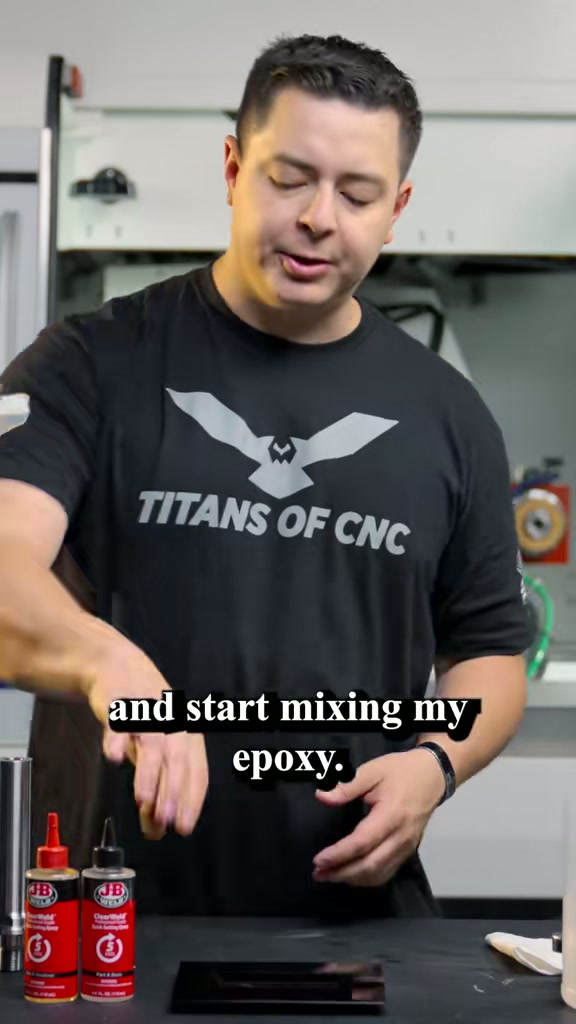
The practitioner scuffs the arbor face with a file to give the epoxy a bonding surface, sprays alcohol, then after cleaning adds resin followed by hardener and uses a coffee stir stick.

Scuff the arbor face with a file
Face being scuffed
SOURCE FRAME0:20
1Source-backed

Scuff the arbor face with a file

Scuff the arbor face with a file as demonstrated.

Why

The practitioner says this gives the epoxy a good bonding surface.

Inspect source evidence
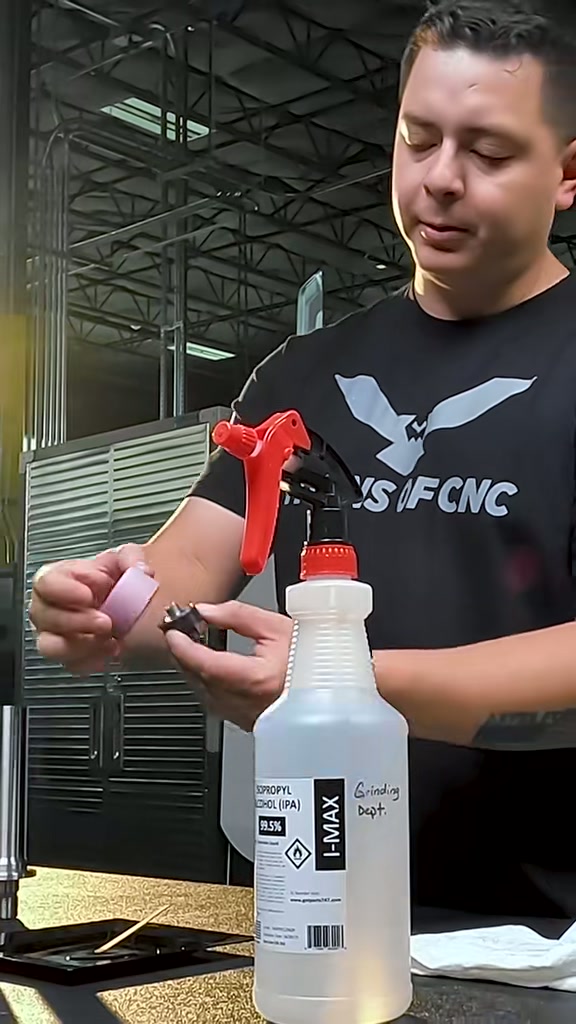
wheel. So in order to mount this wheel, the first thing I did was I scuffed up the face with a file, that way it gives the epoxy a good bonding surface. Then I'm going to spray it with a little bit of

AI drafted this step from the speech or on-screen source text below. Practitioner approval is required before formal use.

Spray with alcohol
Bonding face being cleaned
SOURCE FRAME0:24
2Source-backed

Spray with alcohol

Spray the prepared face with the small amount of alcohol stated by the practitioner.

Why

The demonstration describes the resulting state as clean before mixing.

Inspect source evidence
wheel. So in order to mount this wheel, the first thing I did was I scuffed up the face with a file, that way it gives the epoxy a good bonding surface. Then I'm going to spray it with a little bit of
alcohol. So once that's clean I'm going to go ahead and start mixing my epoxy. I'm going to start with the resin then I'm going to add some hardener and I'm going to use a coffee stir stick.

AI drafted this step from the speech or on-screen source text below. Practitioner approval is required before formal use.

Mix resin, then hardener
Mixing container
SOURCE FRAME0:30
3Source-backed

Mix resin, then hardener

Following the demonstration, start with resin, add hardener, then mix with the stir stick.

Inspect source evidence
alcohol. So once that's clean I'm going to go ahead and start mixing my epoxy. I'm going to start with the resin then I'm going to add some hardener and I'm going to use a coffee stir stick.

AI drafted this step from the speech or on-screen source text below. Practitioner approval is required before formal use.

03Demonstration module

Mount and bond the wheel

Coat, drop, spin and add epoxy at centre

The arbor face is coated, the wheel is dropped on and spun, and epoxy is added in the centre. The practitioner links cleanliness and a good bond to his stated 20,000–30,000 rpm operating range.

Coat the arbor face
Arbor face
SOURCE FRAME0:40
1Source-backed

Coat the arbor face

Coat the bonding face of the arbor with epoxy as demonstrated.

Inspect source evidence
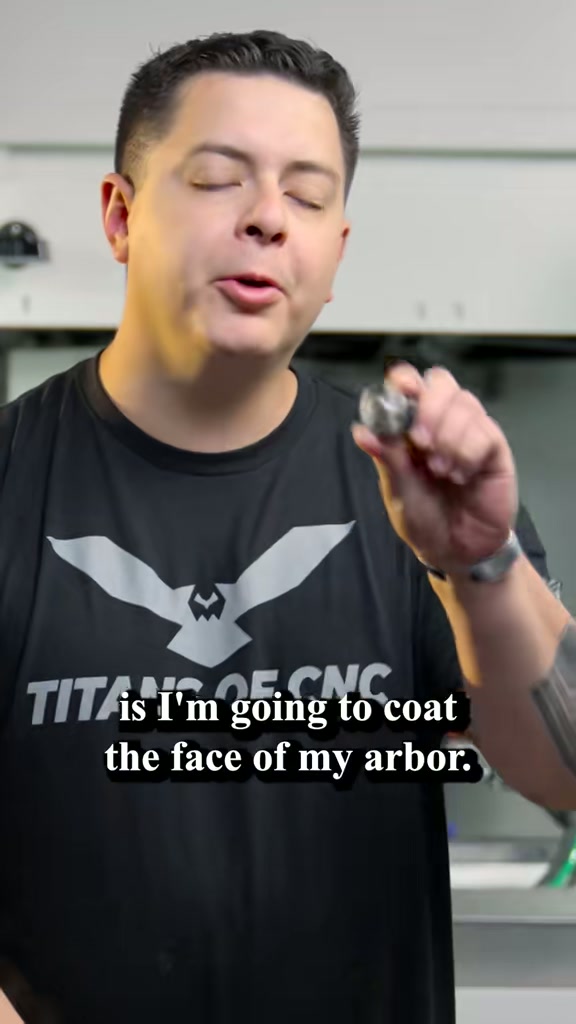
First thing I'm going to do is I'm going to coat the face of my arbor. Now all I have to do now is

AI drafted this step from the speech or on-screen source text below. Practitioner approval is required before formal use.

Drop on and spin the wheel
Wheel and arbor
SOURCE FRAME0:45
2Source-backed

Drop on and spin the wheel

Drop the wheel onto the arbor and give it the small spin shown in the demonstration.

Inspect source evidence
mount my wheel to my arbor. So it's just going to drop down give it a nice little spin put some

AI drafted this step from the speech or on-screen source text below. Practitioner approval is required before formal use.

Add epoxy in the centre
Centre epoxy
SOURCE FRAME0:49
3Source-backed

Add epoxy in the centre

Add epoxy in the centre of the wheel, as stated by the practitioner.

Inspect source evidence
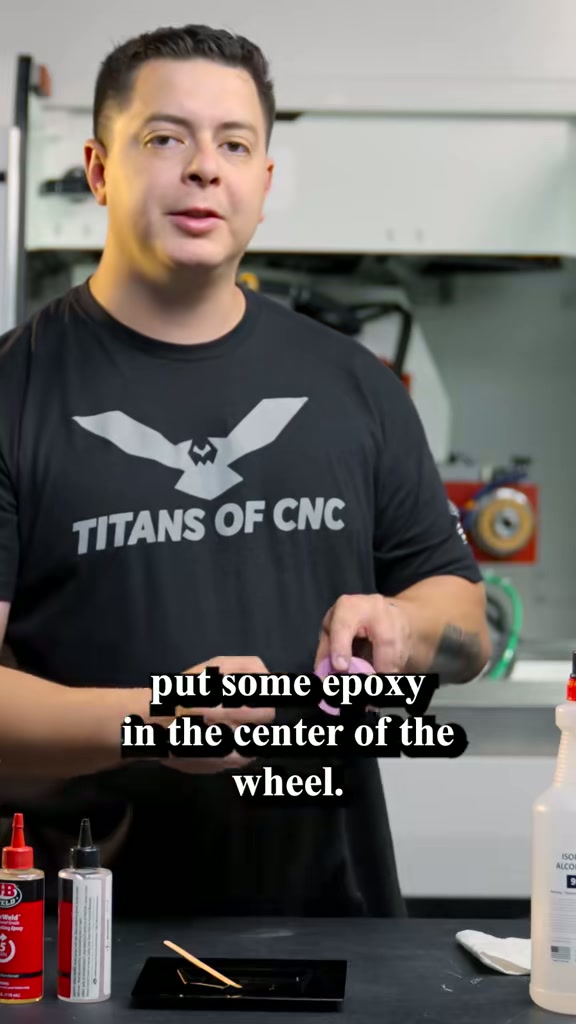
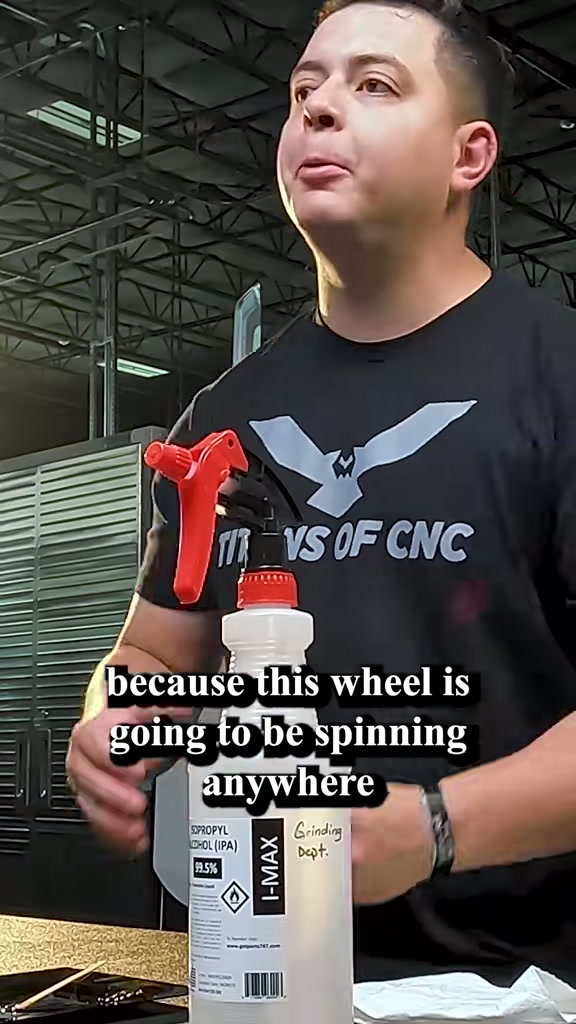
epoxy in the center of the wheel. Very important to keep this wheel clean and have a good bond because this wheel is going to be spinning anywhere between 20,000 and 30,000 rpm. So that

AI drafted this step from the speech or on-screen source text below. Practitioner approval is required before formal use.

Keep the wheel clean and confirm the bond
Bonded wheel
SOURCE FRAME0:54
4Source-backed

Keep the wheel clean and confirm the bond

Keep the wheel clean and confirm the state the practitioner calls a good bond and “looks good.”

Why

The practitioner states that this wheel will spin between 20,000 and 30,000 rpm.

Inspect source evidence
epoxy in the center of the wheel. Very important to keep this wheel clean and have a good bond because this wheel is going to be spinning anywhere between 20,000 and 30,000 rpm. So that
Looks good.

AI drafted this step from the speech or on-screen source text below. Practitioner approval is required before formal use.

Continue with this source

One source, five connected views

Switching views preserves the same source hash across instruction, analysis, skill structure, evidence, and human review.